Design Your Own
Tiny House Online Free
Introduction
Welcome to the world of tiny house design. If you've been looking to design a tiny home online free, you've come to the right place!
In this guide, I'll share how you can get your dream tiny home visualized into a 3D model with tiny house plans, and the best part? Learning is free, and no drafting is necessary!
What Online Software Will I Use?
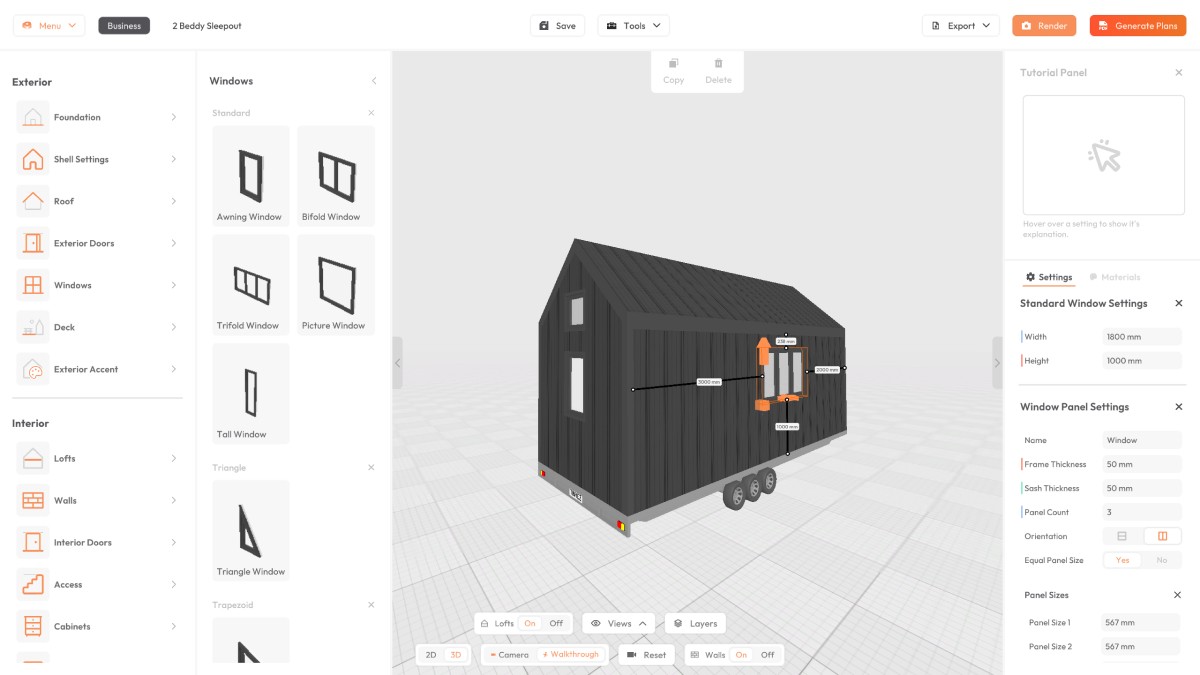
Enter, our online 3D Tiny House Design Software! This tool is specifically for tiny house on wheels, and you can load it in your browser.
This software helps you design any small-sized home. This includes container homes, ADUs, Granny Flats, and more!
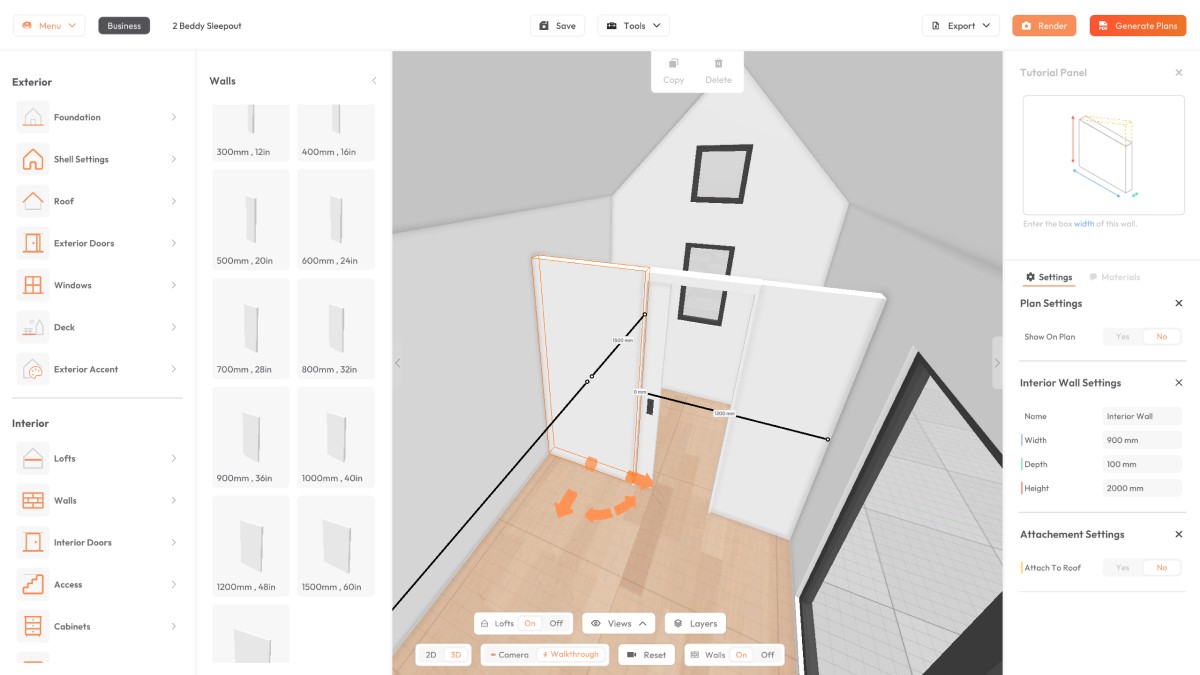
The drag-and-drop tools enable quick and precise design adjustments. This allows you to bring your vision to life effortlessly.
Do you remember when I said "no drafting is necessary?". Well that's the genius part about this tiny house design app. The software automatically drafts PDF tiny house plans for you with just one click!
So all you need to do, is design your tiny house in 3D and the software will do the heavy lifting for you. Think of it as an Ikea Kitchen Planner but for tiny homes! More on the Generate Plans tool later.
Planning Your Tiny House.
Before you start designing your tiny house, establish a plan or brief for your dream home.
Below is my step-by-step list I go through before starting any tiny home design:
Purpose - Is it a family home, a studio or holiday home?
Number of Occupants - How many people will your home accommodate?
Size - Depending on the number of people will influence the size.
Budget - Size can impact budget, the bigger your tiny home, the more the price will increase.
Pets - Do you have pets, consider a place for them too!
Layout - List down all the essential rooms with considerations to for your lifestyle.
Kitchen - Do you need a dining area or can you integrate a bar-style dining solution?
Living area - Can you fit a standard sofa, or would you rather a custom daybed with storage...
Bathroom - Can you include space for a washing machine?
Bedrooms - Will there be loft bedrooms or would you want one on the ground floor?
Office - Do you work from home, or need a spot for computer/laptop?
Location - This is an important one. There are different regulations to stick to. Look into your local council for guidance.
With this guide in mind, you can create a solid plan to help you get started. If you want a more in-depth guide to preparing your tiny home, check out our blog Designing a tiny home in 2024.
So let's get into the fun part of designing a tiny home from start to finish in our online software for tiny homes! Follow along and copy the design I create, this will help you learn 10x faster!
Create An Inspiration Board:
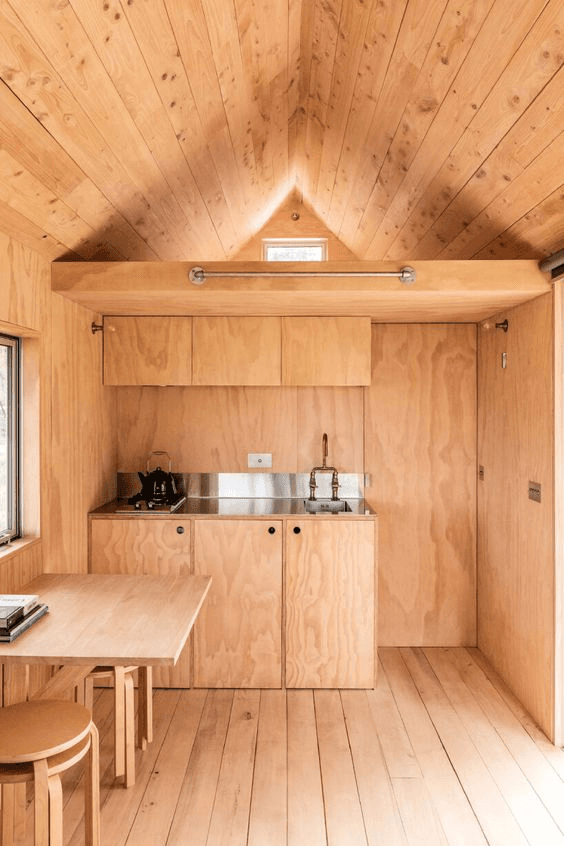
With your brief in hand, it's time to think about how you want your tiny house to look like. Are there any specific elements you want to include in your design?
Inspiration is such a powerful source to get your creative juices flowing. Here are some places to start:
Personally, I LOVE using Pinterest to collect inspiration. It’s such a great website to browse for ideas & assemble your tiny house inspiration board. It has inspired so many of my own design choices!
Check out my Pinterest account to get started: https://www.pinterest.nz/TinyEasyNZ/tiny-house-inspiration/
Refine Your Inspiration:
Now that you understand the purpose of your tiny house let’s refine your inspiration.
We will use a Pinterest board for example. You can do the same thing with physical pictures, screenshots of YouTube videos, or whatever works best.
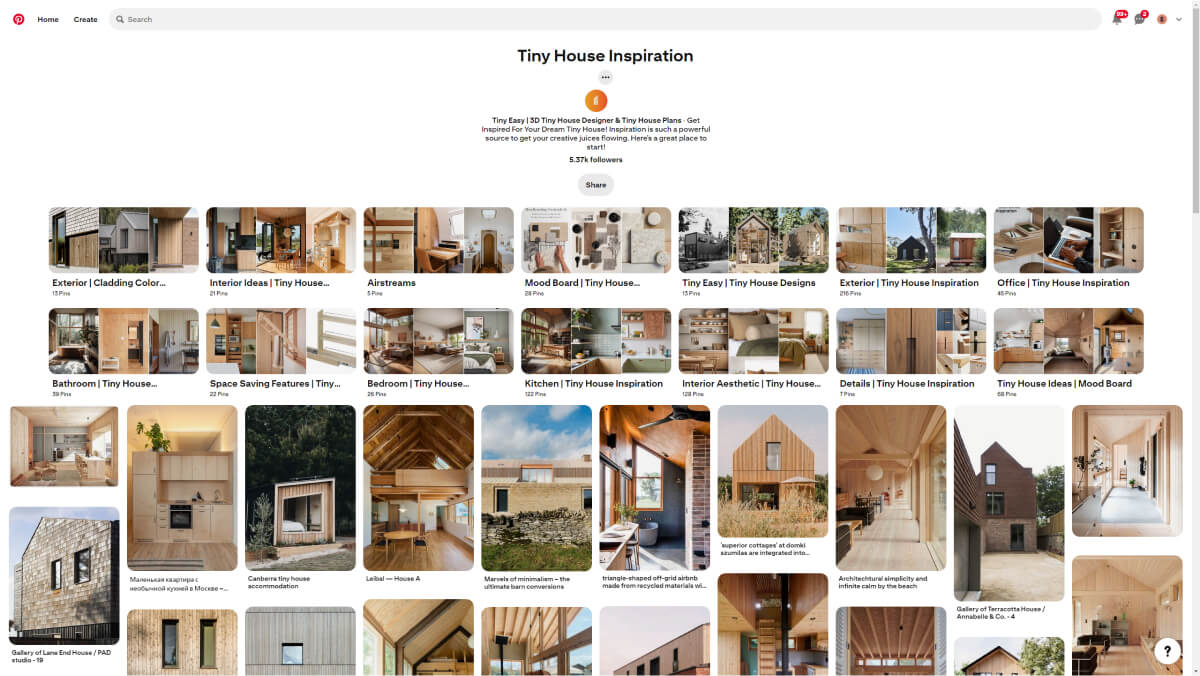
At the start your Pinterest board probably looks something like this:
Begin by reviewing your inspiration board to see which features and pictures match the purpose of your small home. Remove anything that doesn’t fit.
Now that you have removed the bulk of inspiration, try to refine your inspiration further.
Think about the MAJOR features of your tiny house e.g. the Exterior Shape and Colour, and the Interior Spaces.
For each feature, try to have only 1-2 inspiration pictures. In the end your inspiration board should not have any more than 20 images. This will keep your design process SIMPLE.
Here’s an example of a refined inspiration board:
In the example, you will only see a small amount of inspiration with maybe one or two pictures per area! I will use this inspiration to design an AirBnB style tiny house for 2 people.
Open The Software In Your Browser!
Now that you're ready to start designing, it's time to get you set up with an account.
You can create an account here if you haven't already!
Once you're all signed in, I want to introduce our design configurator. We created this tool to help you prepare your base elements without having to 3D model a thing.
The design configurator will help you decide your tiny house:
Measurement system (Based on your location, you can choose which measurement system you work with).
Length, Width, and Height
Wall Thickness
Roof Shape
Roof Angle
What the design configurator in action here: Tiny House Design Configurator
Follow the steps and remember to keep your brief in hand. If you're unsure about selecting preferences in the configurator, don't worry, I've explained everything you need to consider below. This will include:
Exterior Design Breakdown: How to consider budget and regulations into your design.
Interior Design Breakdown: What to consider for best spatial arrangement.
Technical Design Breakdown: How to include electrical and plumbing into your design.
Tiny House Plans: How to export tiny house plans with no drafting experience needed.
Use the Exterior Tools To Shape The Exterior Design Of Your Tiny Home.
If you've used the design configurator as a base point, perfect! You're already a step further into your tiny house design journey.
For maximum design optimization, here are some tips to enhance your exterior design.
How to Choose The Right Size For Your Tiny Home:
You've probably heard the size of your tiny house is important, and that's true!
Most regulations worldwide restrict the size and weight of a tiny home.
The weight corresponds to the tiny homes size. The larger it is the heavier it will be.
I would recommend researching the regulations of your local area. While it's tempting to go larger, you'll find it tricky to deal with your local council due to overstepping the weight restrictions.
To find the maximum limitations:
Connect with tiny house dwellers/communities in your area to get the first pointers.
Reach out to tiny house associations to get their take.
Reach out to the council for their advice.
Reach out to tiny house builders for their advice.
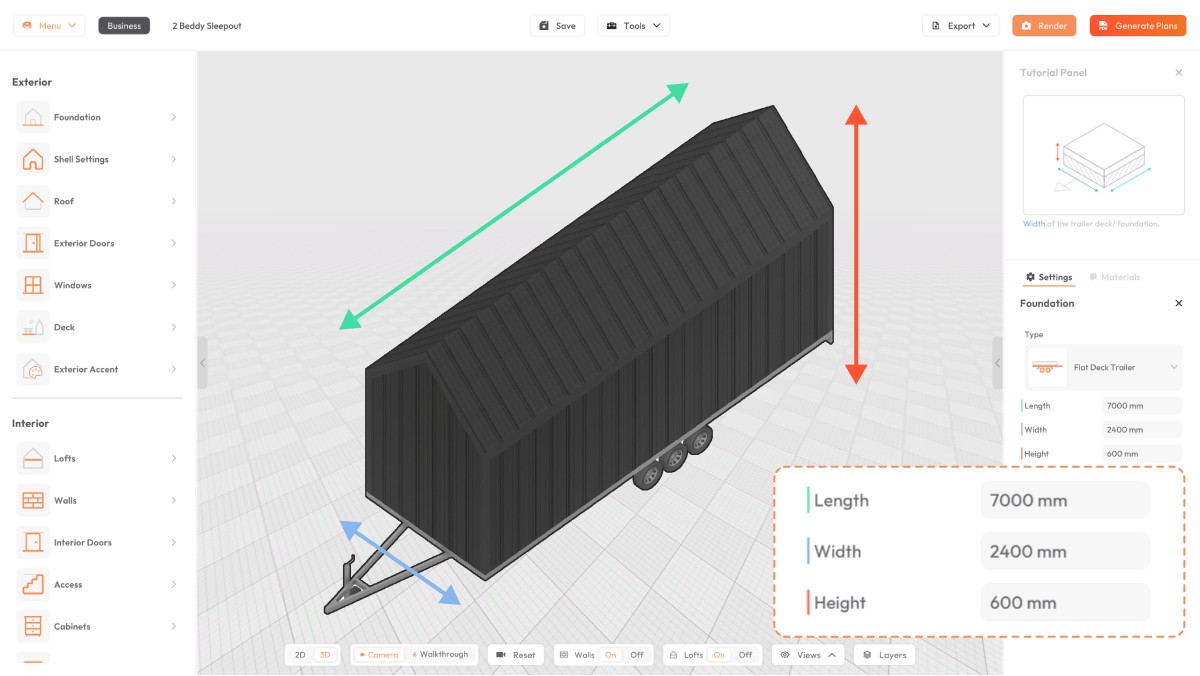
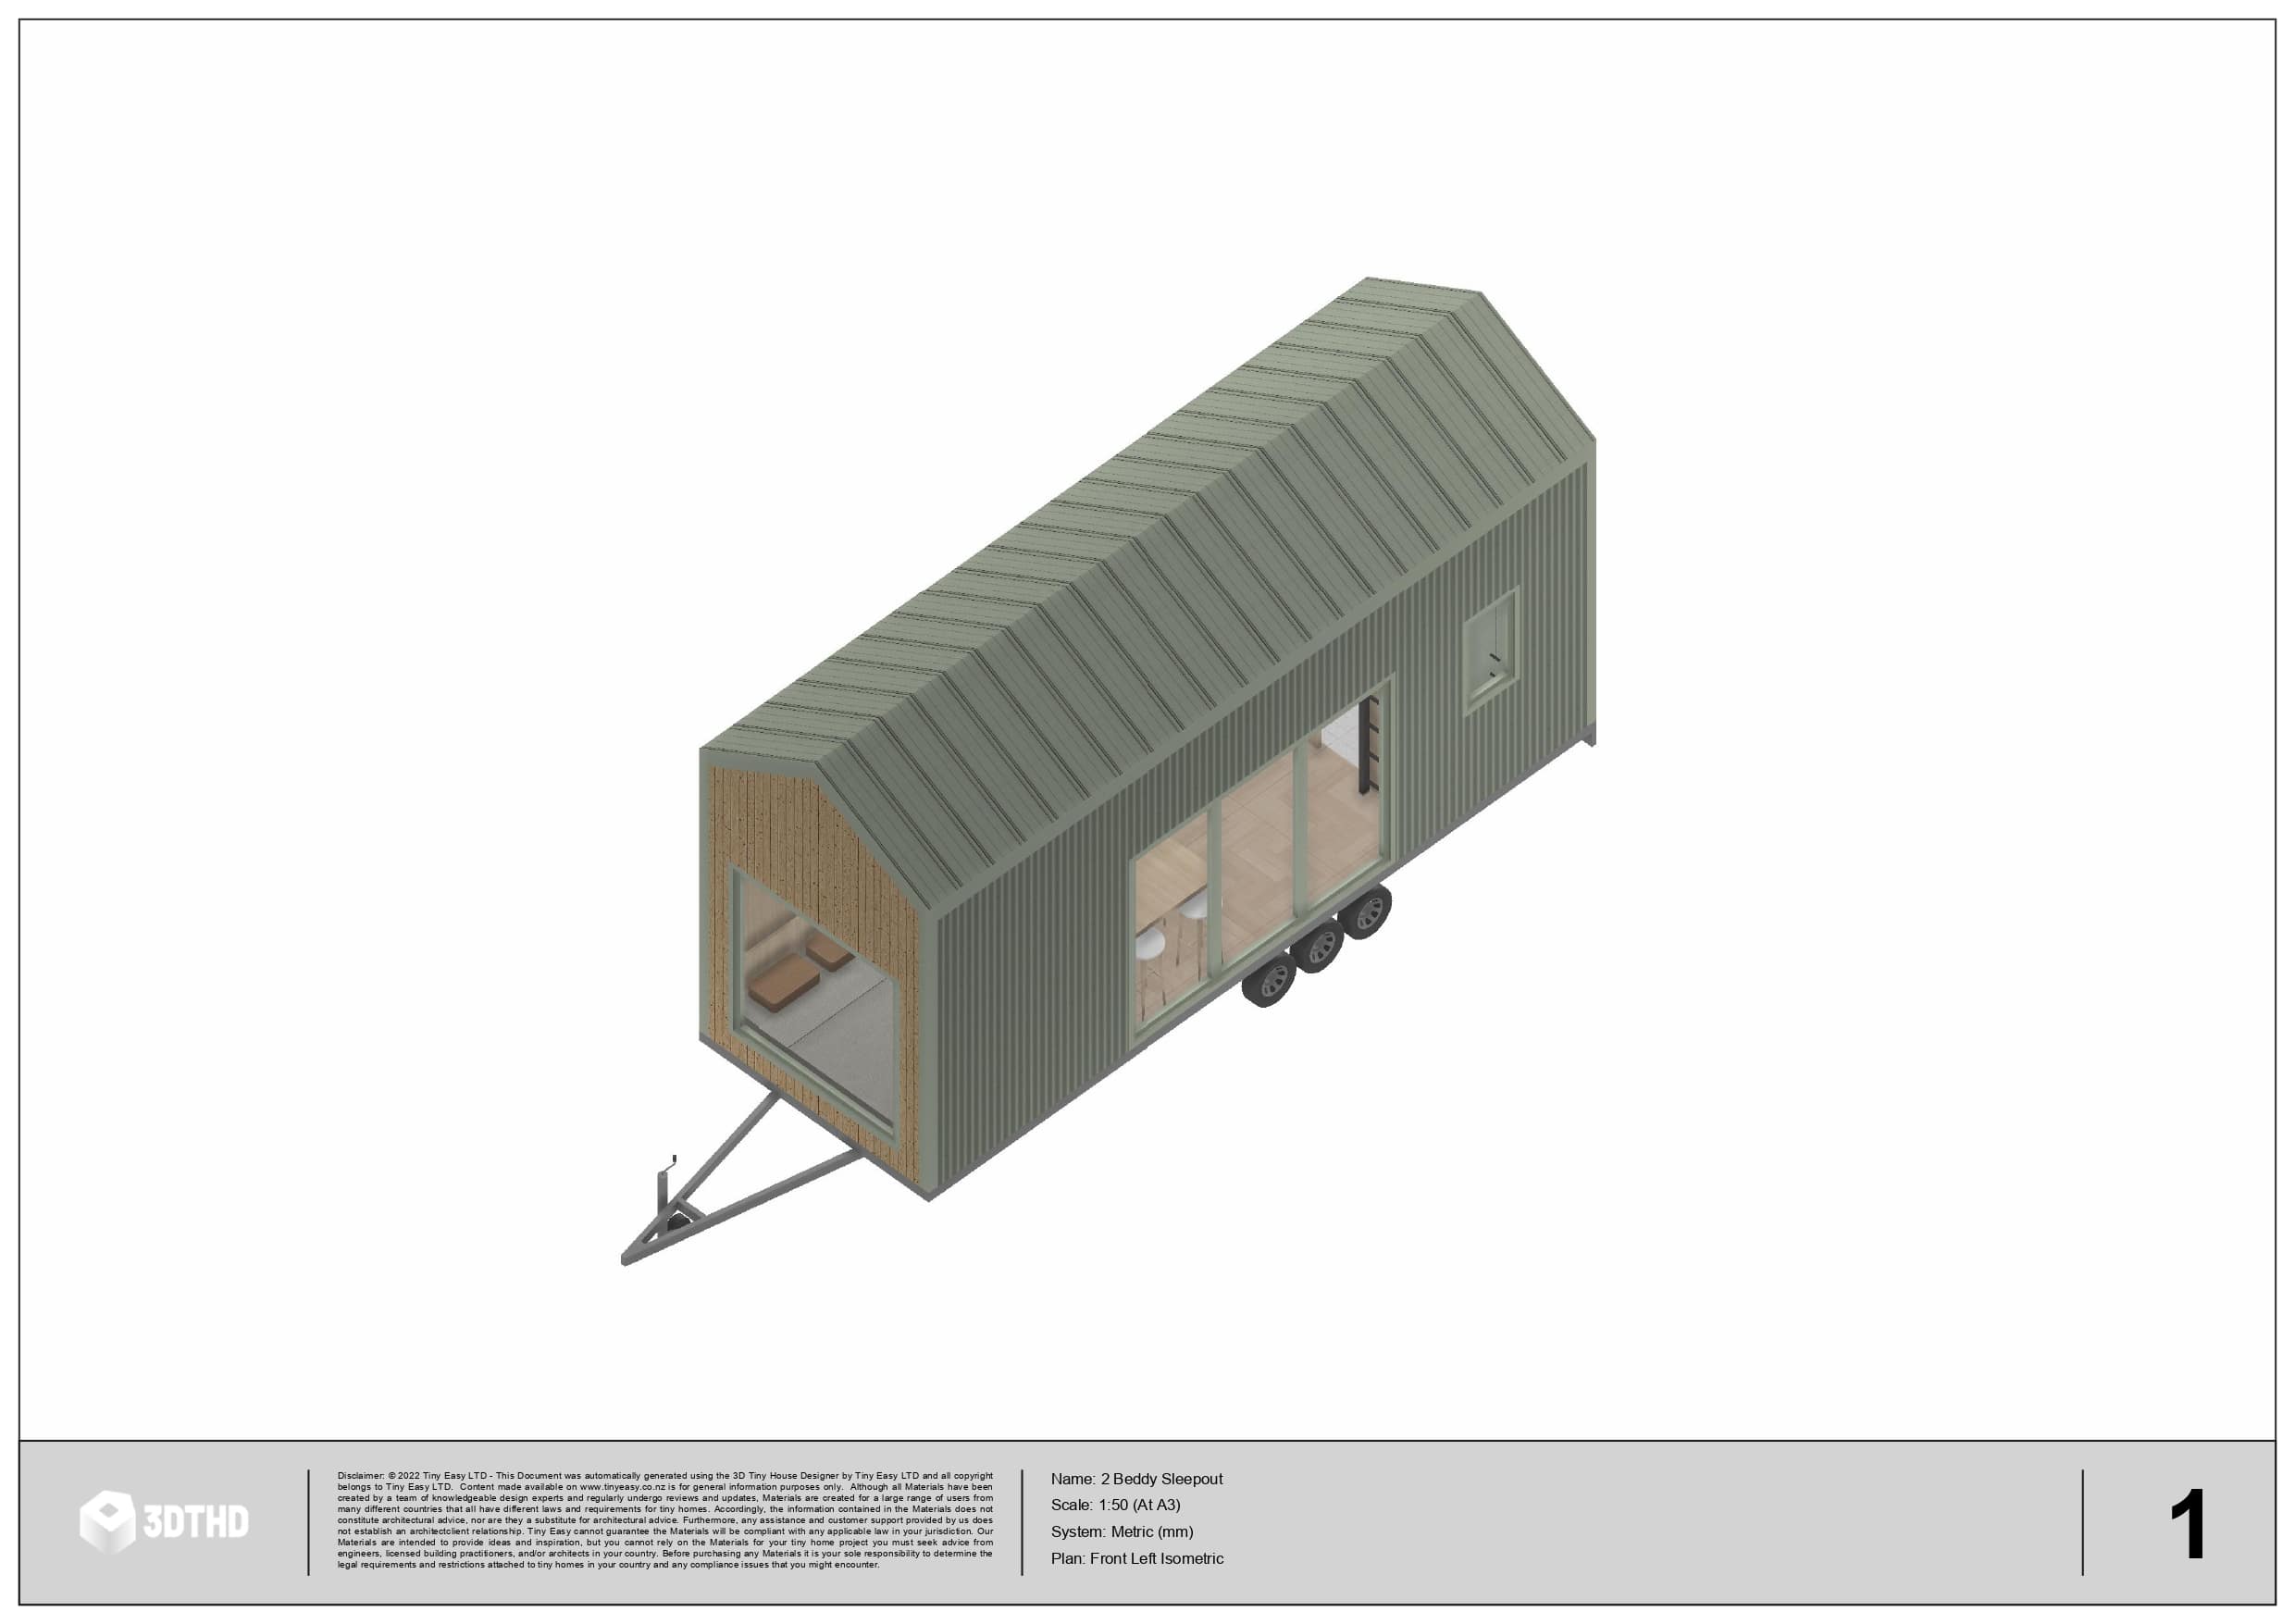
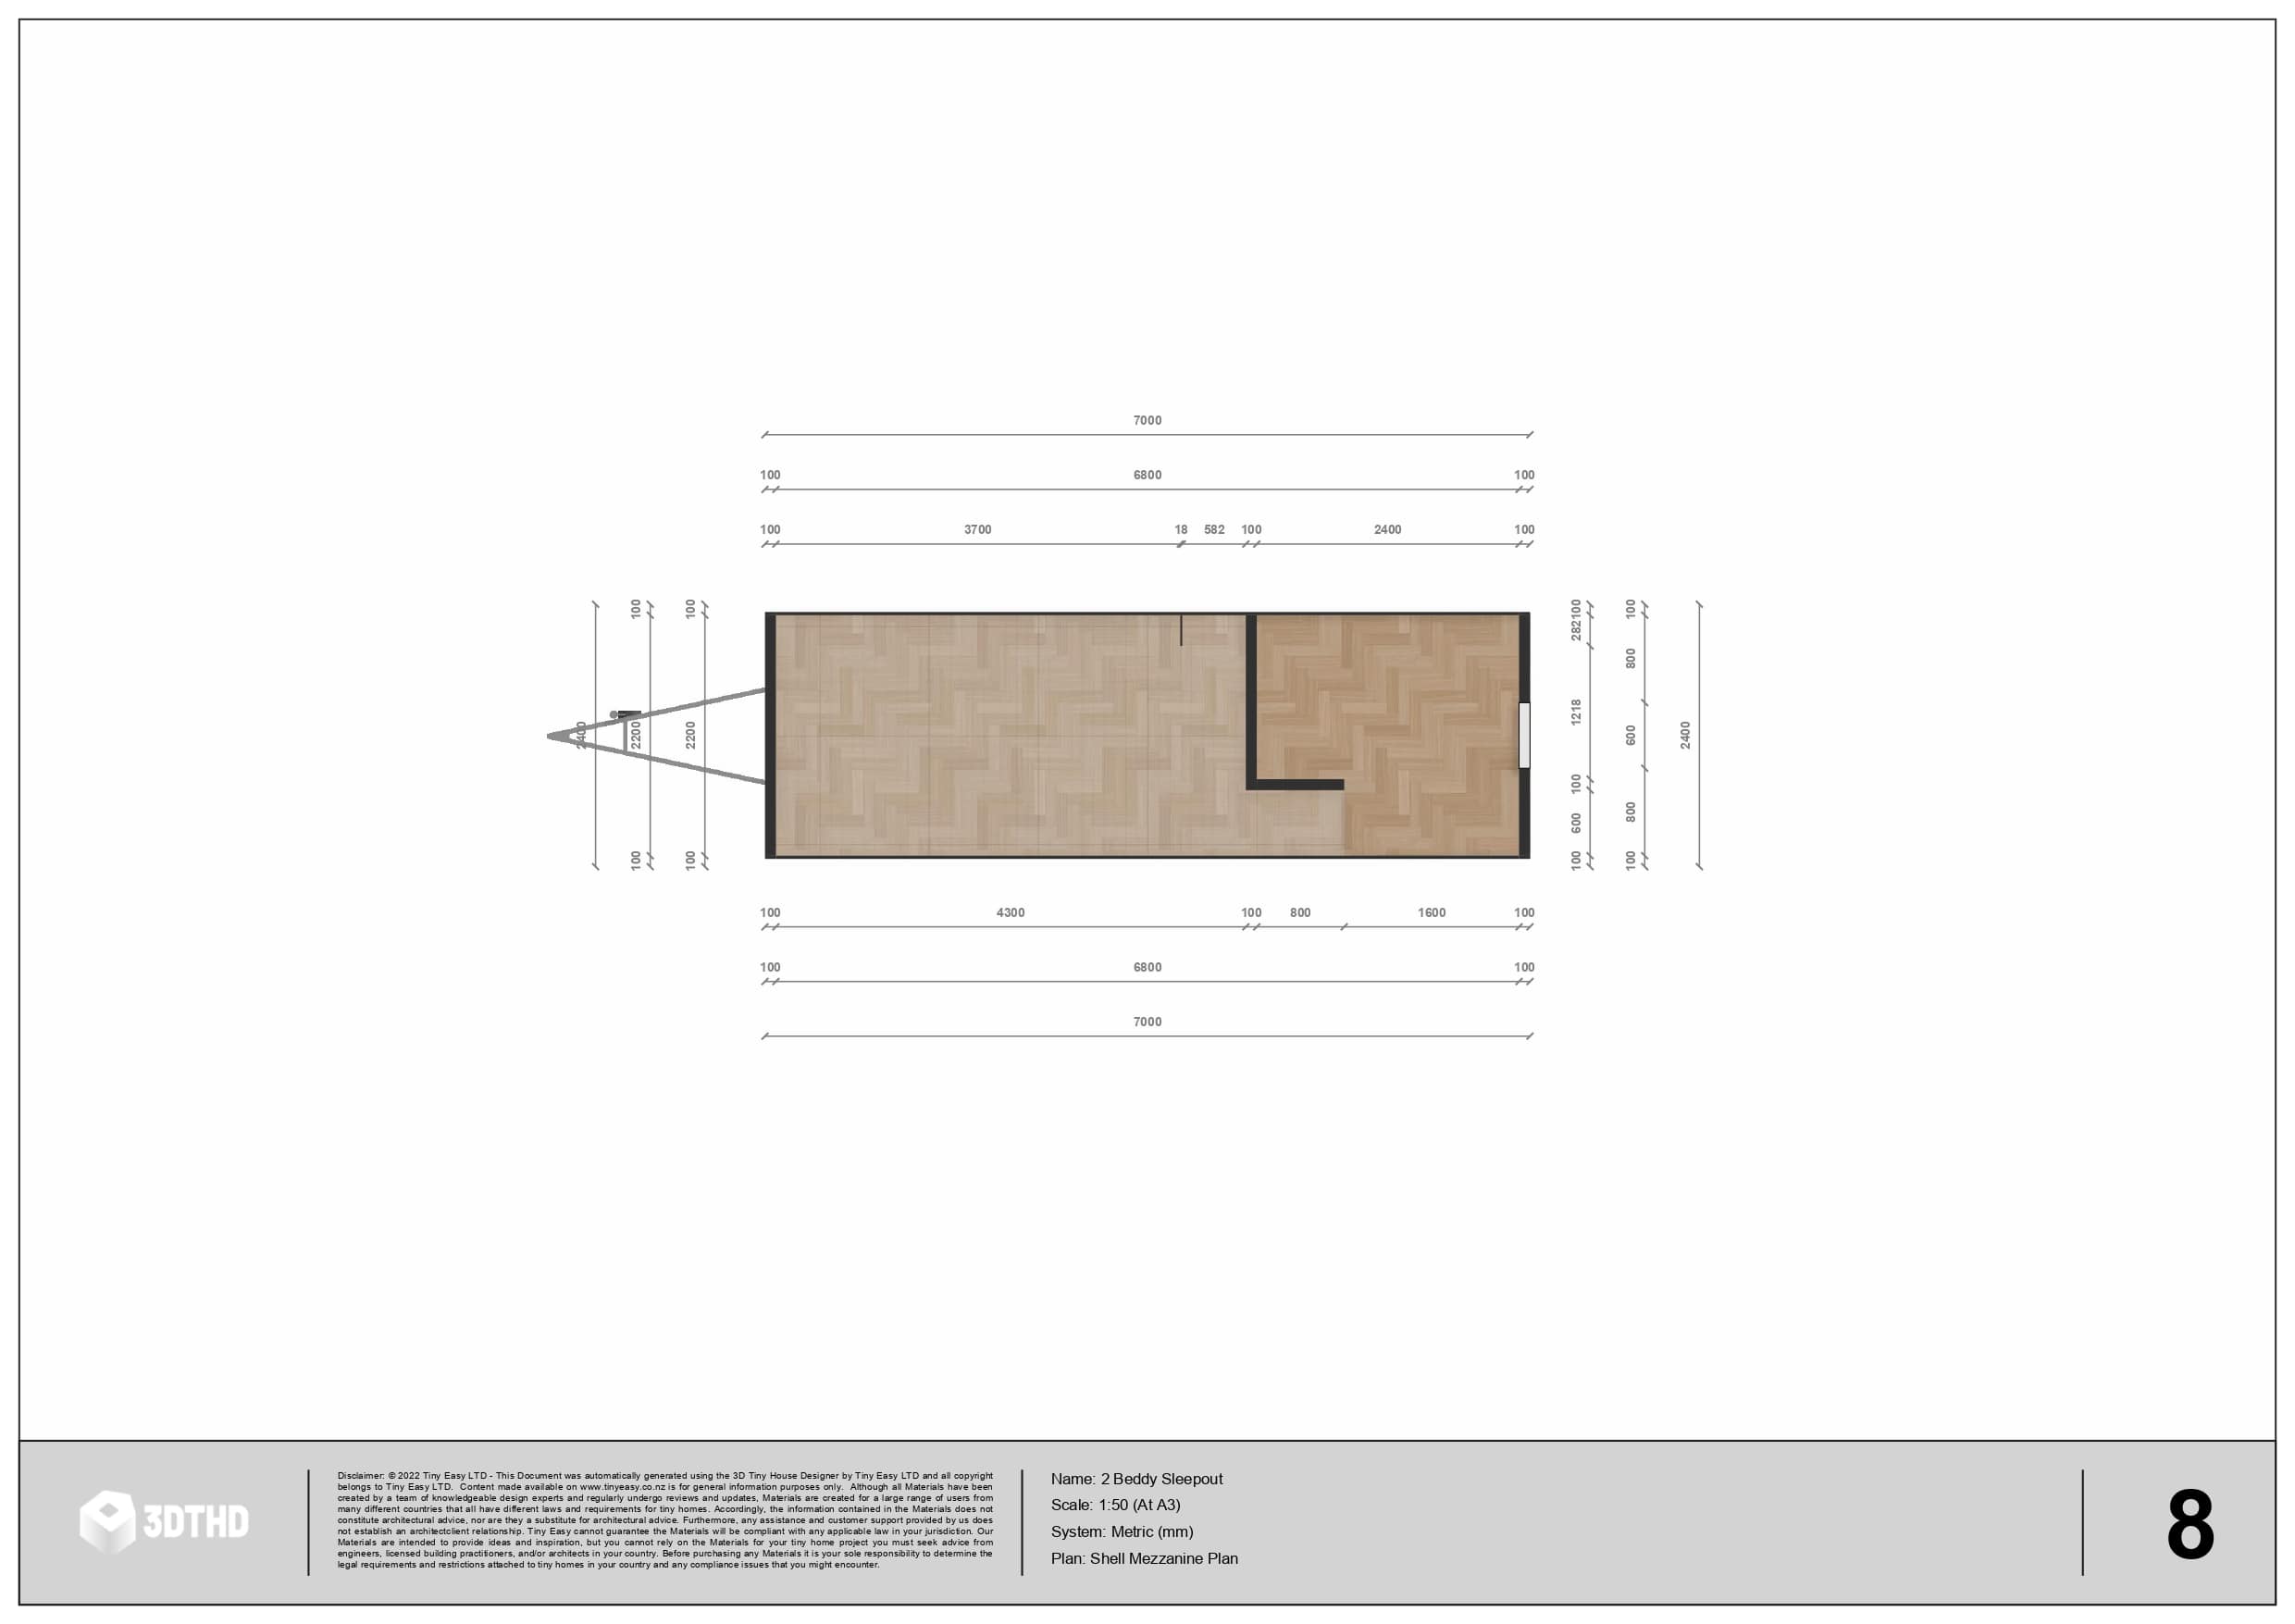
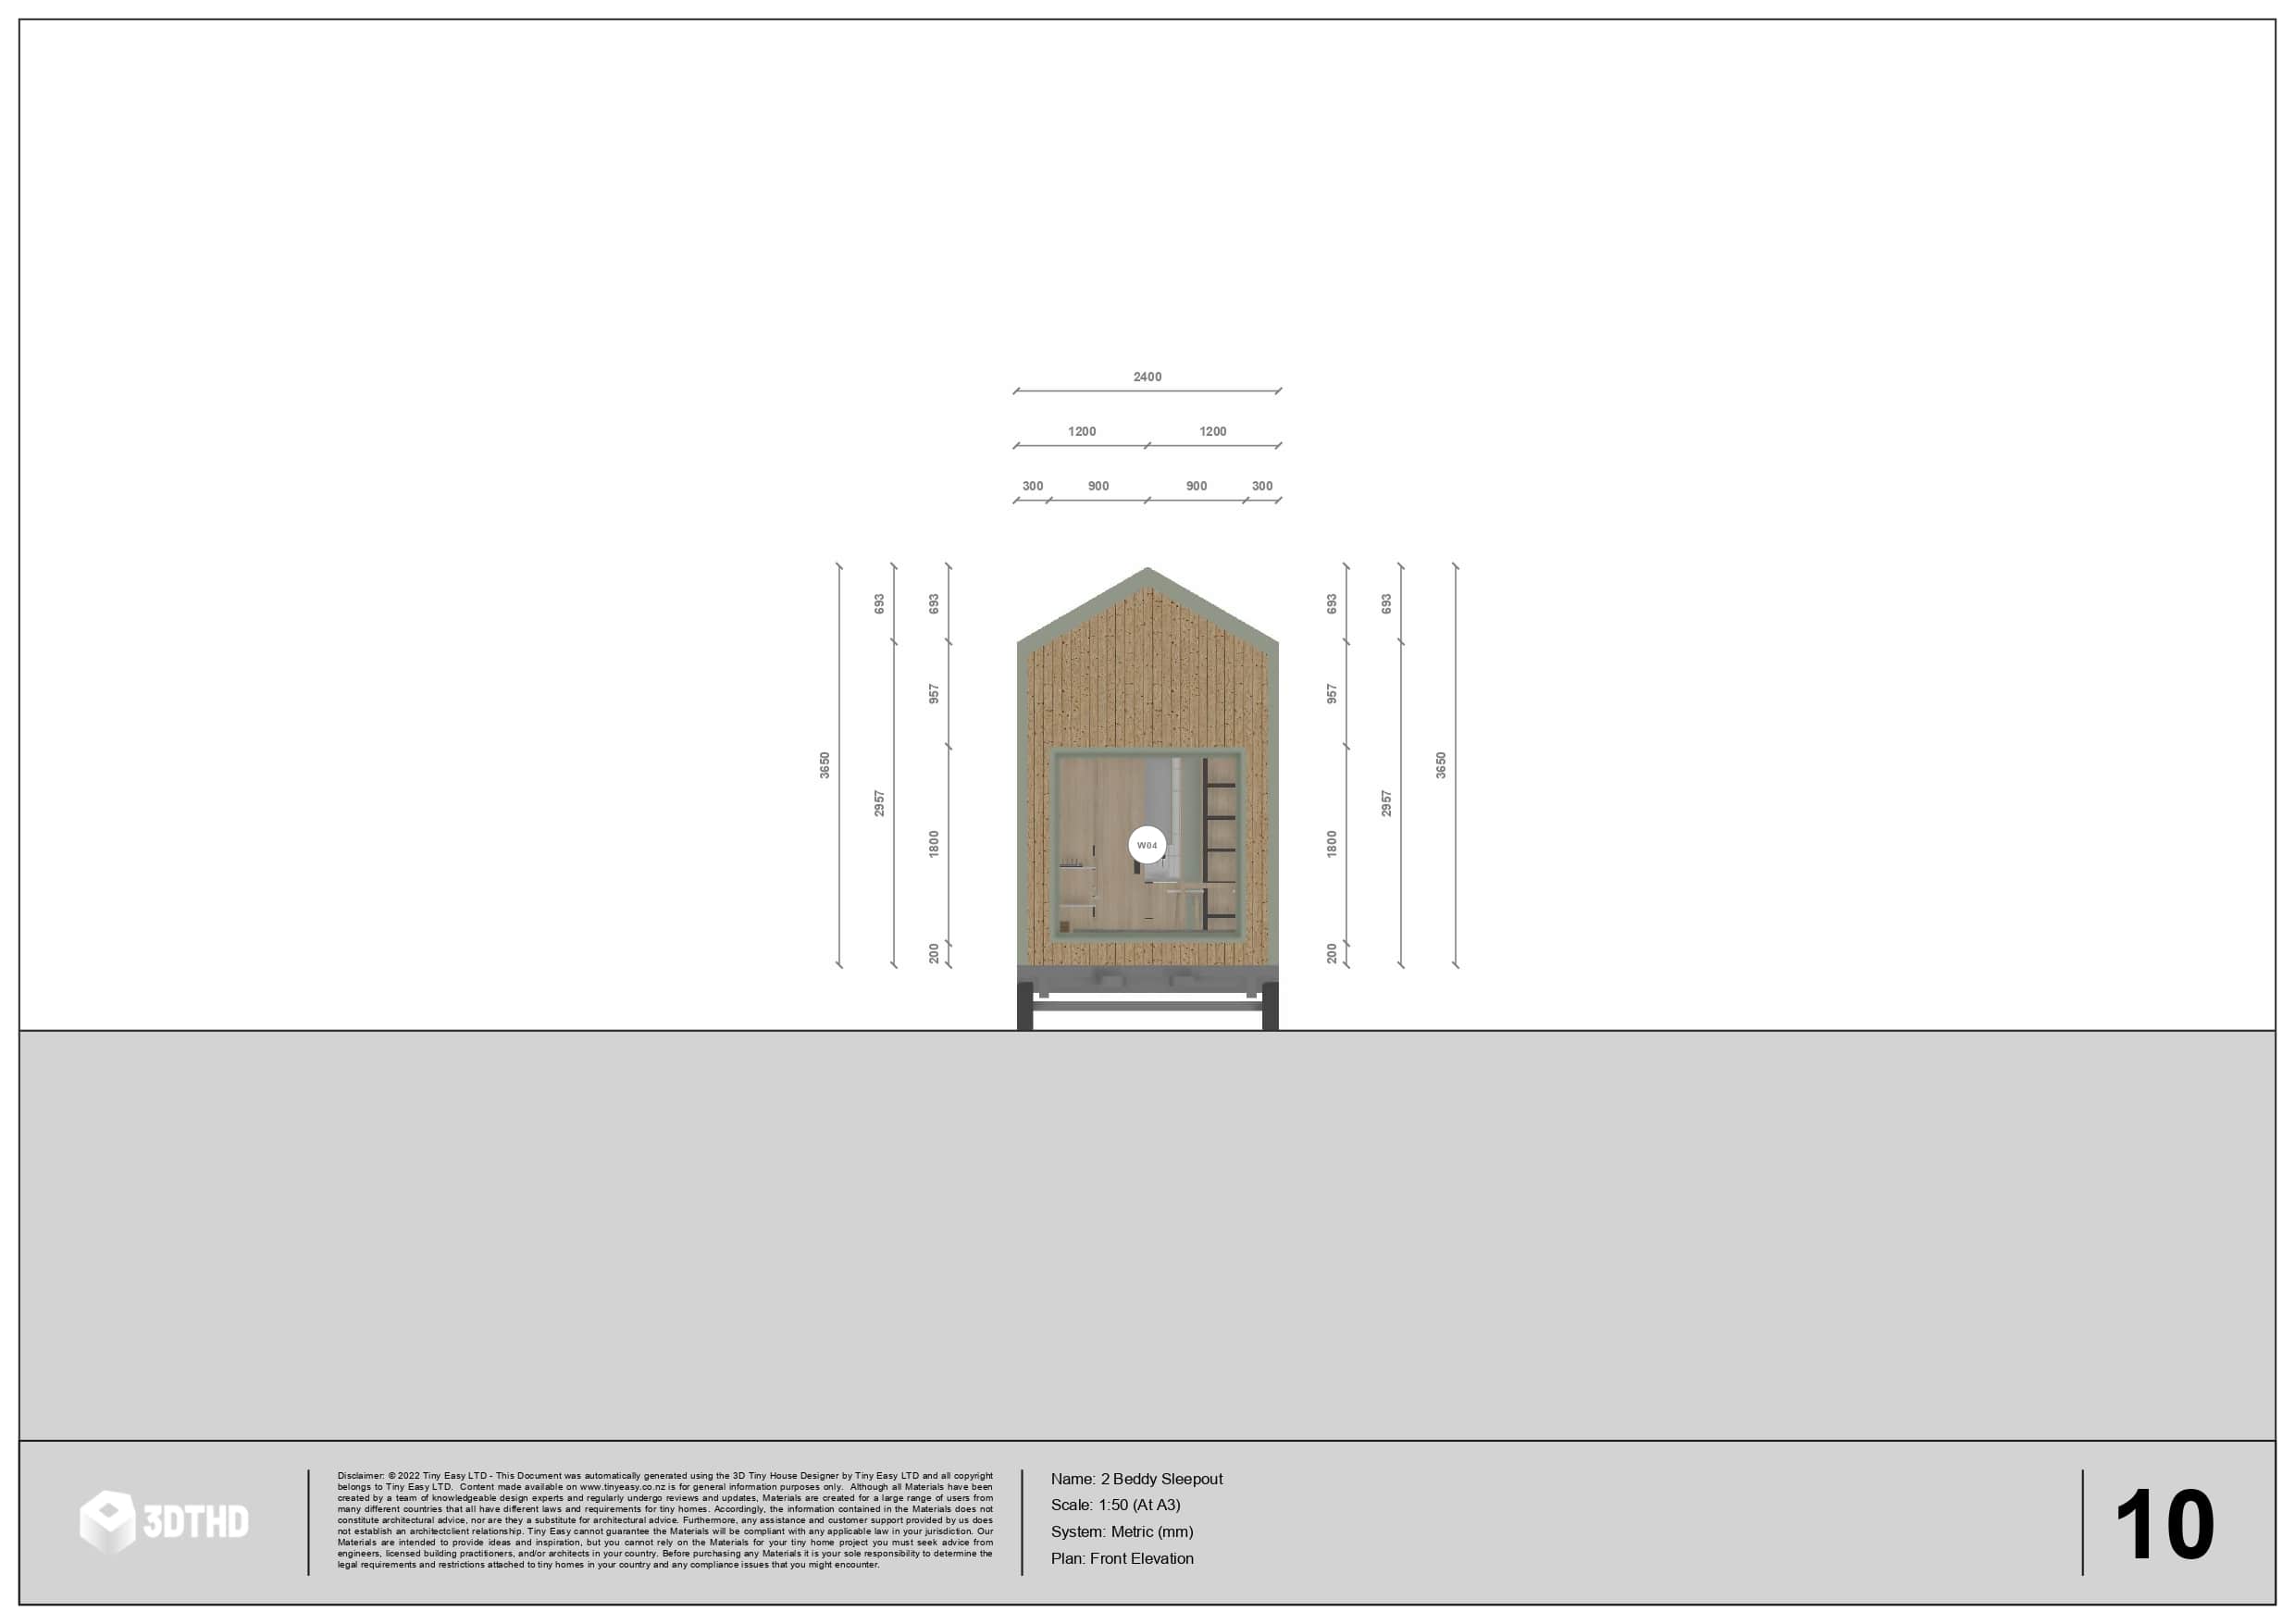
I will pick a footprint of 7m x 2.4m and a height of 4.25m. (The size and height are based on New Zealand regulations). This allows my tiny house to stay roughly under ~3500kgs.
How to Choose The Right Shape For Your Tiny Home:
The "shell" shape refers to the outer walls of your tiny home. The most common shape is taking the form of a simple rectangular box.
There are a lot of tiny homes in the community that use "overhangs" and "bumpouts". You can choose from various "bump-out" shapes and adjust their sizes using the 3D Tiny House Designer if that's what you prefer.
Below you can see different tiny house shape options:
Tip: A complicated shell/exterior makes building harder and more expensive. If you're building a tiny house DIY, I would recommend keeping it simple. It will save a lot of headache throughout the build, especially if you have limited building experience.


How To Choose The Right Roof Shape For Your Tiny Home:
Your tiny home’s roof shape depends on the interior layout and the climate you will be living in. There are typically 3 roof shapes to choose from:
Shed/Mono Roof Shape
A "Shed Style" or "Mono Slope" roof is ideal for complex interiors. The shed/mono roof allows for extra headroom and a simpler building process.
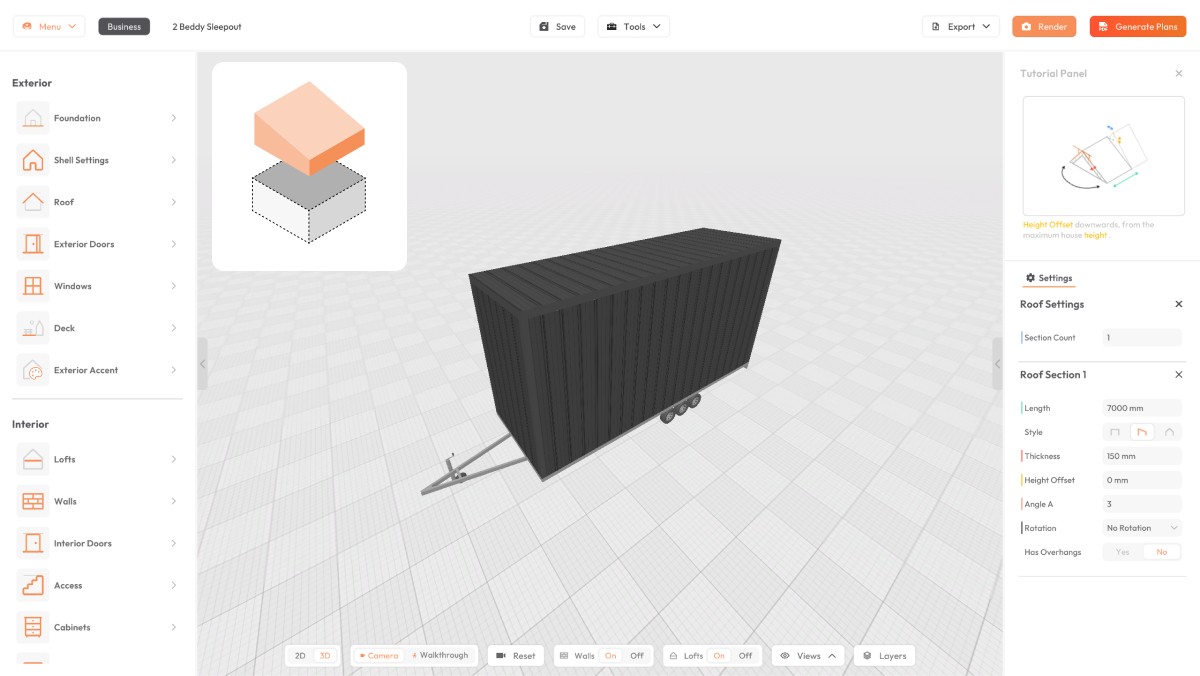
You usually require a minimum of 3 degrees to allow for water to run off. If you have a “Walkway” or “Drop Loft” put the highest side of the roof on the side of the “Walkway” to allow for more headroom.
Gable Roof Shape
A "Gable Roof" can work for both modern or cottage styles. A gable roof is a triangular shape with a minumum pitch of 20 degress. This is a great roof shape to consider for colder climates to allow snow to shed.
A gable roof will also reduce your usable loft space, so it's best for simple loft designs or single-story tiny homes.
Complex Roof Shape (Combination Of Both)
A complex roof shape is usually a combination of either gable and mono styles, or a different roof pitches. This can be good to allow for more headroom in specific areas, but also create a funky exterior design.
Like the gable roof style, complex roof shapes are trickier to build, but worth the effort for a cool design.
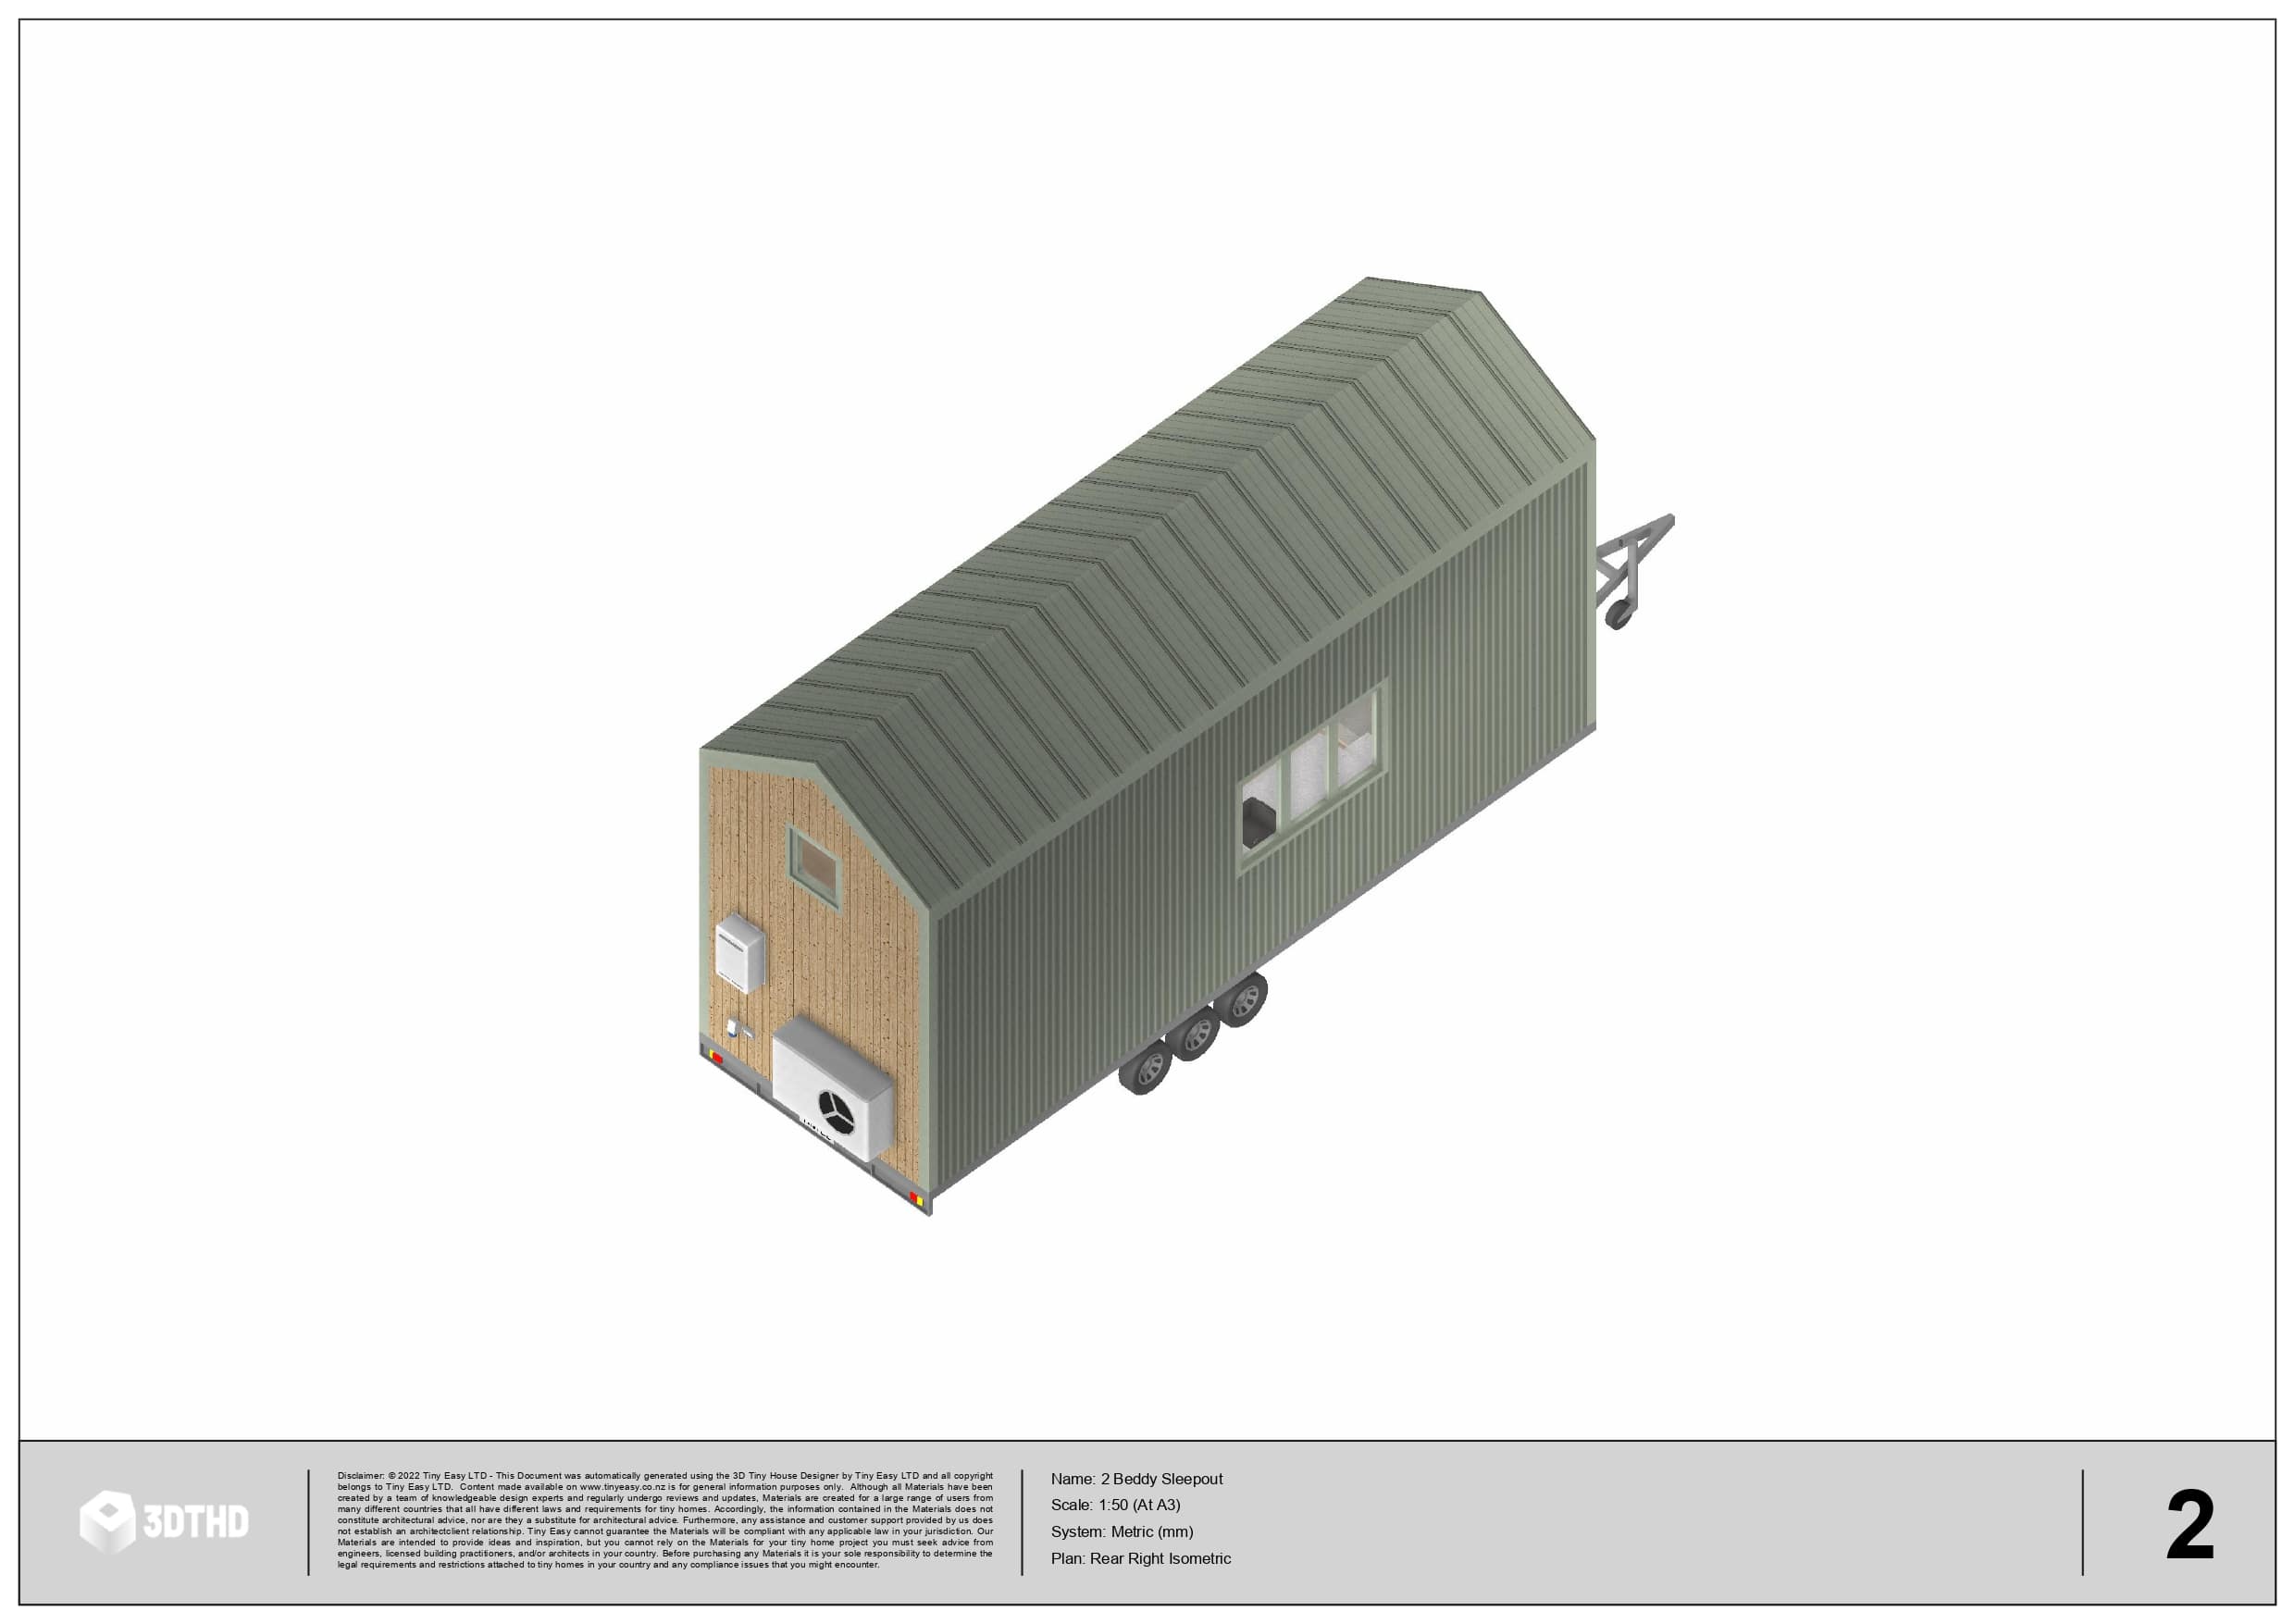
For my design, I have picked a continuous gable roof with a 35 degree slope. It’s an AirBnB style home for short term stays, so the long-term usability is less important. Plus gable style tiny homes are trending!
How To Choose The Right Window & Door Positions For Your Tiny Home:
You can consider window and door placement at two stages of your design.
Before Interior design phase: This allows you to design a clean exterior and plan your interior accordingly.
After the Interior design phase: This allows more creative flexibility for your rooms, cabinetry and furniture.
Tip: You can alter the door and window placement anytime throughout your design process. If you feel they would be better suited in another spot. However it’s good to decide whether to design Exterior or Interior first.
Here are a couple of things to consider when placing windows and doors into your design.
Natural Airflow:
Good airflow is essential in small spaces as it lowers air conditioning expenses and enhances living conditions.
To plan for natural airflow, place windows on two opposite sides of the tiny house.
Also, place windows or skylights in higher parts of the tiny house like in the lofts as hot air rises! This also allows ventilation before/when/after sleeping.
Natural Light Access:
The same applies to natural light entry. A tiny home is, well, tiny, so you want to allow the opportunity to let as much light into your home as possible. This will help open up the interior and make it feel a whole lot bigger.
You don’t need 30 windows but once you have 5-6 medium/large windows you will already have plenty of natural light.
Clearance:
For both Doors and Windows, allow for opening and closing clearance. The last thing you want is a door or window that can’t open because there is something obstructing the clearance.
Weight:
Windows and Doors contribute a lot to the final weight as the glass can get really heavy. So don’t go too crazy on the amount or size of your joinery.
Cost:
The larger the doors and windows the higher the price is. So keep this in mind if you’re on a tight budget.
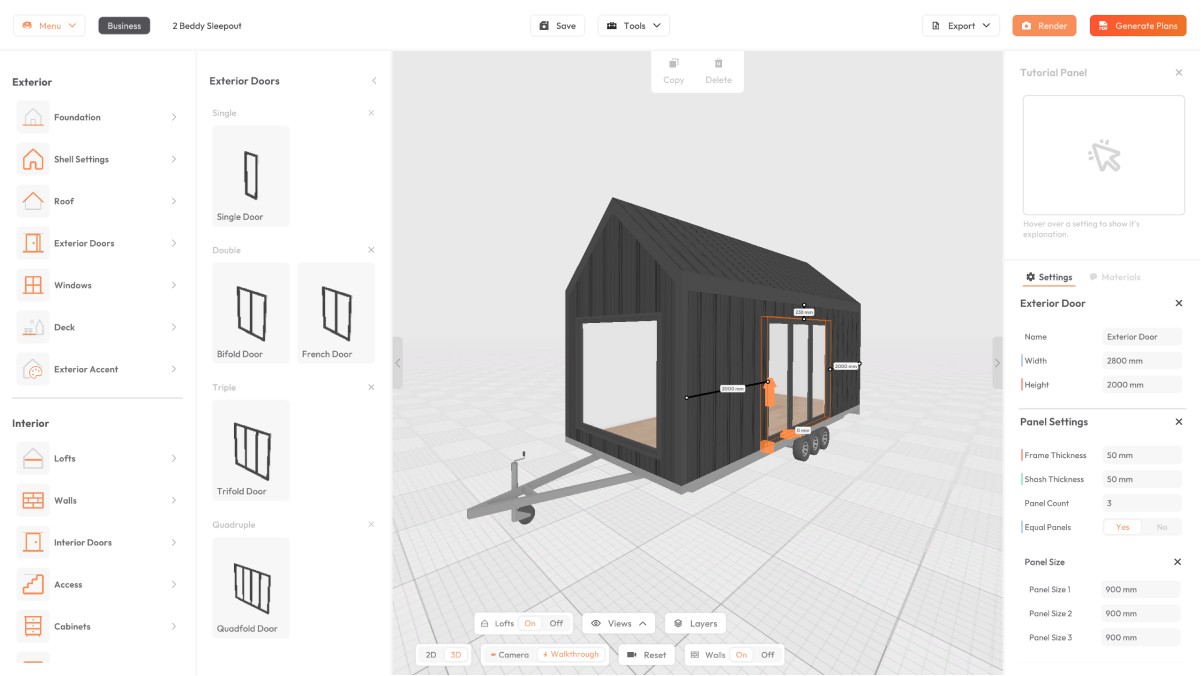
For my design I chose to place my joinery first. I decided to place only 4 windows and 1 door to allow for a cost-effective solution for an easier build.
Door Position
Window Position
Use the Interior Tools To Shape The Interior Design Of Your Tiny Home.
Now that you've established your shell, the real fun part begins! The interior layout is an exciting stage of your design process. You'll finally get to visualize and plan where the "rooms" in your tiny house will go.
Interior Wall Placement:
A great place to start when planning the interior, is wall placement. This gives you a good idea of how the layout will work which can help inform the loft design.
To understand where the Interior Walls should go, think about the different “areas” in your tiny house. The more areas you can combine with an open space, the roomier the tiny house will feel.
Don’t think about a tiny house like a regular house with separate rooms. Instead give each space a function without placing large walls in between. (Of course you'll want to close off your bathroom).
A great exercise I like to use is: start with base dimensions on a piece of paper. Then draw boxes/circles of zones or rooms.
For my tiny house design I decided to place only 1 wall with a cavity slider in between. This will be the wall to seperate the bathroom. The rest of the tiny house will be an open layout!
Loft Placement:
Now that you have a basic layout for your ground floor, you can think about placing your loft. If you are considering a double-storey design with frequently used lofts here are a couple of things to keep in mind:
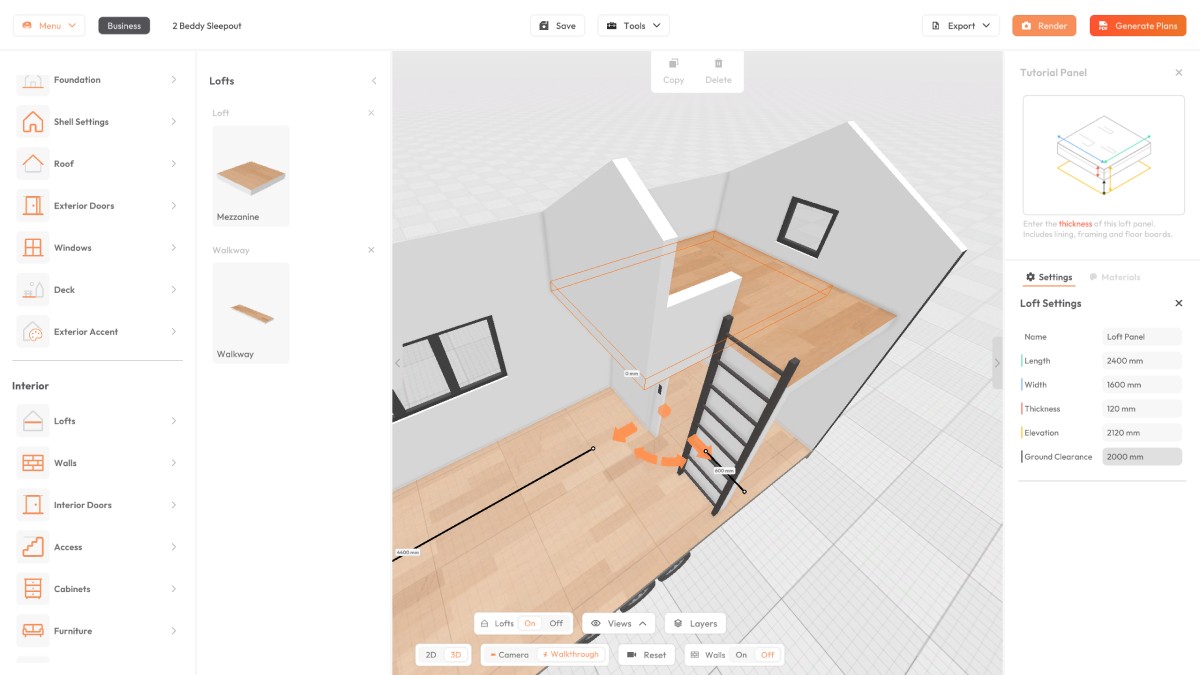
Downstairs head clearance: Lofts are usually placed 2000mm - 2050mm from the ground of the trailer. This means that you have just over 2m to walk under the lofts without being obstructed.
Loft access head clearance: Place your loft access like stairs/ladder on the highest part of the tiny house. This will give you more headroom to enter the loft. Keep in mind that this will affect the downstairs room layout too.
Roof pitch & style complications: As I mentioned before, a mono/shed style roof will allow for more headroom in the lofts. Gable roofs will only allow for more centered loft designs with less room to move around. Walkways are not possible with gable roofs.
For my design I have added a large secondary sleeping loft above the bathroom. There will be a bed downstairs, but the loft bed space will also allow families to stay at this Air BnB style design.
How To Design Your Tiny House Cabinetry:
With your "Shell Stage" ready with walls and lofts, it's time to start adding cabinetry to your layout.
Cabinets in a tiny house are crucial as they provide storage and define the interior design.
Pre-manufactured cabinets offer a budget-friendly option, helping you save costs and adhere to industry standards.
While buying pre-set cabinetry sets can be cost-friendly, you'll want to make sure the arrangement makes the most out of your layout.
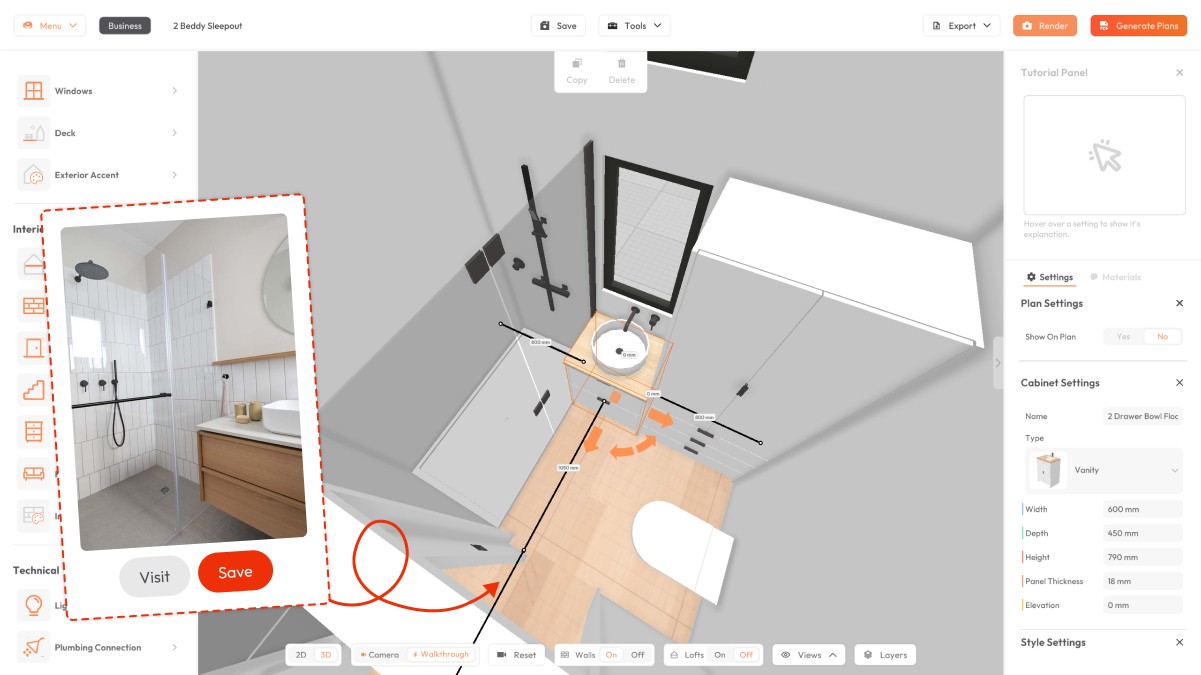
The 3D Tiny House Designer has a large library of cabinets based on industry standards. You can drag & drop cabinets that will work from the get go and customize them if you want.
Here is a preview of just some of the cabinets available in our software:
Tip: The kitchen is the best place to start as it usually requires the most cabinetry. Then you can work yourself though each area/room.
Here are the essential cabinets you usually need in each area:
Kitchen
Oven & Stove Cabinet
Sink Cabinet
Fridge Cabinet
Bin Cabinet
Add all other cabinets based on what kitchen items you want to store.
Bathroom
Vanity
Washer/Dryer
Storage Cabinet
Living/Lounge
Bench Seat (doubles for seating & storage)
Bookshelf (Custom built - or store bought)
Desk (Can also include a storage drawer)
There are no essential cabinets for this category, but here are some suggestions:
Bedrooms
Wardrobe
Bed (Optional, but a custom bed can provide storage)
Bed Side Table (Optional, nice to have)
Here is a series of detailed blogs that you the ins and outs on how to design each area in your tiny house:
If you have a Pinterest board for inspiration, analyse how the cabinets are arranged. Here you can see an example of how I've used a pin as inspiration for my kitchen & bathroom cabinetry layout.
How To Choose Furniture For Your Tiny Home:
Now that you have all your cabinetry planned, it's time to figure out furniture!
The best rule of thumb is don't over-complicate it. When considering a piece of furniture, think about the purpose & function.
For example, do you need a dining table? If yes, how much space do you have to fit the dining table?
Use the furniture objects in the our tiny house design software to help you understand what furniture you will need. This will also help determine the dimensions and what to look for when purchasing items.
The goal of your initial design is to communicate with builders & get a quote for the tiny house. Builders do not usually include loose furniture in their cost calculations. So the layout & size of the tiny house is much more important!
For my design I decided to add:
A foldable dining table
Stackable stools
And two large beds, one for the loft and one for the ground floor
To choose the right furniture design style, analyse your inspiration board and understand WHY the inspiration looks great! What kind of furniture & decoration do they use?
Can you find a similar piece to match the style? Ultimately, selecting similar furniture and decorations will give your space a comparable vibe to your inspiration pictures.
Tip: Invest in higher quality furniture if your budget permits. In tiny house living, furniture sees more use and wear, so durable pieces are worth the investment. They last longer, saving you money on replacements and reducing landfill waste. It's a win-win for you and the planet!
How To Choose The Right Materials:
While the exterior shape and interior layout will make the biggest difference for the livability of the tiny house. The material choice will have the biggest impact on the “feel” of your design.
For example:
Choosing bright poppy colours will create a hip, contemporary feel.
Choosing darker earthy tones will have a cosy, calming feel.
Choosing light wooden materials will have a Scandinavian feel.
The "right" materials depends on your personal preference. Consider your mood board to understand what materials resonate with your style.
In the 3D Tiny House Designer, you can find a library of materials for exterior and interior.
Watch this video tutorial here, to learn how to apply materials to the exterior and interior.
For my design, I have picked a light earthy, timber material palette. In the bathroom I have opted for a white, bright tiles and grey textural tiles. The exterior features a muted green that is carried through the interior.
Use The Techincal Tools To Add Electrical & Plumbing To Your Tiny Home.
With your interior complete, it's time to move on to the techincal "stuff". This includes planning your electrical and plumbing for your tiny house.
How To Plan Your Tiny Home's Electrical Layout
Even if a builder constructs your tiny house, it's essential for you to grasp the placement of electrical items. Remember, it's your living space, not theirs.
I focused on good lighting in the bathroom when designing my DIY small home. This was because my last rental had bad lighting. Additionally, I ensured plenty of electrical outlets in convenient locations, as the rental lacked them.
Based off my previous living environment, I knew what I wanted based of my day-to-day living routine.
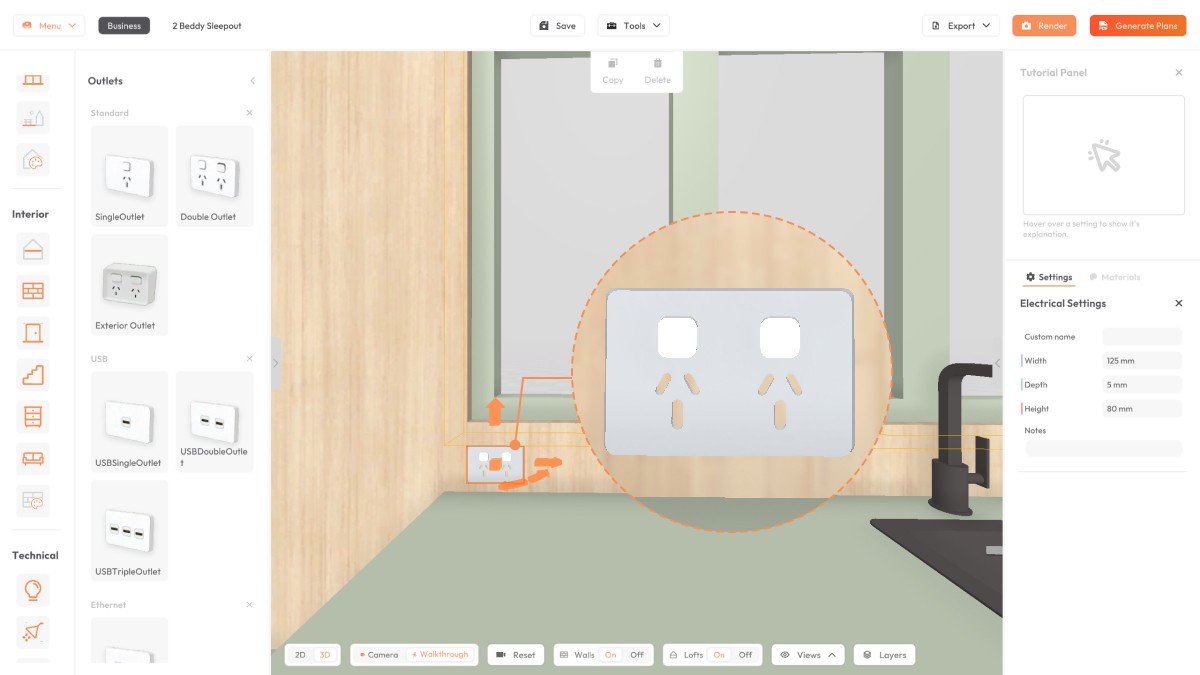
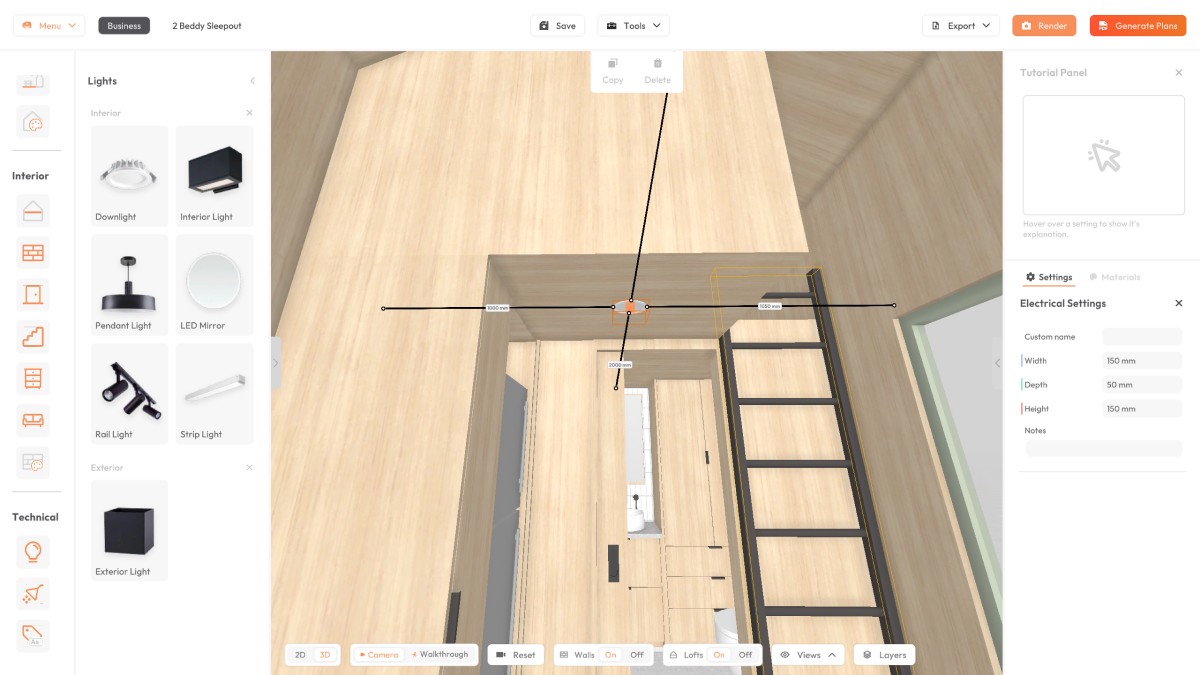
The 3D Tiny House Designer has a beginner friendly Electrical Tool. Plan your electrical layout with 3D electrical items that you can easily place on walls and ceilings.
There are 5 main categories of electrical items in tiny homes and you should plan in the following order:
Sockets/Plugs/Outlets:
Sockets/plugs will power your devices/electrical items. Position the sockets near their most frequent use areas. Otherwise they'll be annoyingly out of reach.
Here's a guide for how many sockets you should consider in each area of the home:
1 Socket for each fixed appliances including kitchen appliances and also TV
1-2 Sockets in the kitchen for hand held appliances
1-2 Sockets in the living room
1-2 Sockets in the bathroom
1-2 Sockets in each bedroom
1-2 Exterior sockets to give you power outdoors + power a potential hot water heater
Lights:
There are a range of lighting options to consider for your tiny house. Generally you'll want some form of fixed lighting like downlights. Plug-in lighting, like lamps, is not typically part of electrical plans, so ensure there's a plug/socket available for them.
Here's a quick overview of different lighting options and what to consider when placing them:
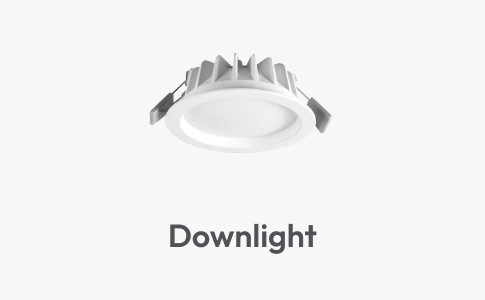
Downlights | Typically fixed into the ceiling.
You should have one downlight every 1-2 metres. Try to line them up into a row for a clean finish! If you have a gable roof design, try to have one downlight on each side at the same spot to create a symmetrical layout.

Pendant Lights | Fixed to the ceiling & hangs off a cord.
Pendant lights can be a great feature to make your design stand out. Place them above head height to avoid banging into them' Over a kitchen island or living room is a great place.

Wall Lights | Fixed to a wall
Wall lights can be another statement piece along side pendants. Bedrooms and bathrooms are a great place for interior walls lights.
Wall lights can also be wall hung mirrors with light. Include these in the electrical plan as they typically require direct wiring.
You can also install external wall lights to illuminate the exterior during the evening. Try to avoid bulky exterior lights on the long sides of the tiny house. This will make your tiny house wider and can easily become an issue for road regulations.
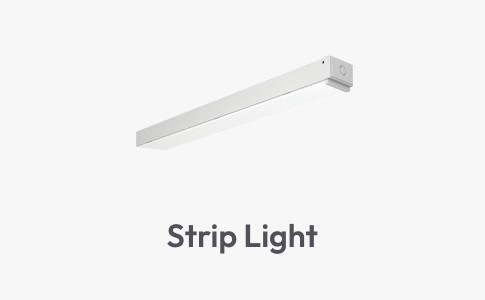
Strip Lights | Fixed to a wall
Strip Lights can create a modern accent by placing them under cabinet toe kicks. A good practice is to place strip lights where they are not directly visible. The indirect light can “glow” to create a nice atmosphere.
Switches:
Consider switch placement based off your day-to-day routine. Usually every switch should control one area.
For example, a bathroom will have it's on switch. This can include a switch for lighting, extraction fan, and maybe under floor heating.
Here are some other tips to help you through your switch placement:
The ground floor should have switches dependant on the use. Consider a combined switch for a combined area like the kitchen and living area. You can account for lighting and accent lighting if required.
Ovens/cooktops usually have their own switch to turn off the appliance. Ensure this is separate from the main switches and generally locate it near the appliance.
Out of convenience, downlights in a loft should have their own switch.
In my DIY tiny house, I have a quadruple switch that controls:
Downlights in the kitchen
Accent Rail Light
Strip light under the cabinetry
Exterior Light
Tip: You should place switches 1.2m - 1.5m off the ground
Ventilation:
Pre-plan ventilation systems like AC and fans, considering wiring and ducting requirements during tiny house construction.
In moderate climates, you can achieve adequate ventilation with cross drafts, making AC optional. However, in hot climates, AC is crucial to cool the space quickly. A fireplace or under floor heating can provide heating in winter.
Install a Through Wall Fan in bathrooms to expel steam and odors. This prevents moisture and unpleasant smells in the tiny house.
Other/Miscellaneous Items::
These electrical items don't fit into a "specific" group, but are very important.
You will need to plan for:
Breaker Board - This is the junction between your circuits and your mains power. This should be easily accessible in case a breaker trips.
Smoke Detector - Well, we know why this one is important!
Carbon Monoxide Detector - Carbon Monoxide can quickly accumulate from gas cooking, daily activities, and inadequate ventilation. A Carbon Monoxide detector will alert you when an unhealthy Carbon Monoxide % is in your tiny house.
Caravan Plug / Main Power In - Most tiny houses have caravan plugs that then connect to a Mains power point. Typically, place them on the front or rear of the tiny house to avoid protruding sides that widen the structure.
Once you're happy with your eletrical layout, you can generate electrical plans to communicate with an electrician. They can help you fine-tune small details and let you know if the layout works.
Remember: Don't do the electrical yourself, get a registered electrician to do the installment.
Plumbing may seem daunting but it can be pretty simple if planned right.
First assess where all your water outputs are. This will usually include your kitchen sink, shower/bath and vanity.
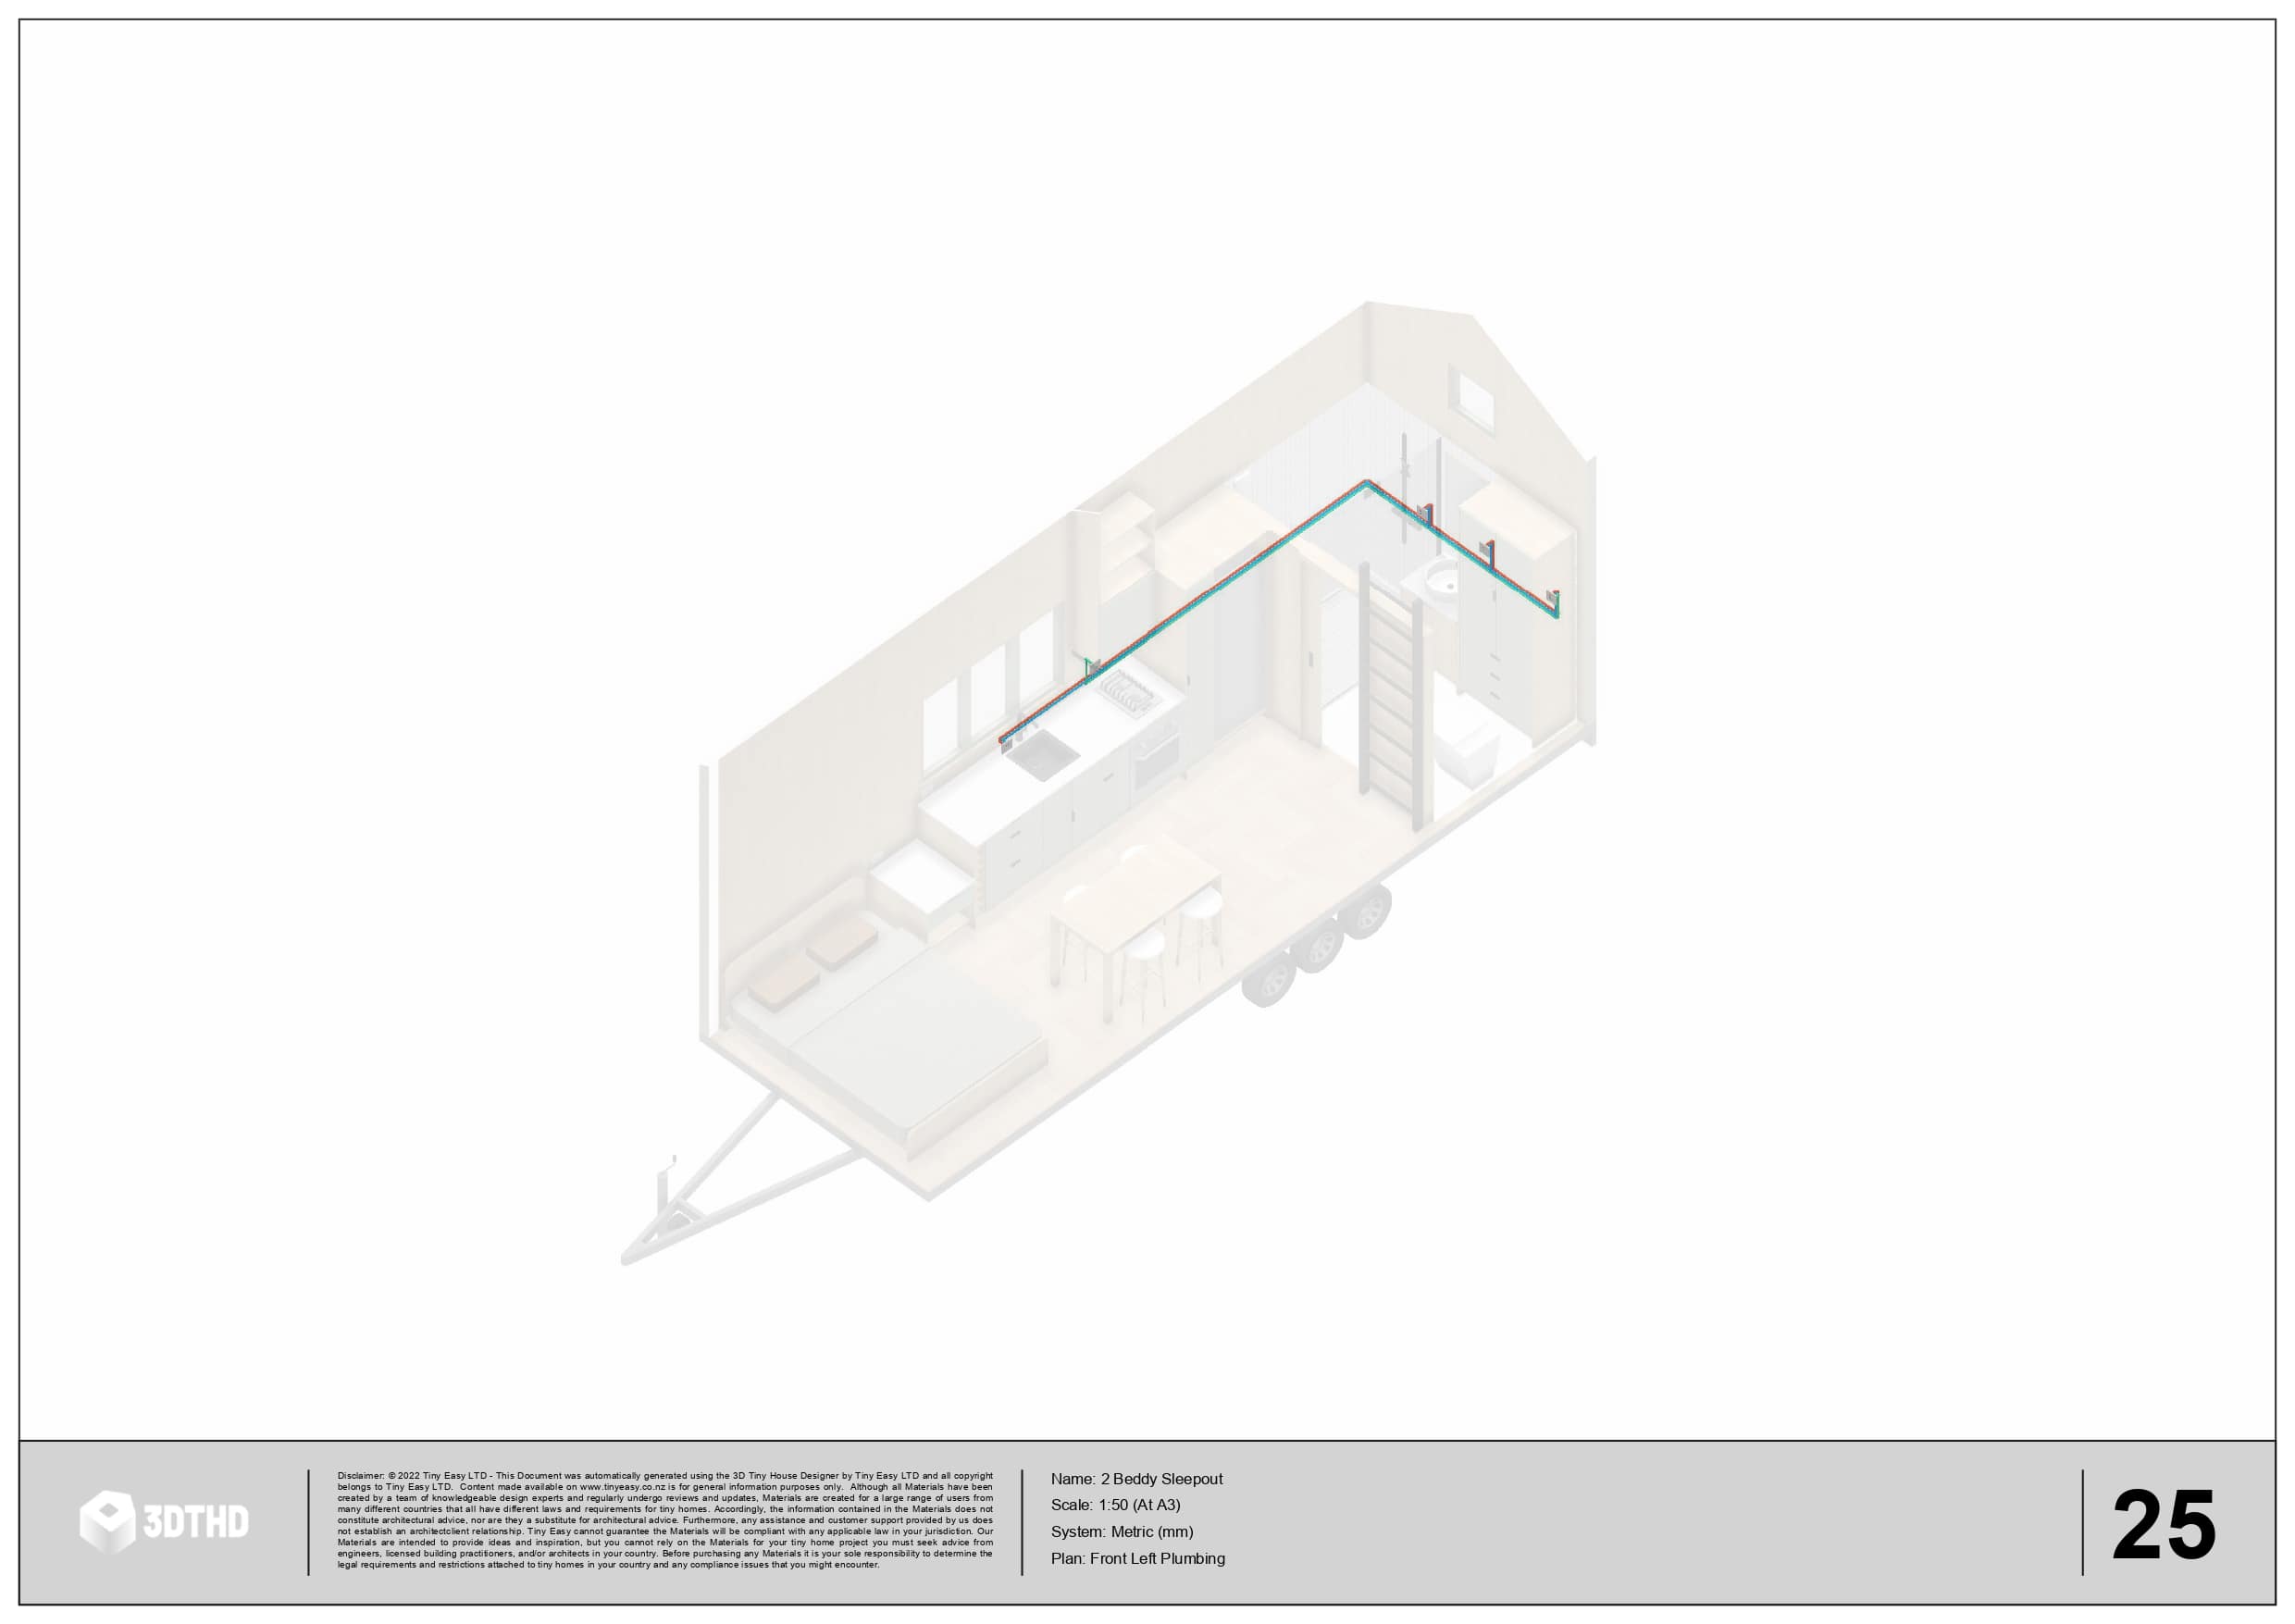
Next you can use our plumbing tool to plan your pipe routing. This tool allows you drag and drop connections, drag pipes, and auto generate color-coded plumbing plans.
Watch the tool in action here: Tiny House Plumbing Tool.
Tip: A gas fitter should fit any gas pipes! Don't do this yourself!!!
How To Get Tiny House Plans?
Congrats! You have now designed the first version of your tiny home on wheels!
Now that you have a tiny house design ready to go, let's export the plans for this design.
Usually, you would need to hire a draftsperson/architect to create tiny house plans/blueprints. OR, you have to learn how to draft plans yourself.
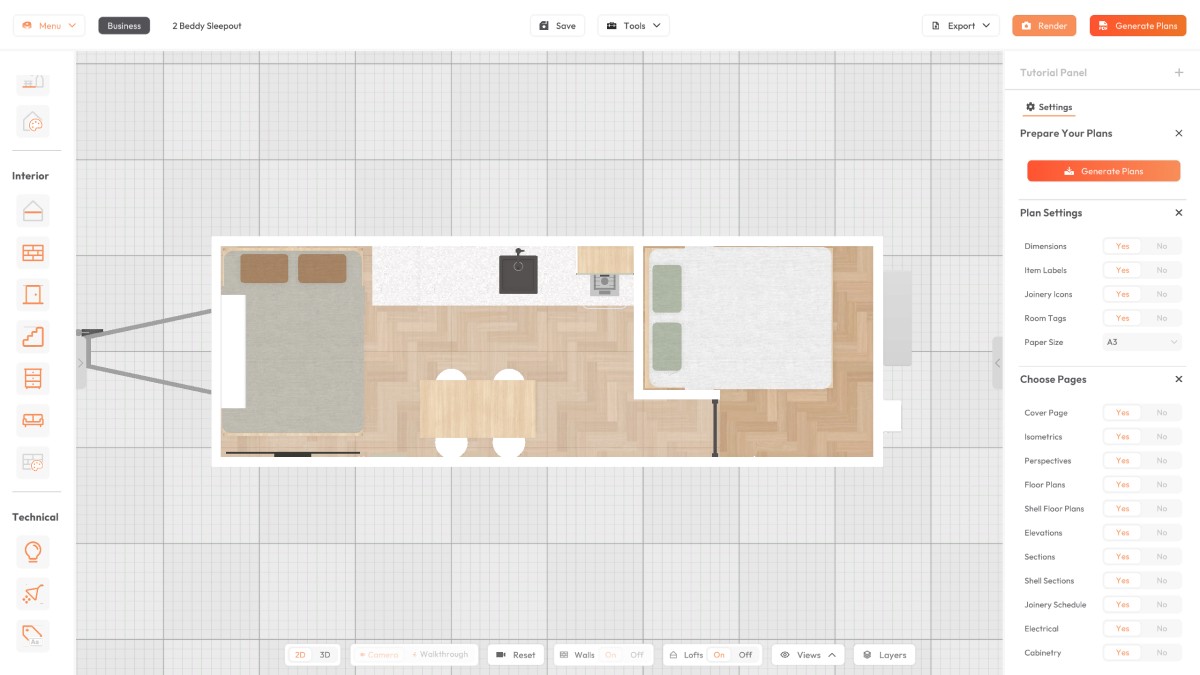
The good thing is, you don't have to do any of the above. Our software does the heavy lifting for you thanks to it's smart Generate Plans Tool!
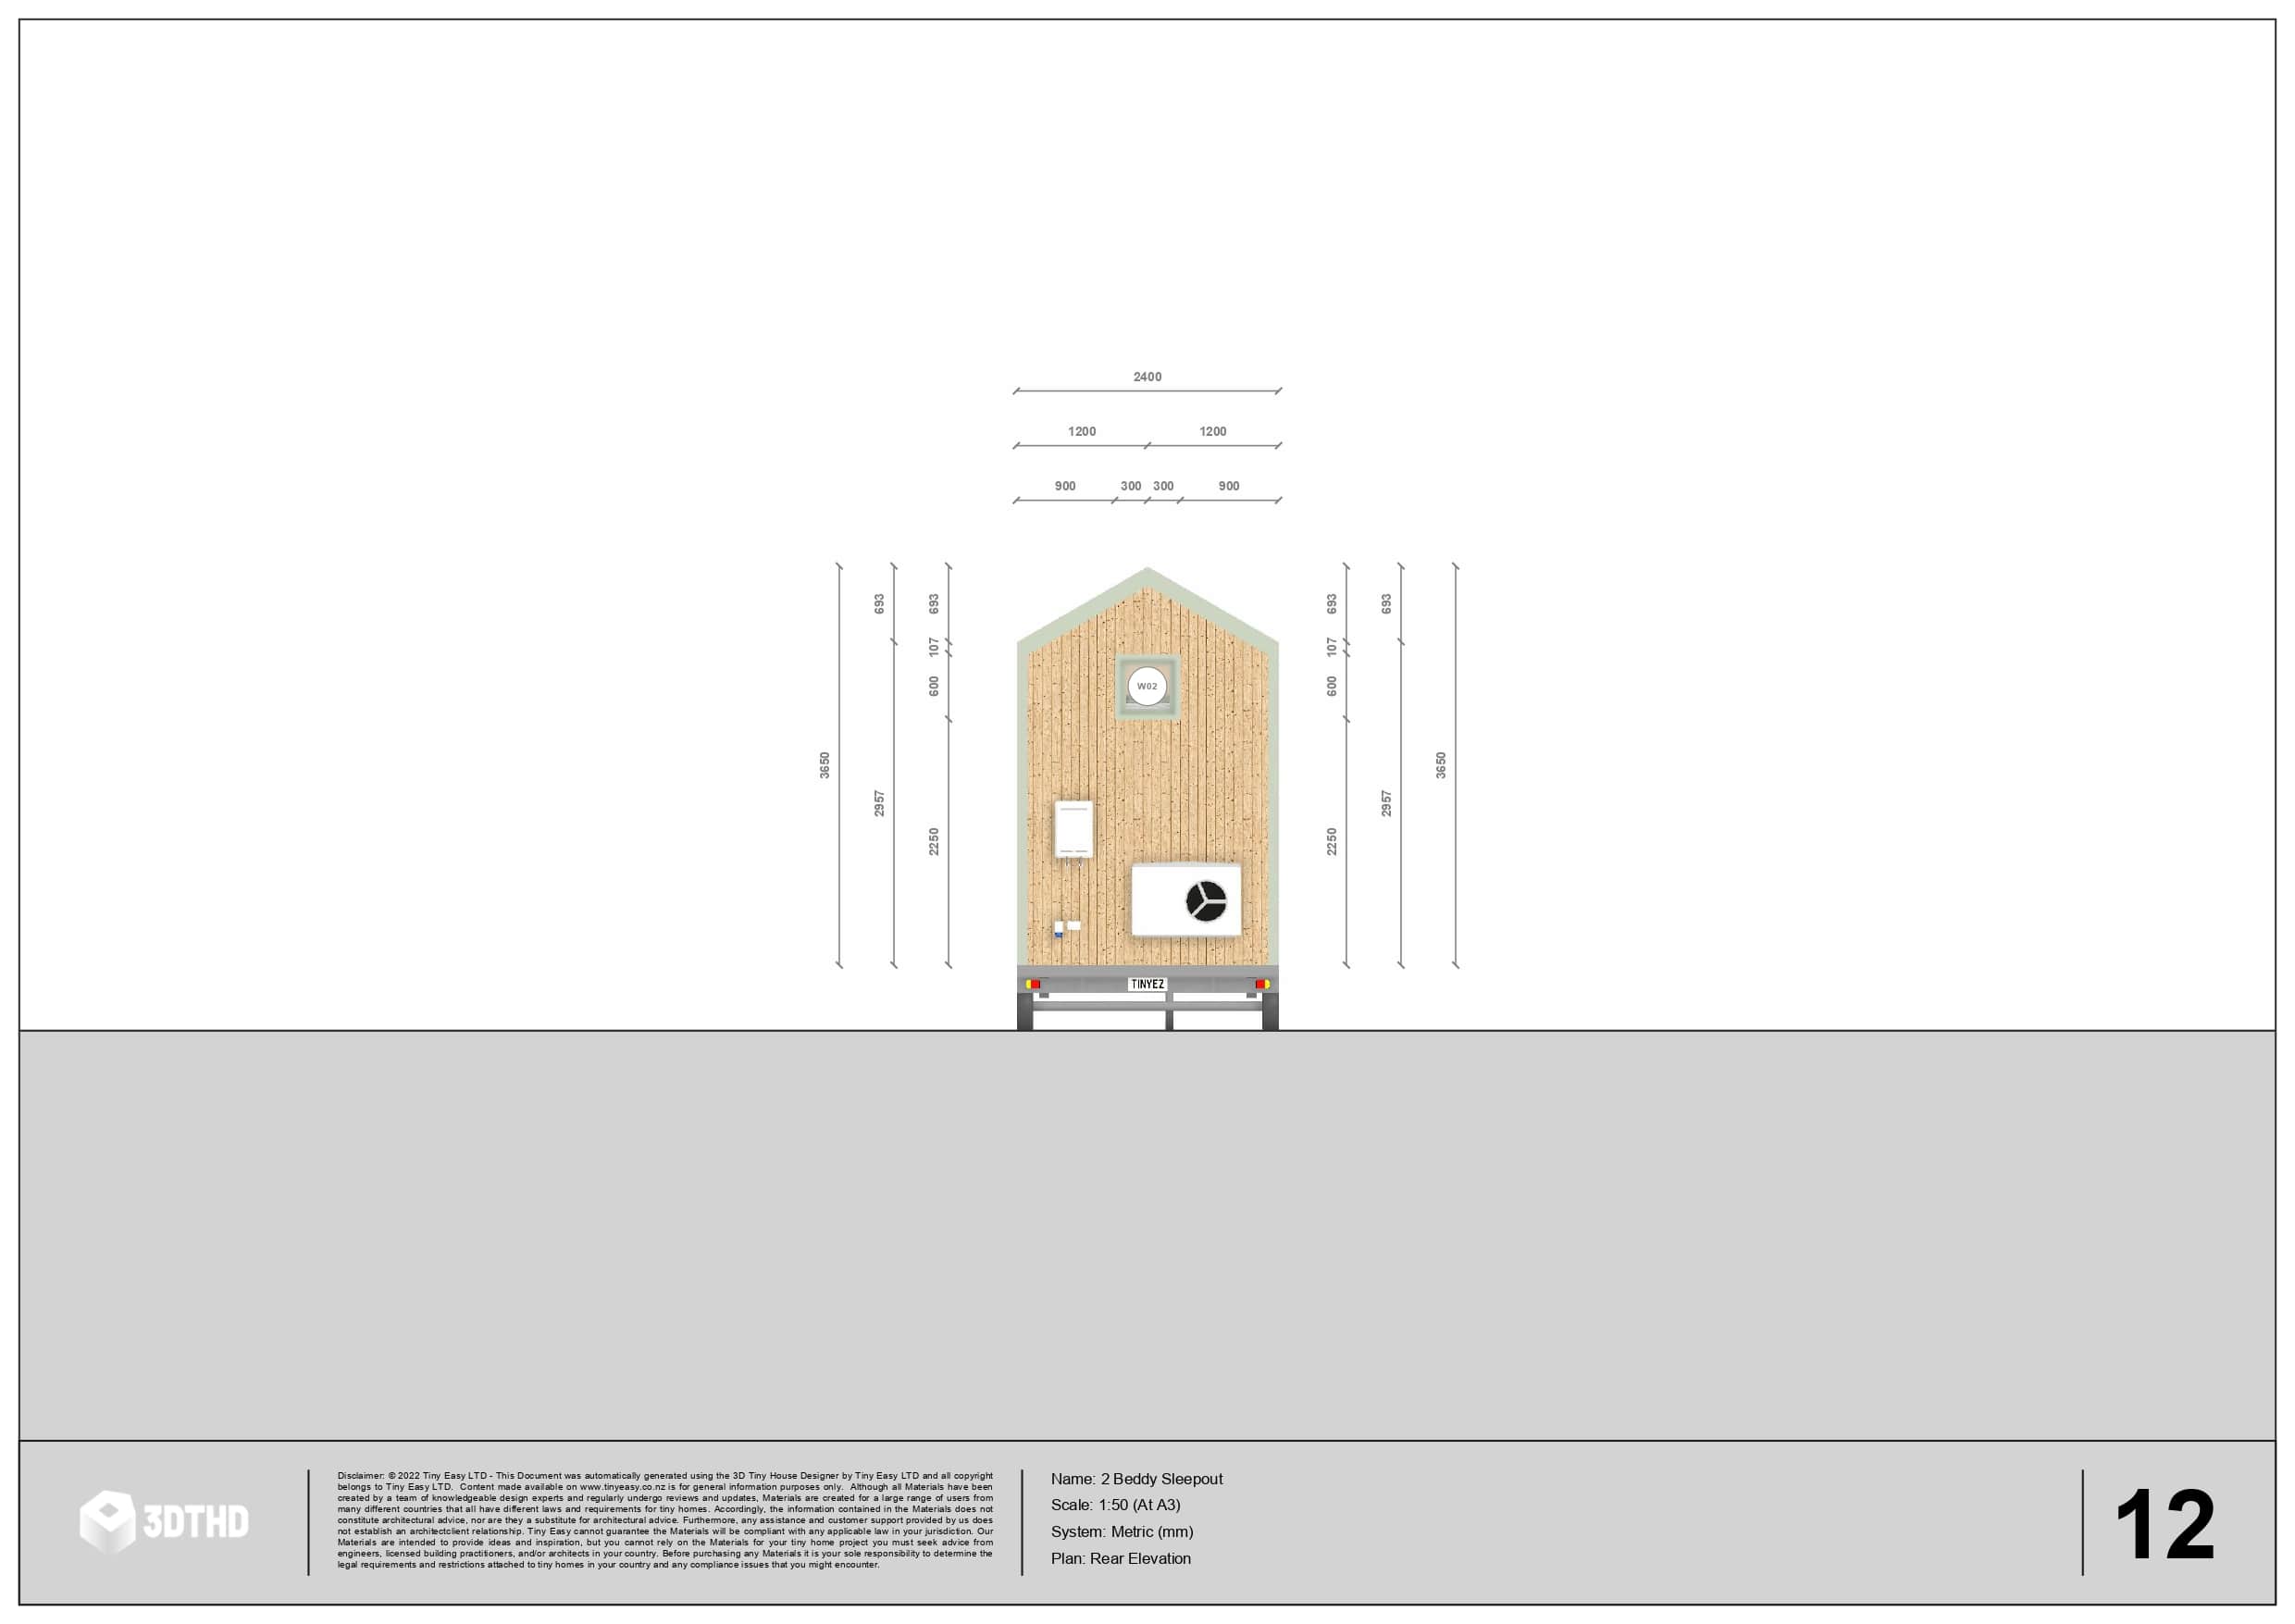
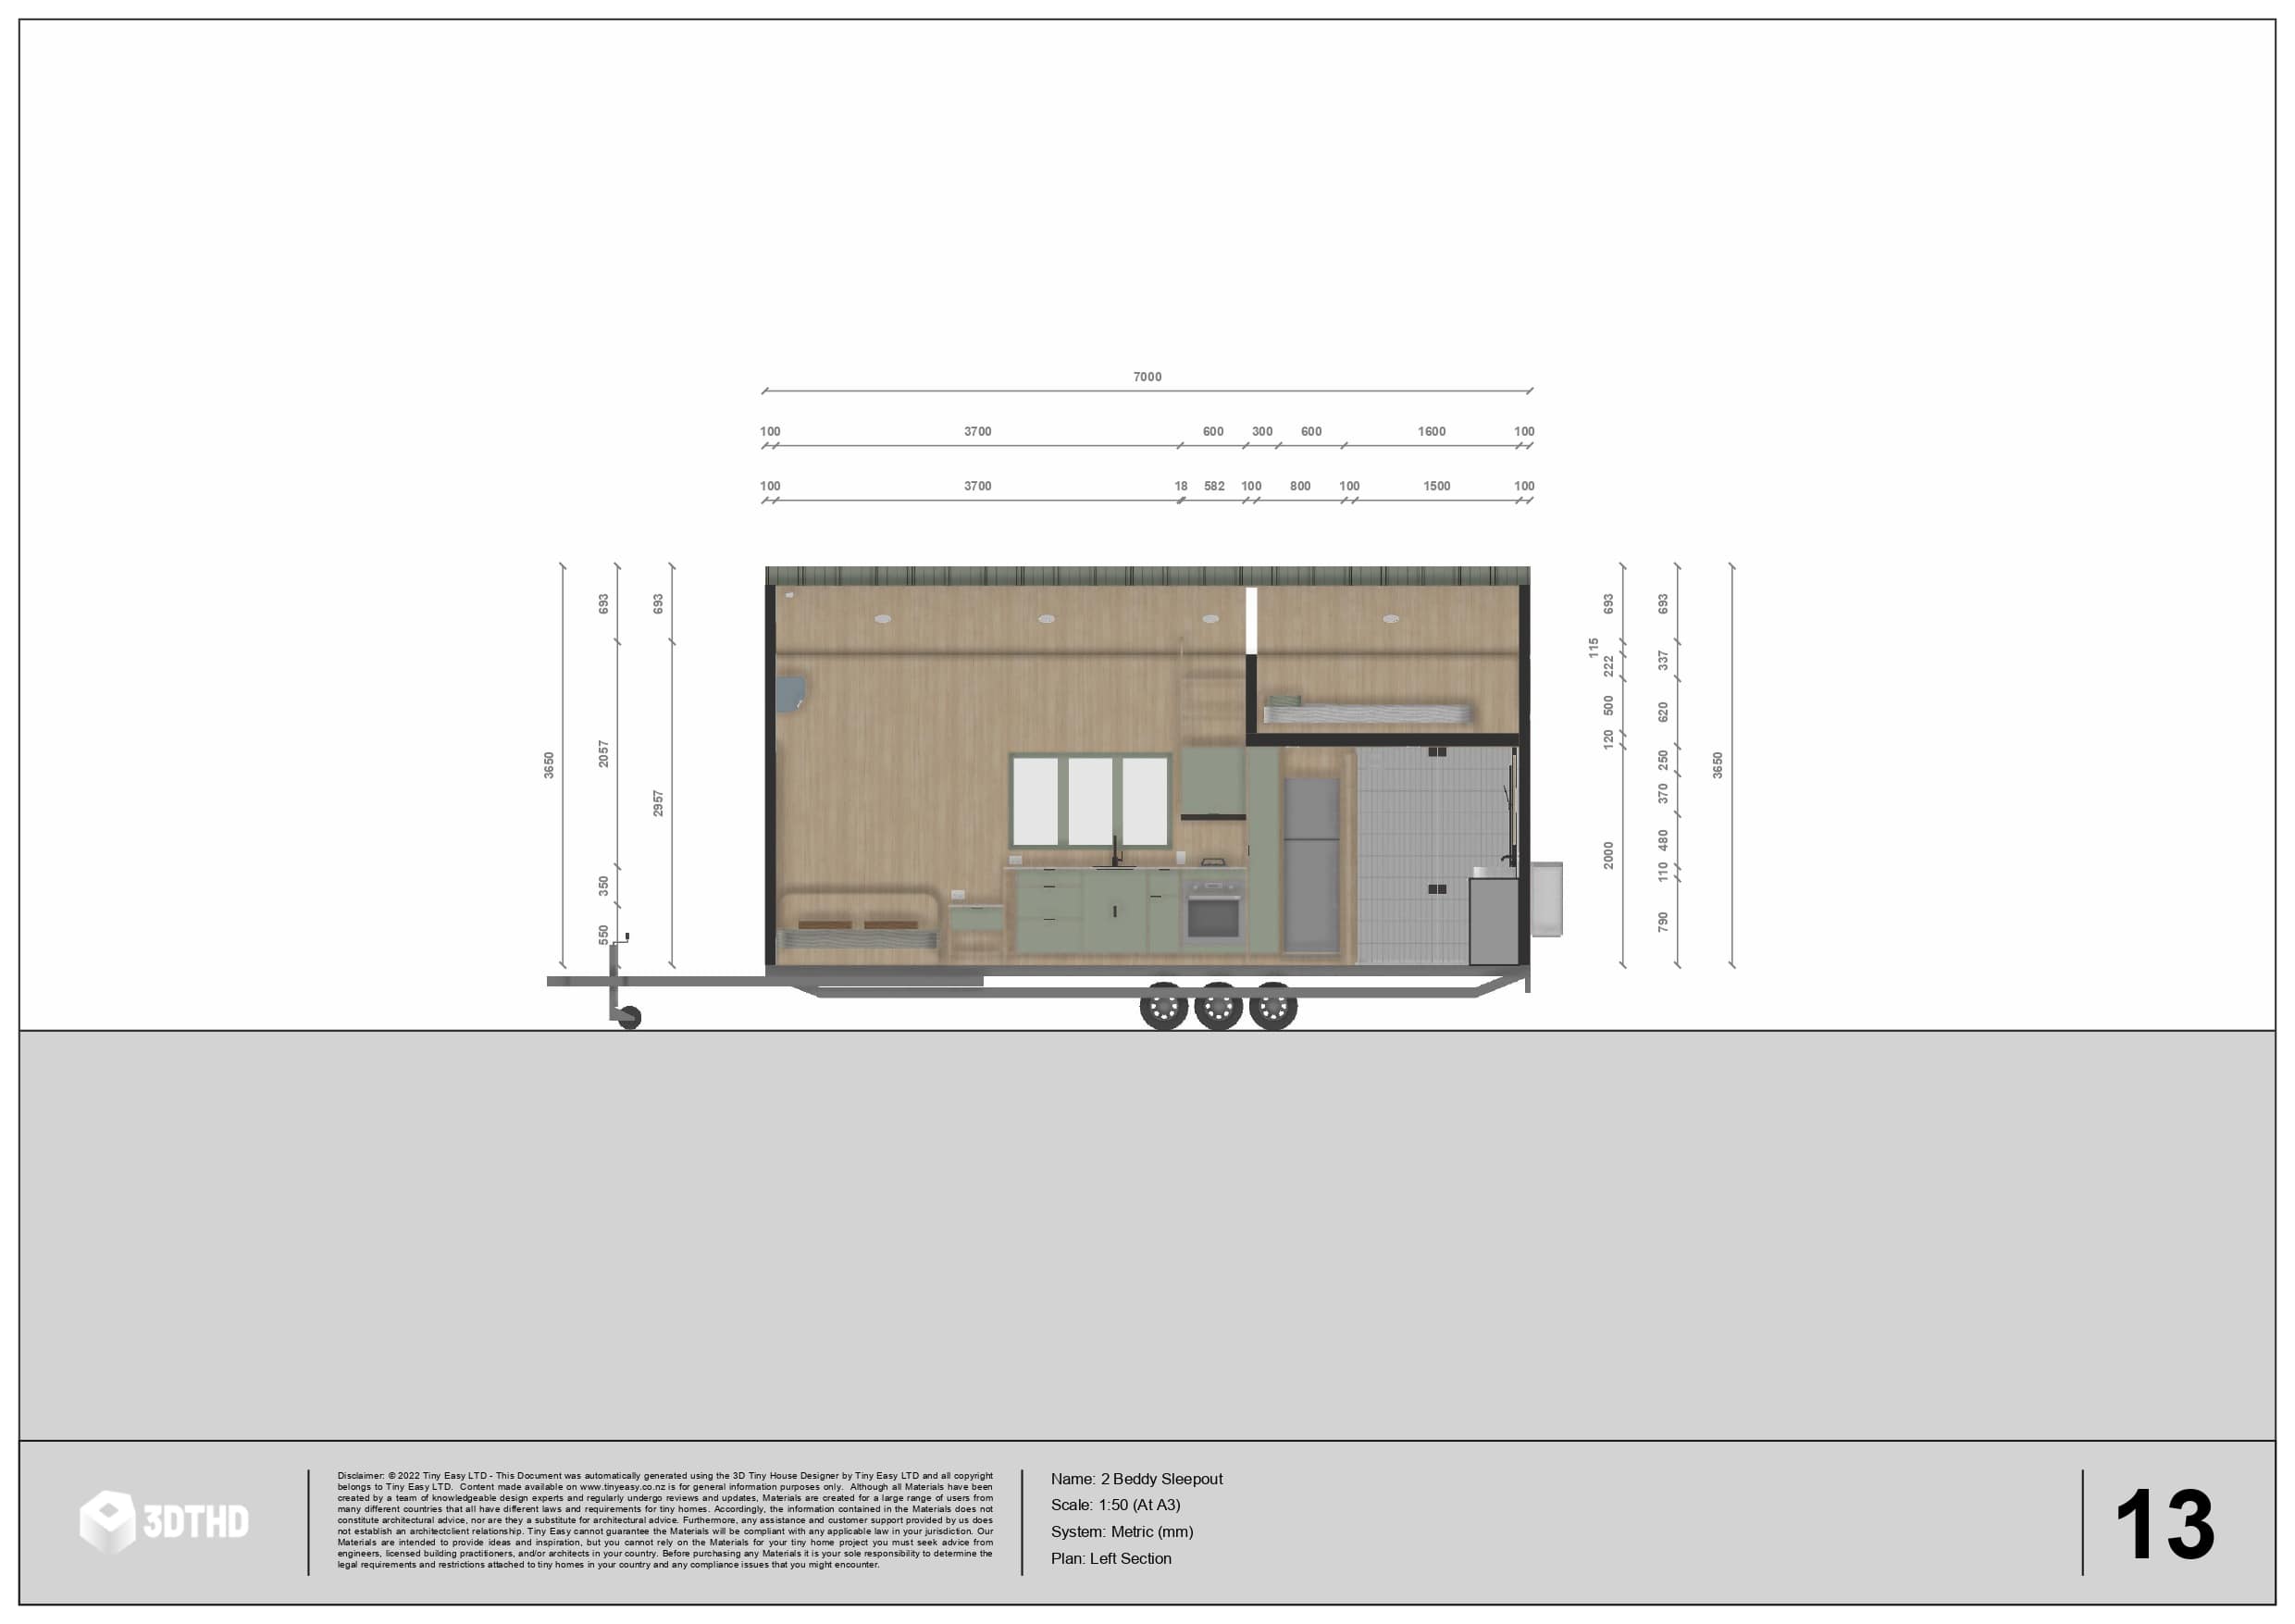
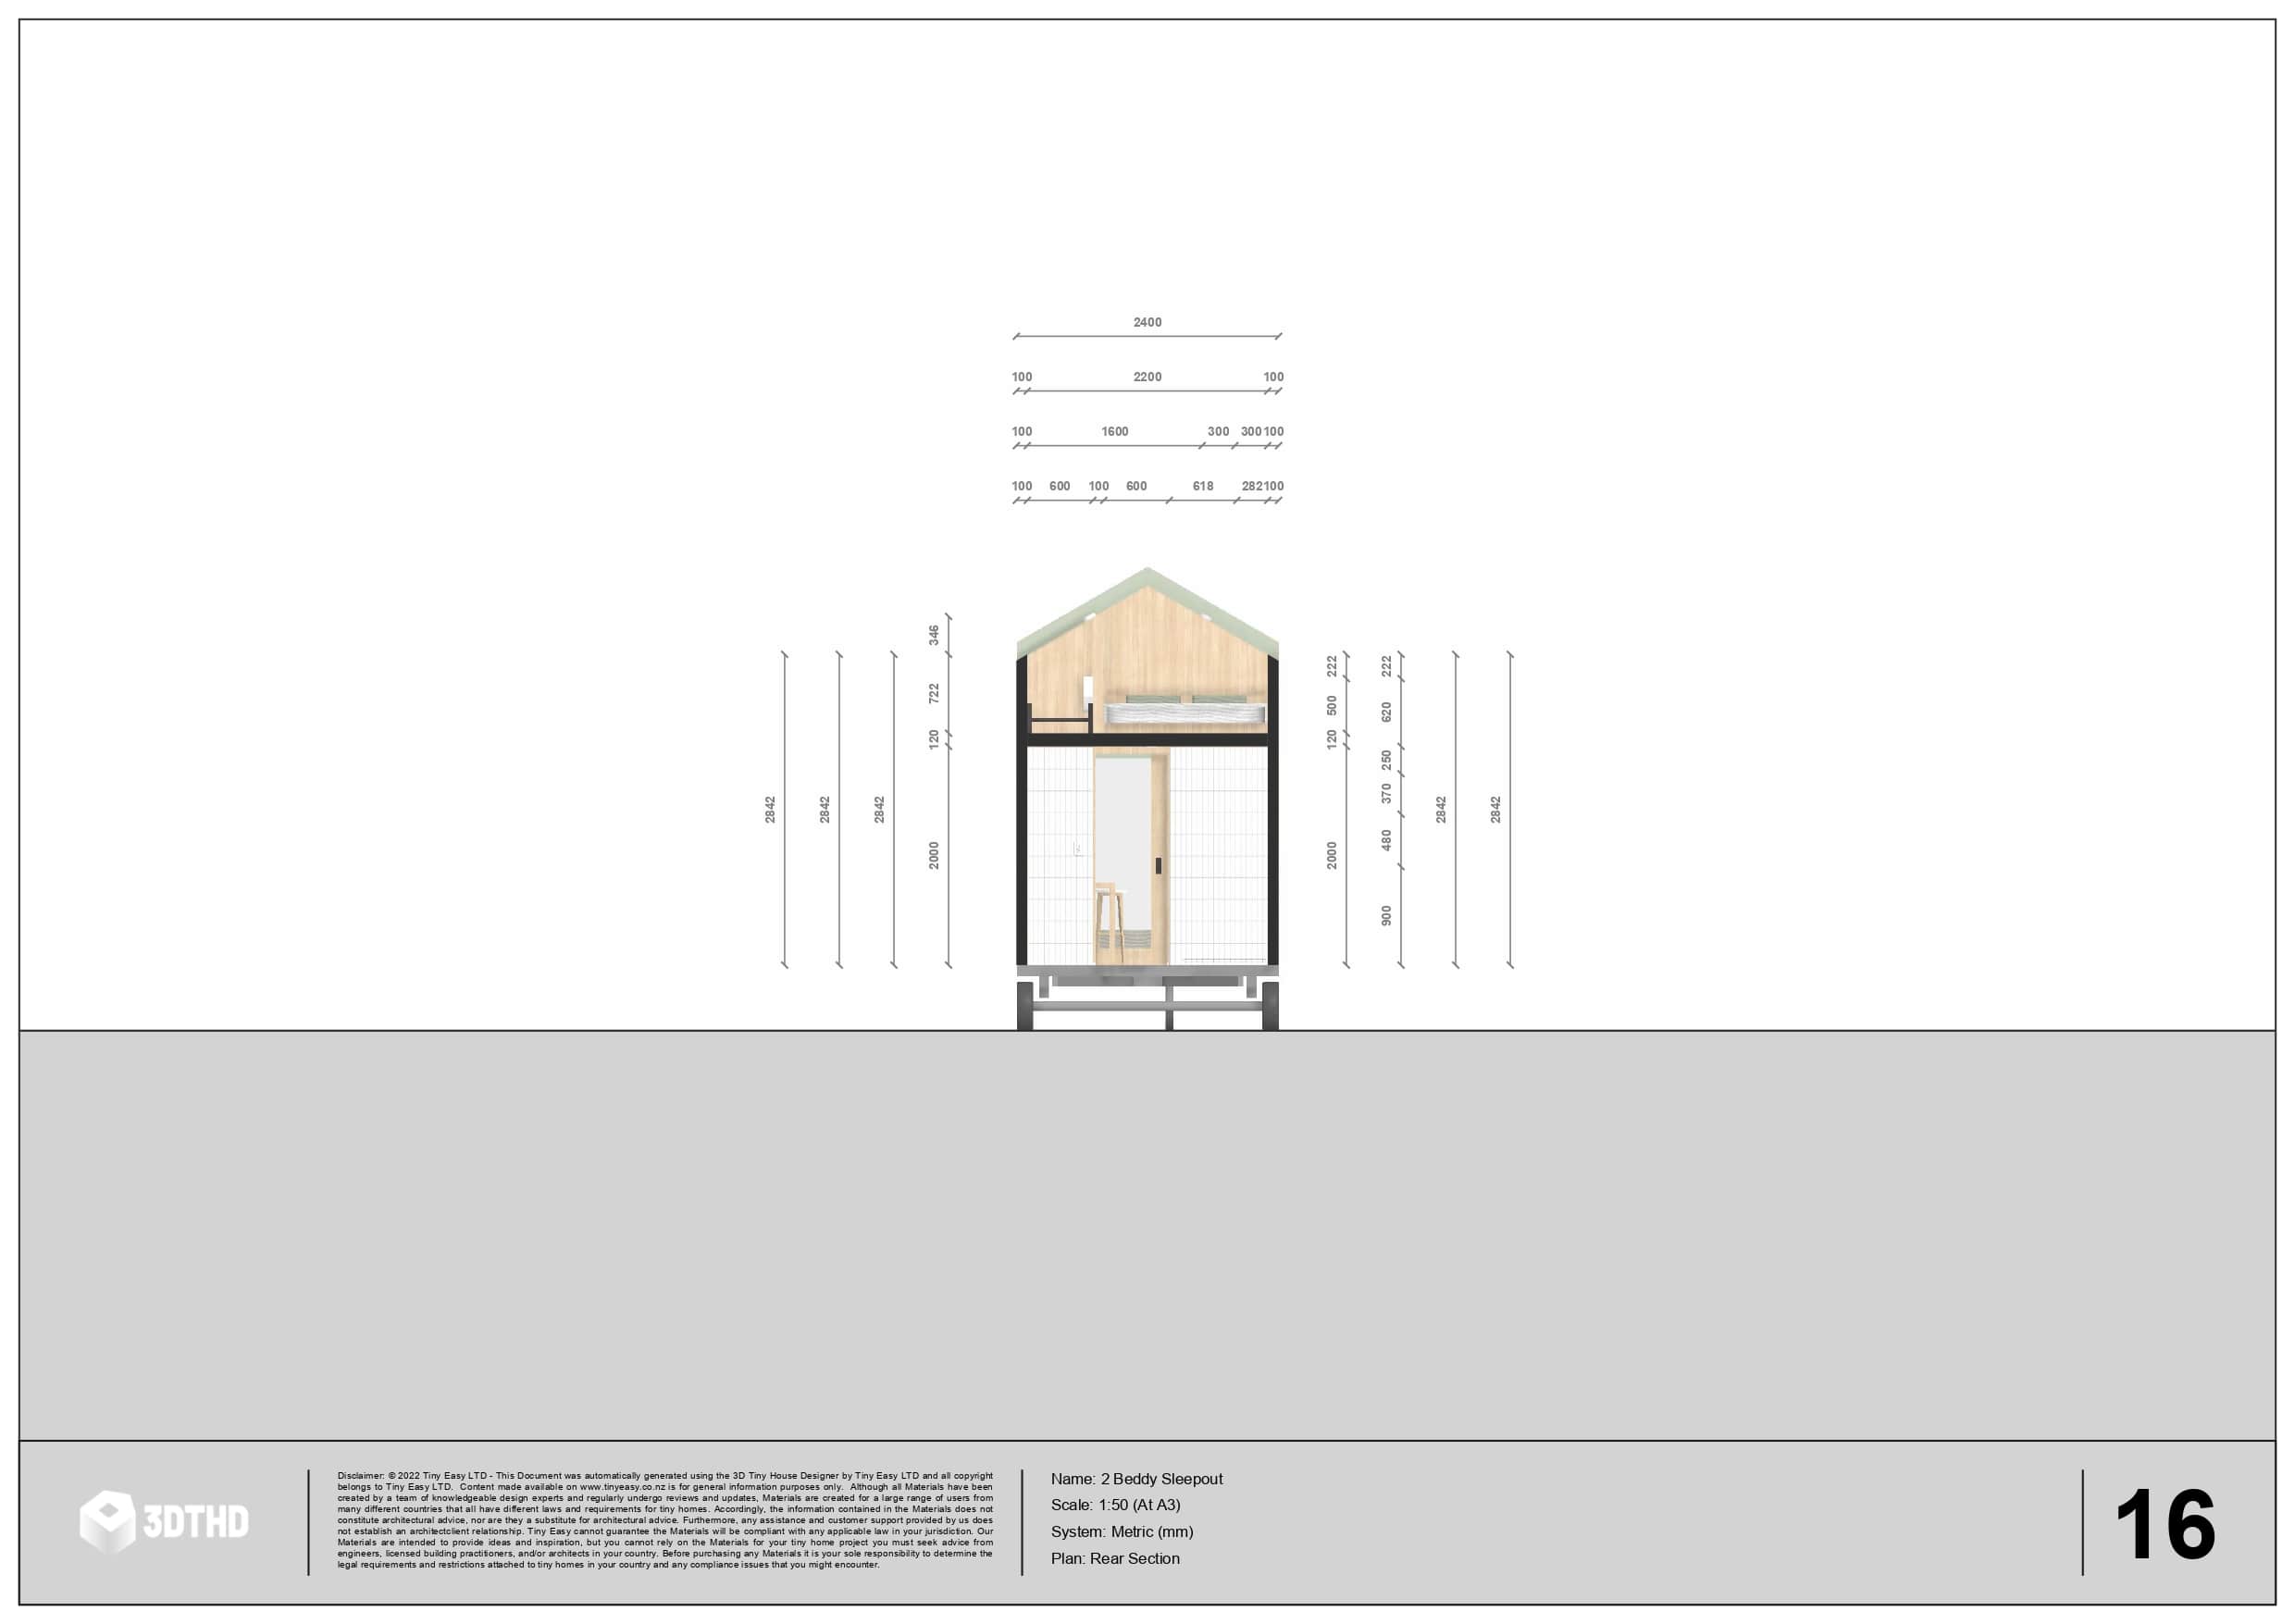
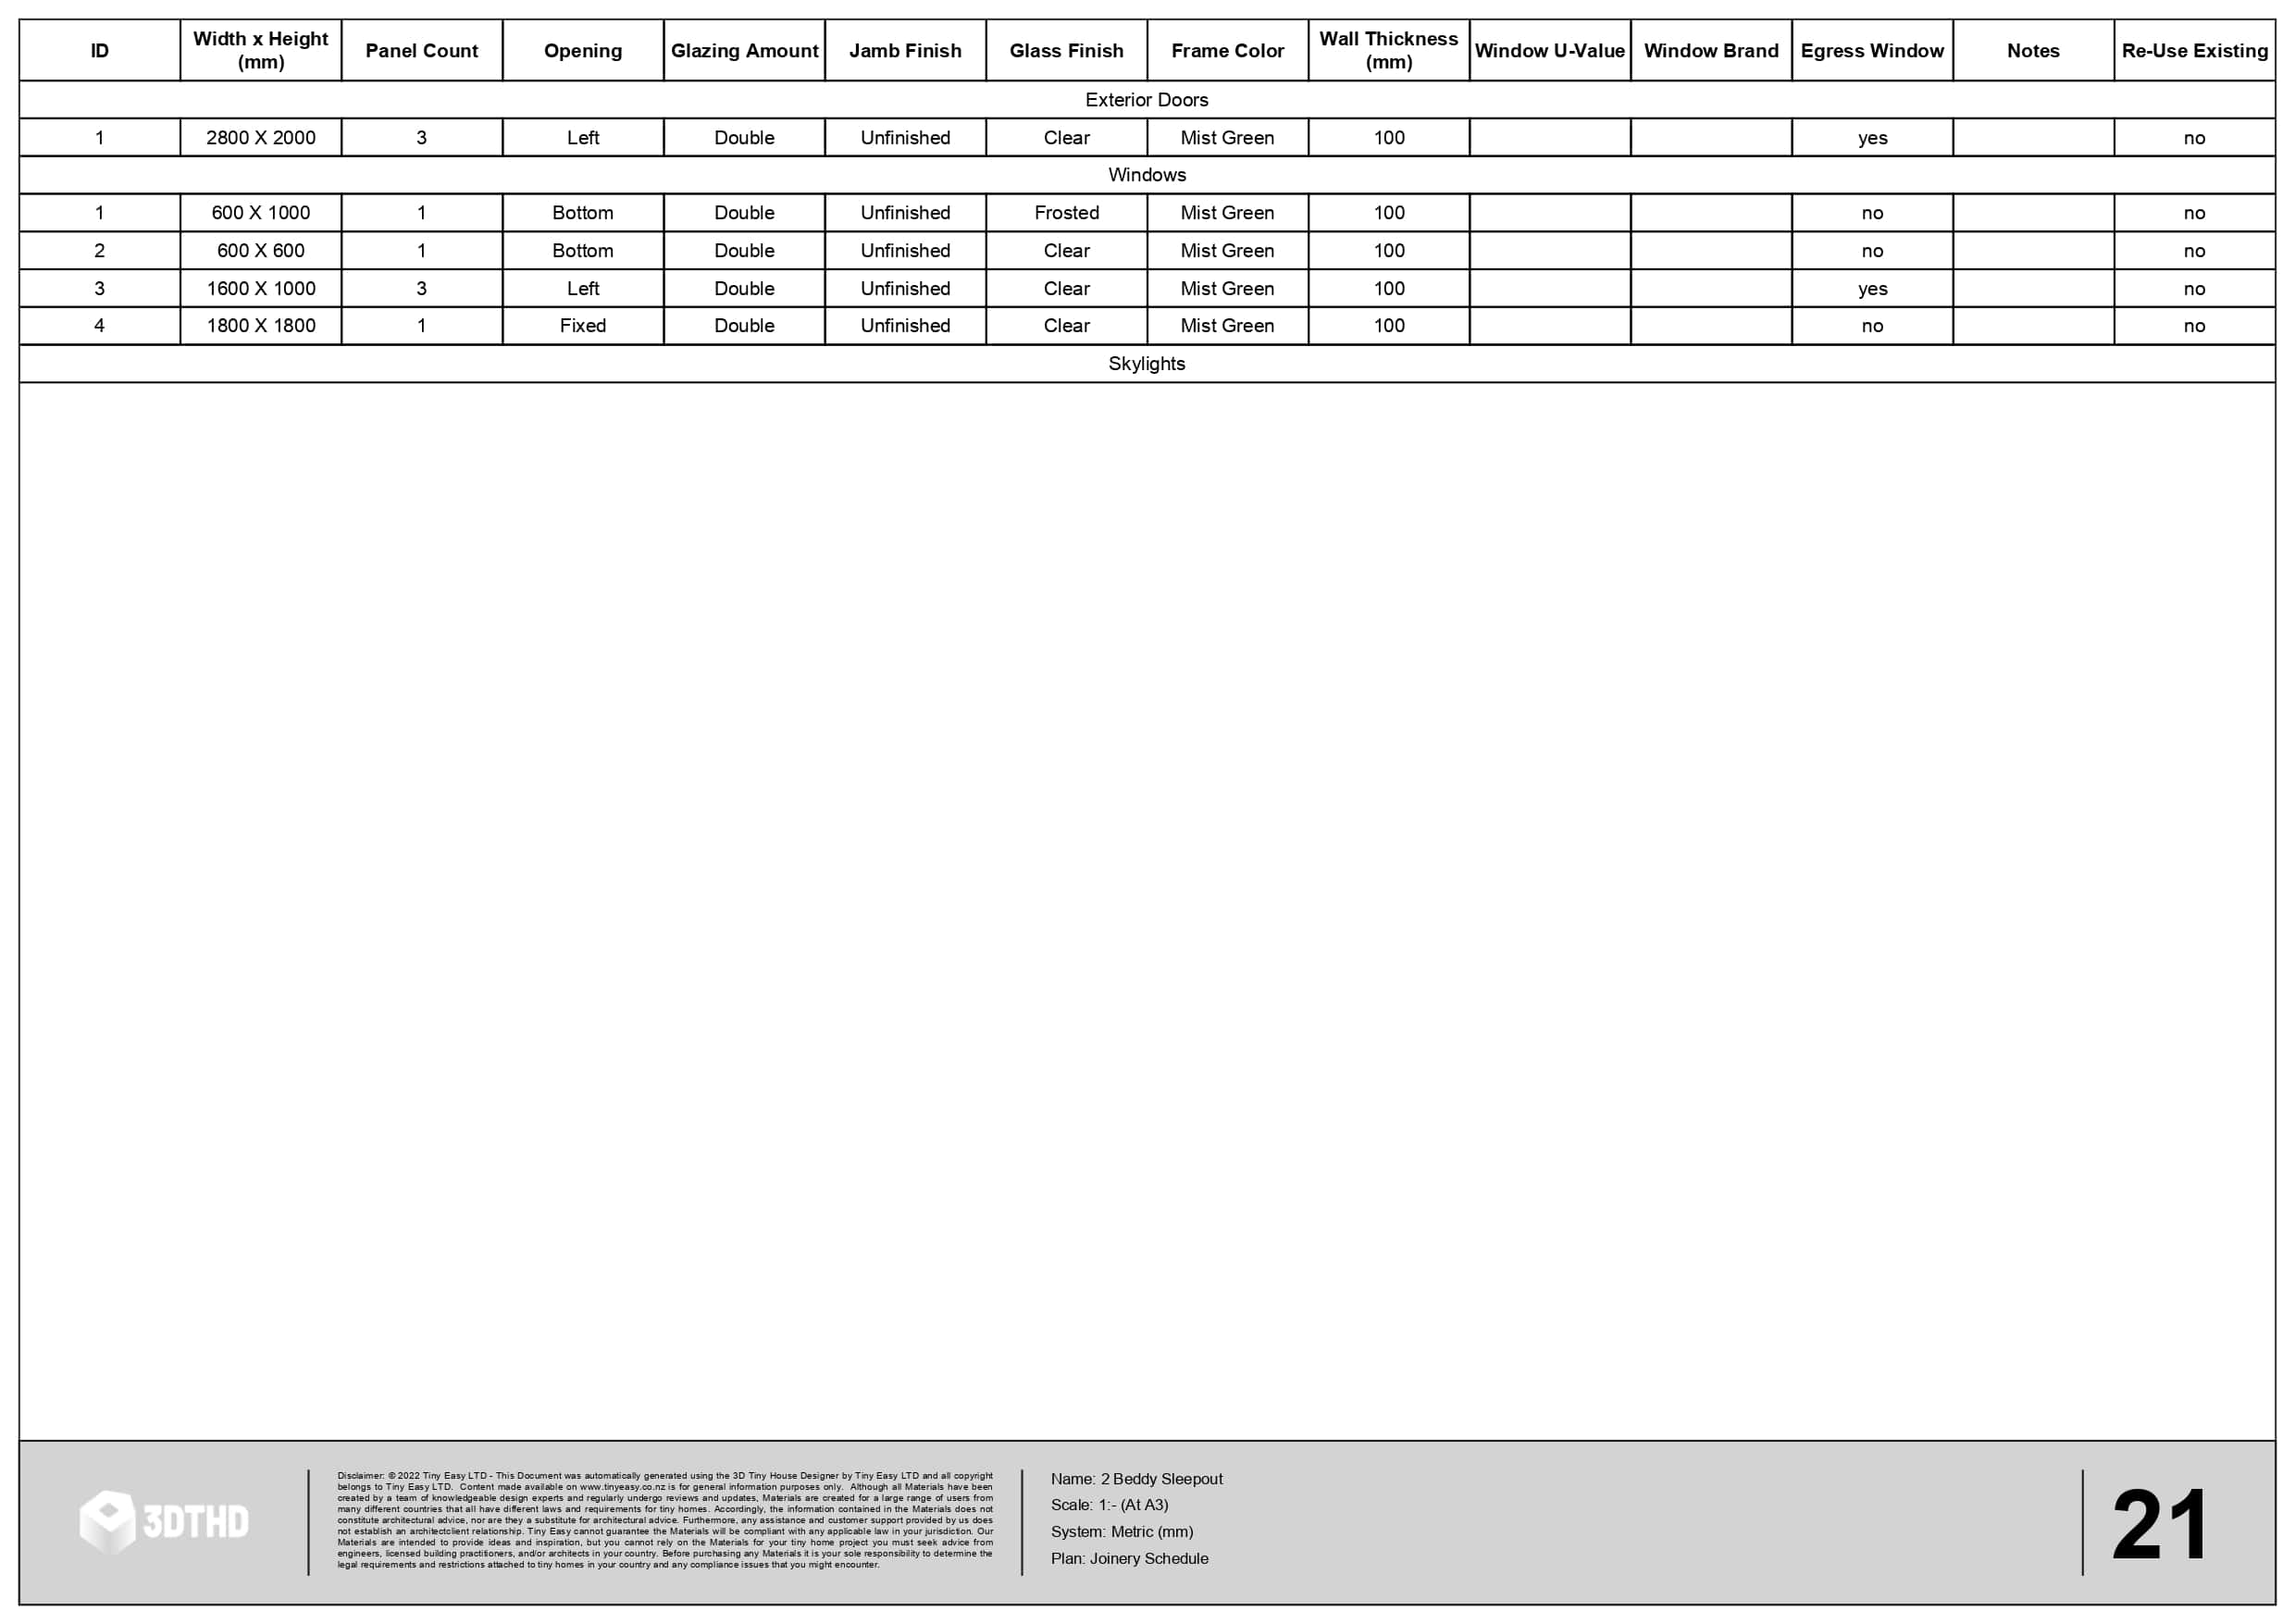
With a one click, you can automatically export a full set of PDF tiny house plans. This process usually takes around 20-30 hours to manually draw. Now? It takes less than a minute!
Here's what our tiny house plan export includes:
Floorplan
Mezzanine Plan
Roof Plan
4 Elevations
4 Sections
Window & Door Schedule
Shell Floor Plan
Shell Mezzanine Plan
4 Shell Sections]
Electrical Plans
Electrical Item Position w/ Height & Custom Notes
Itemised Electrical Schedule
Plumbing Plan
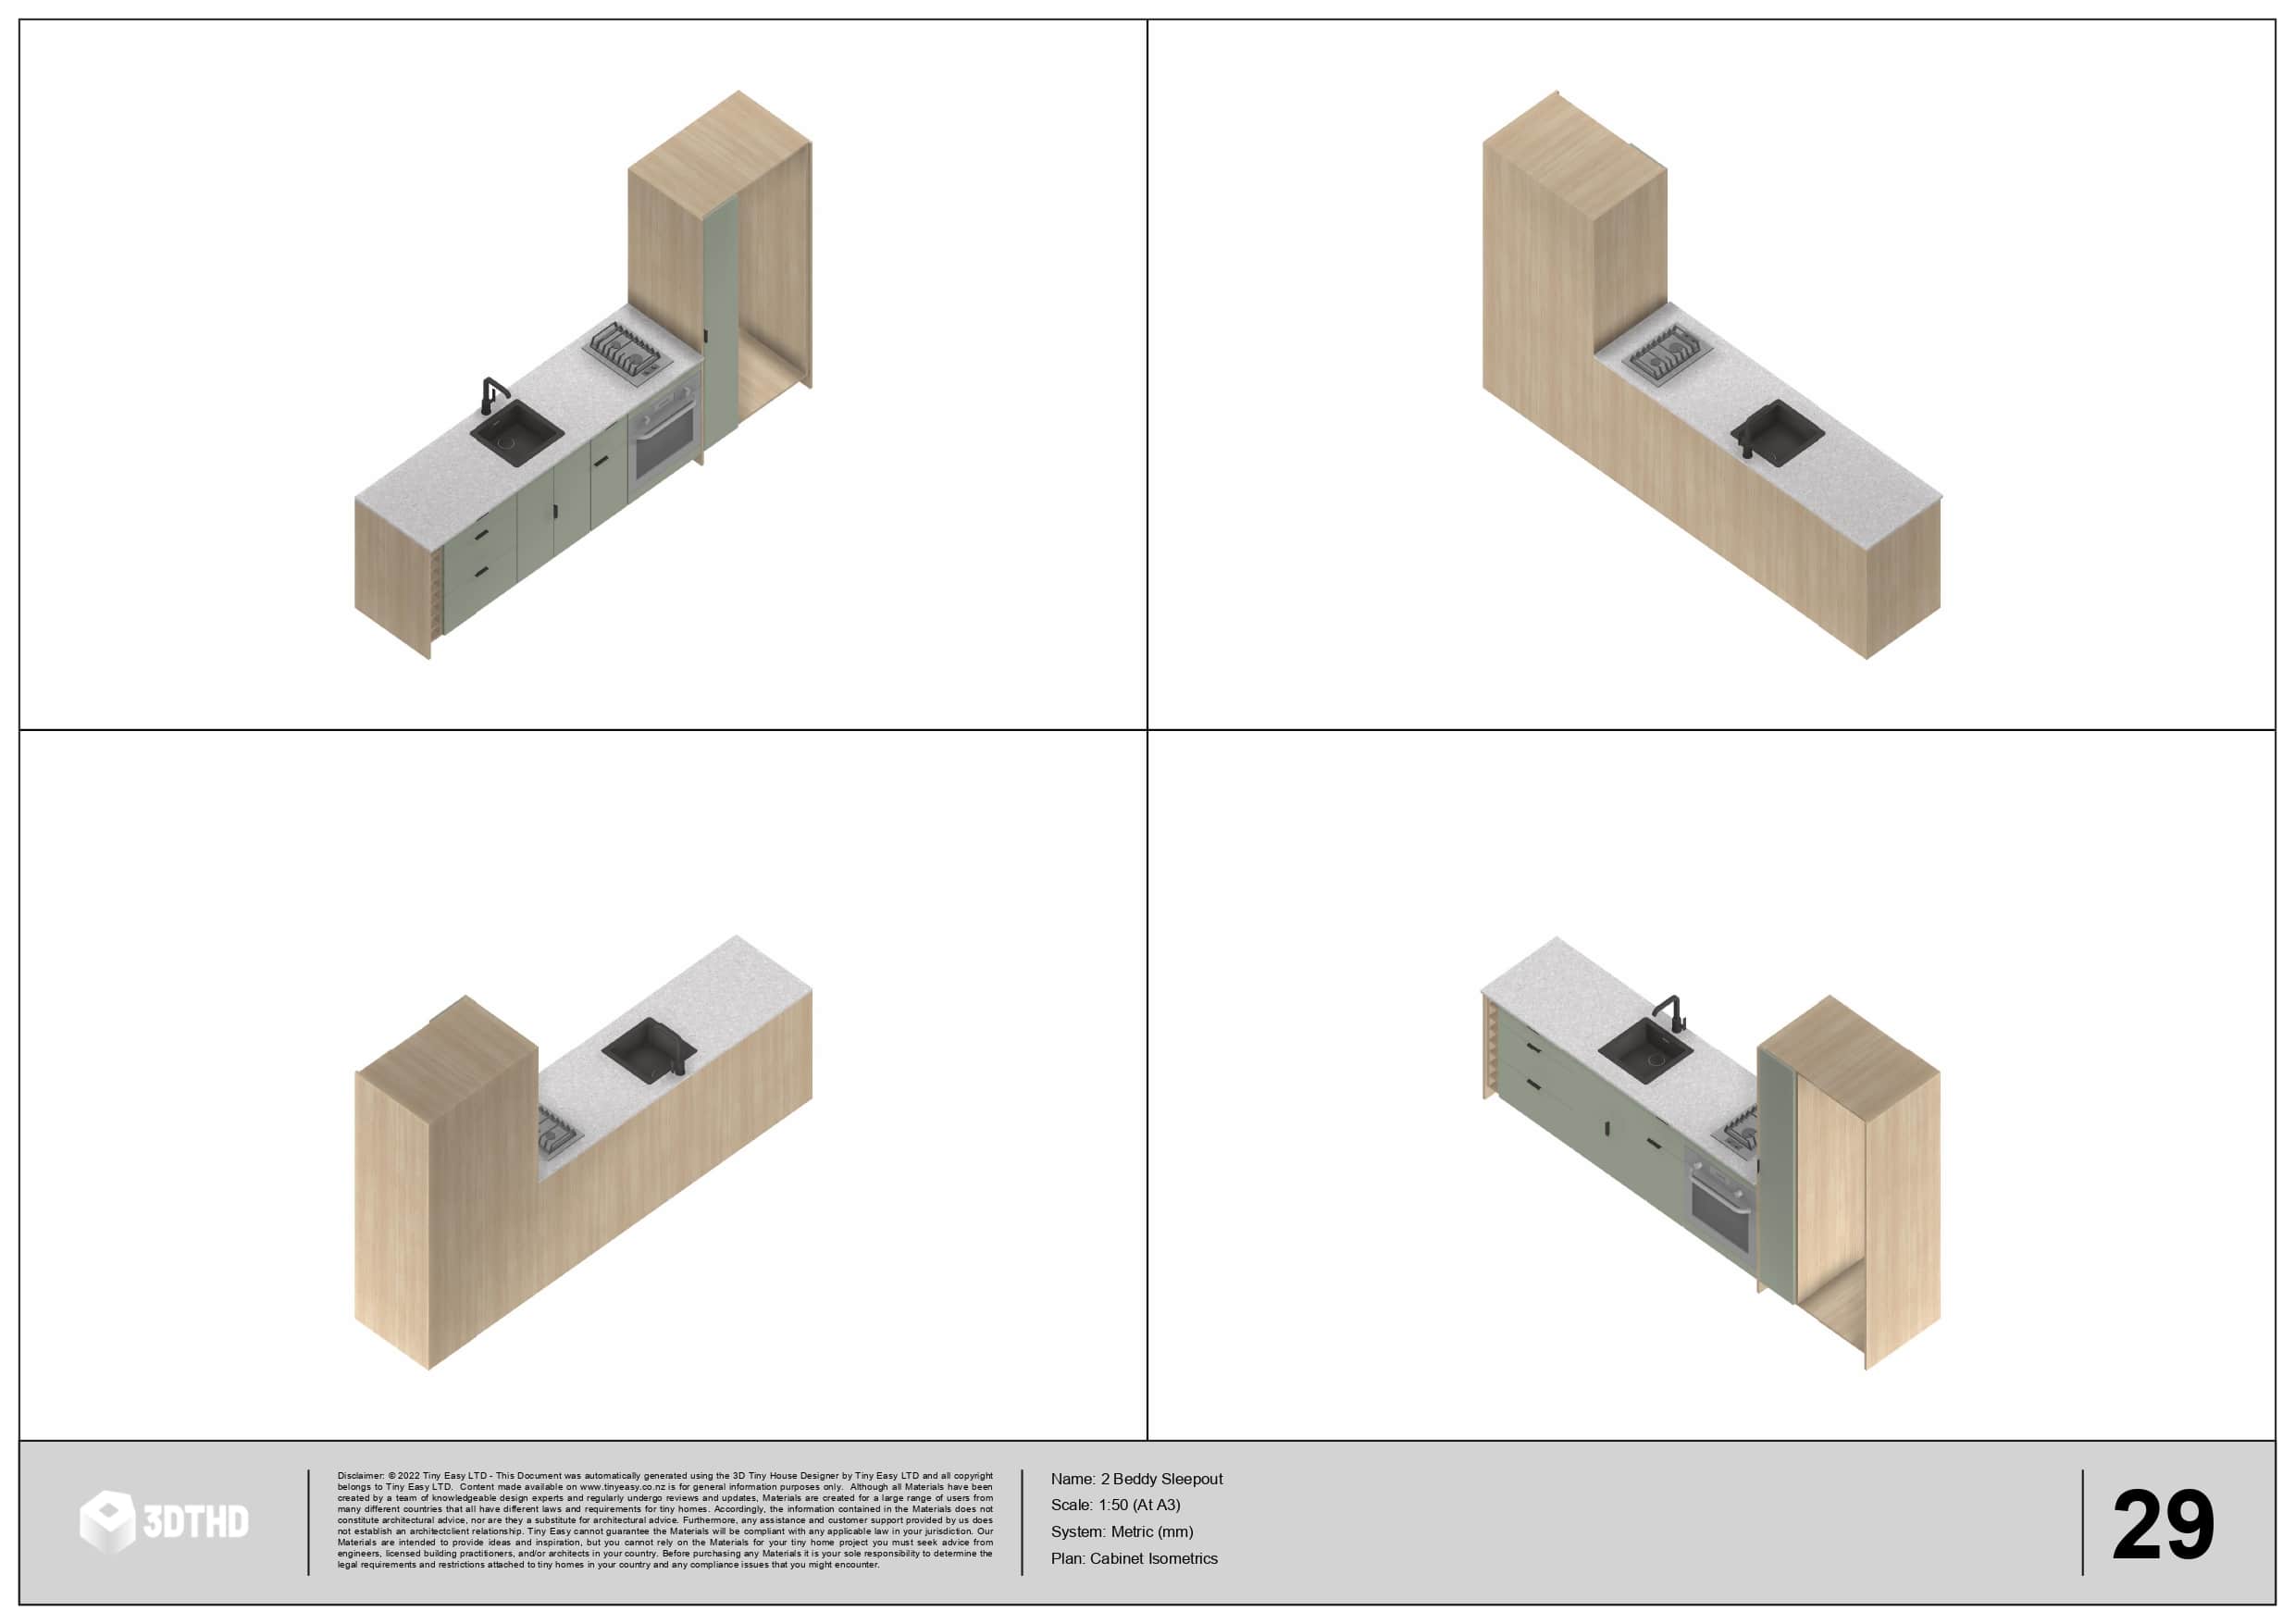
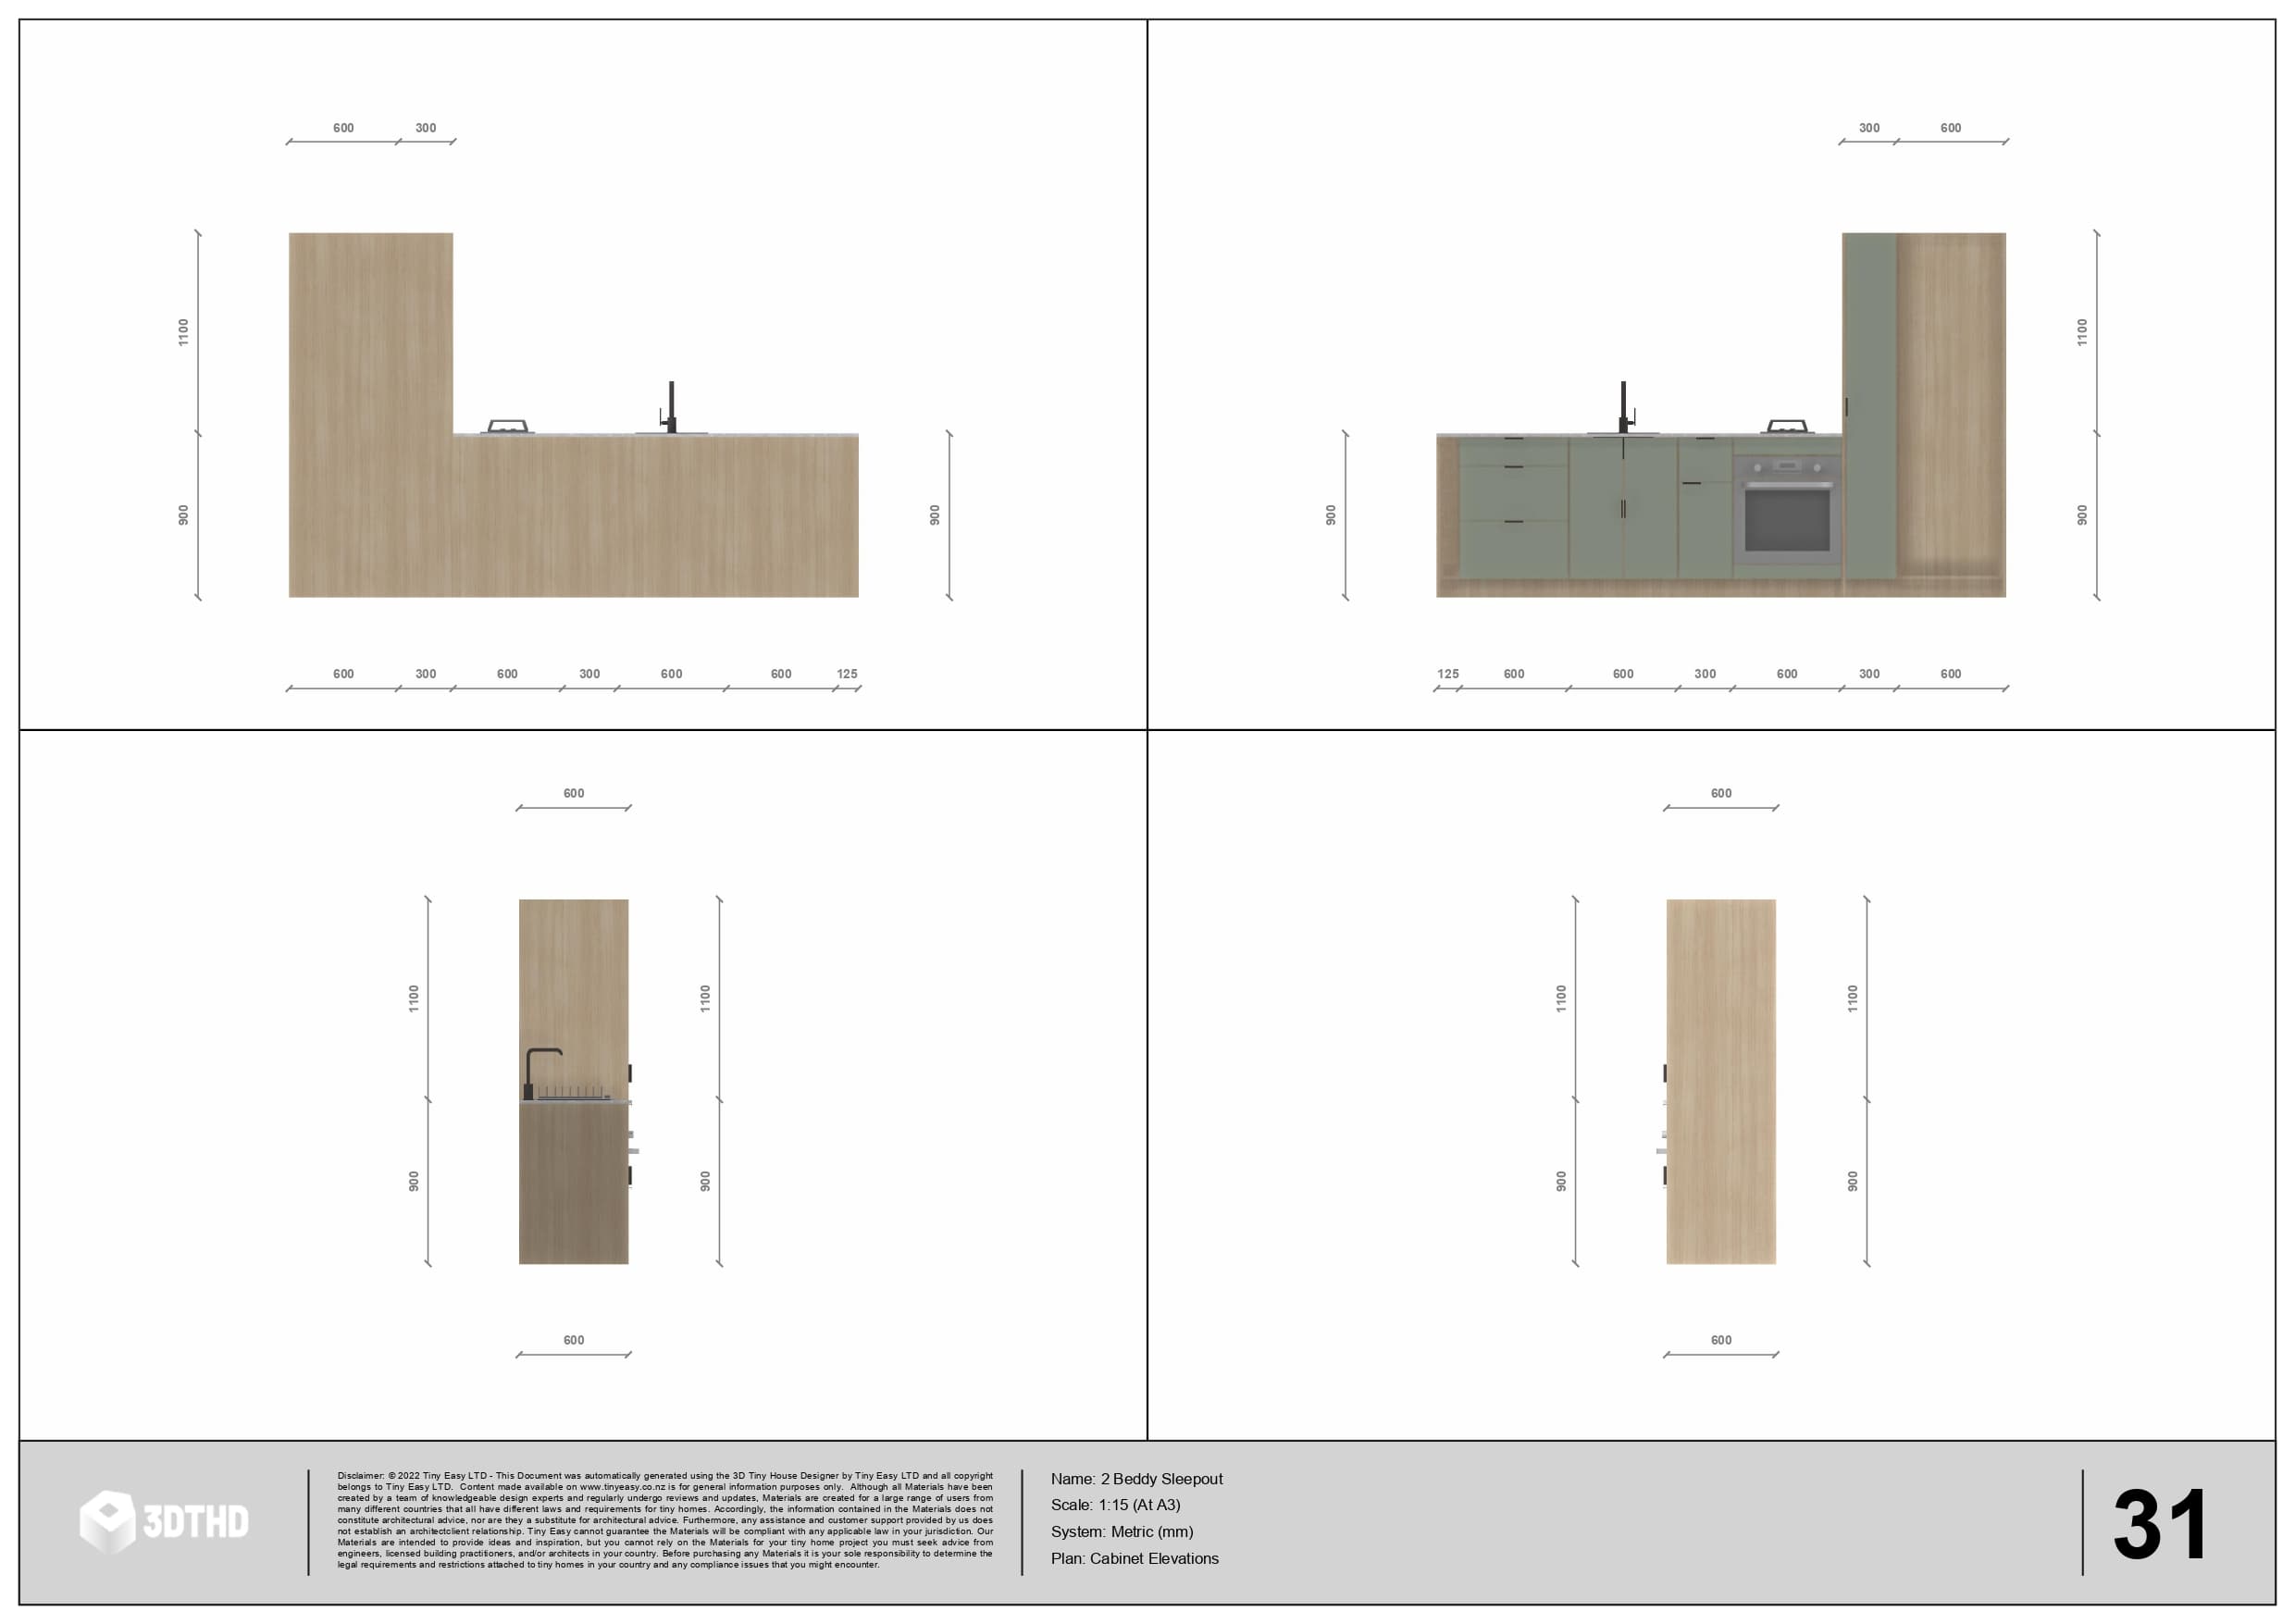
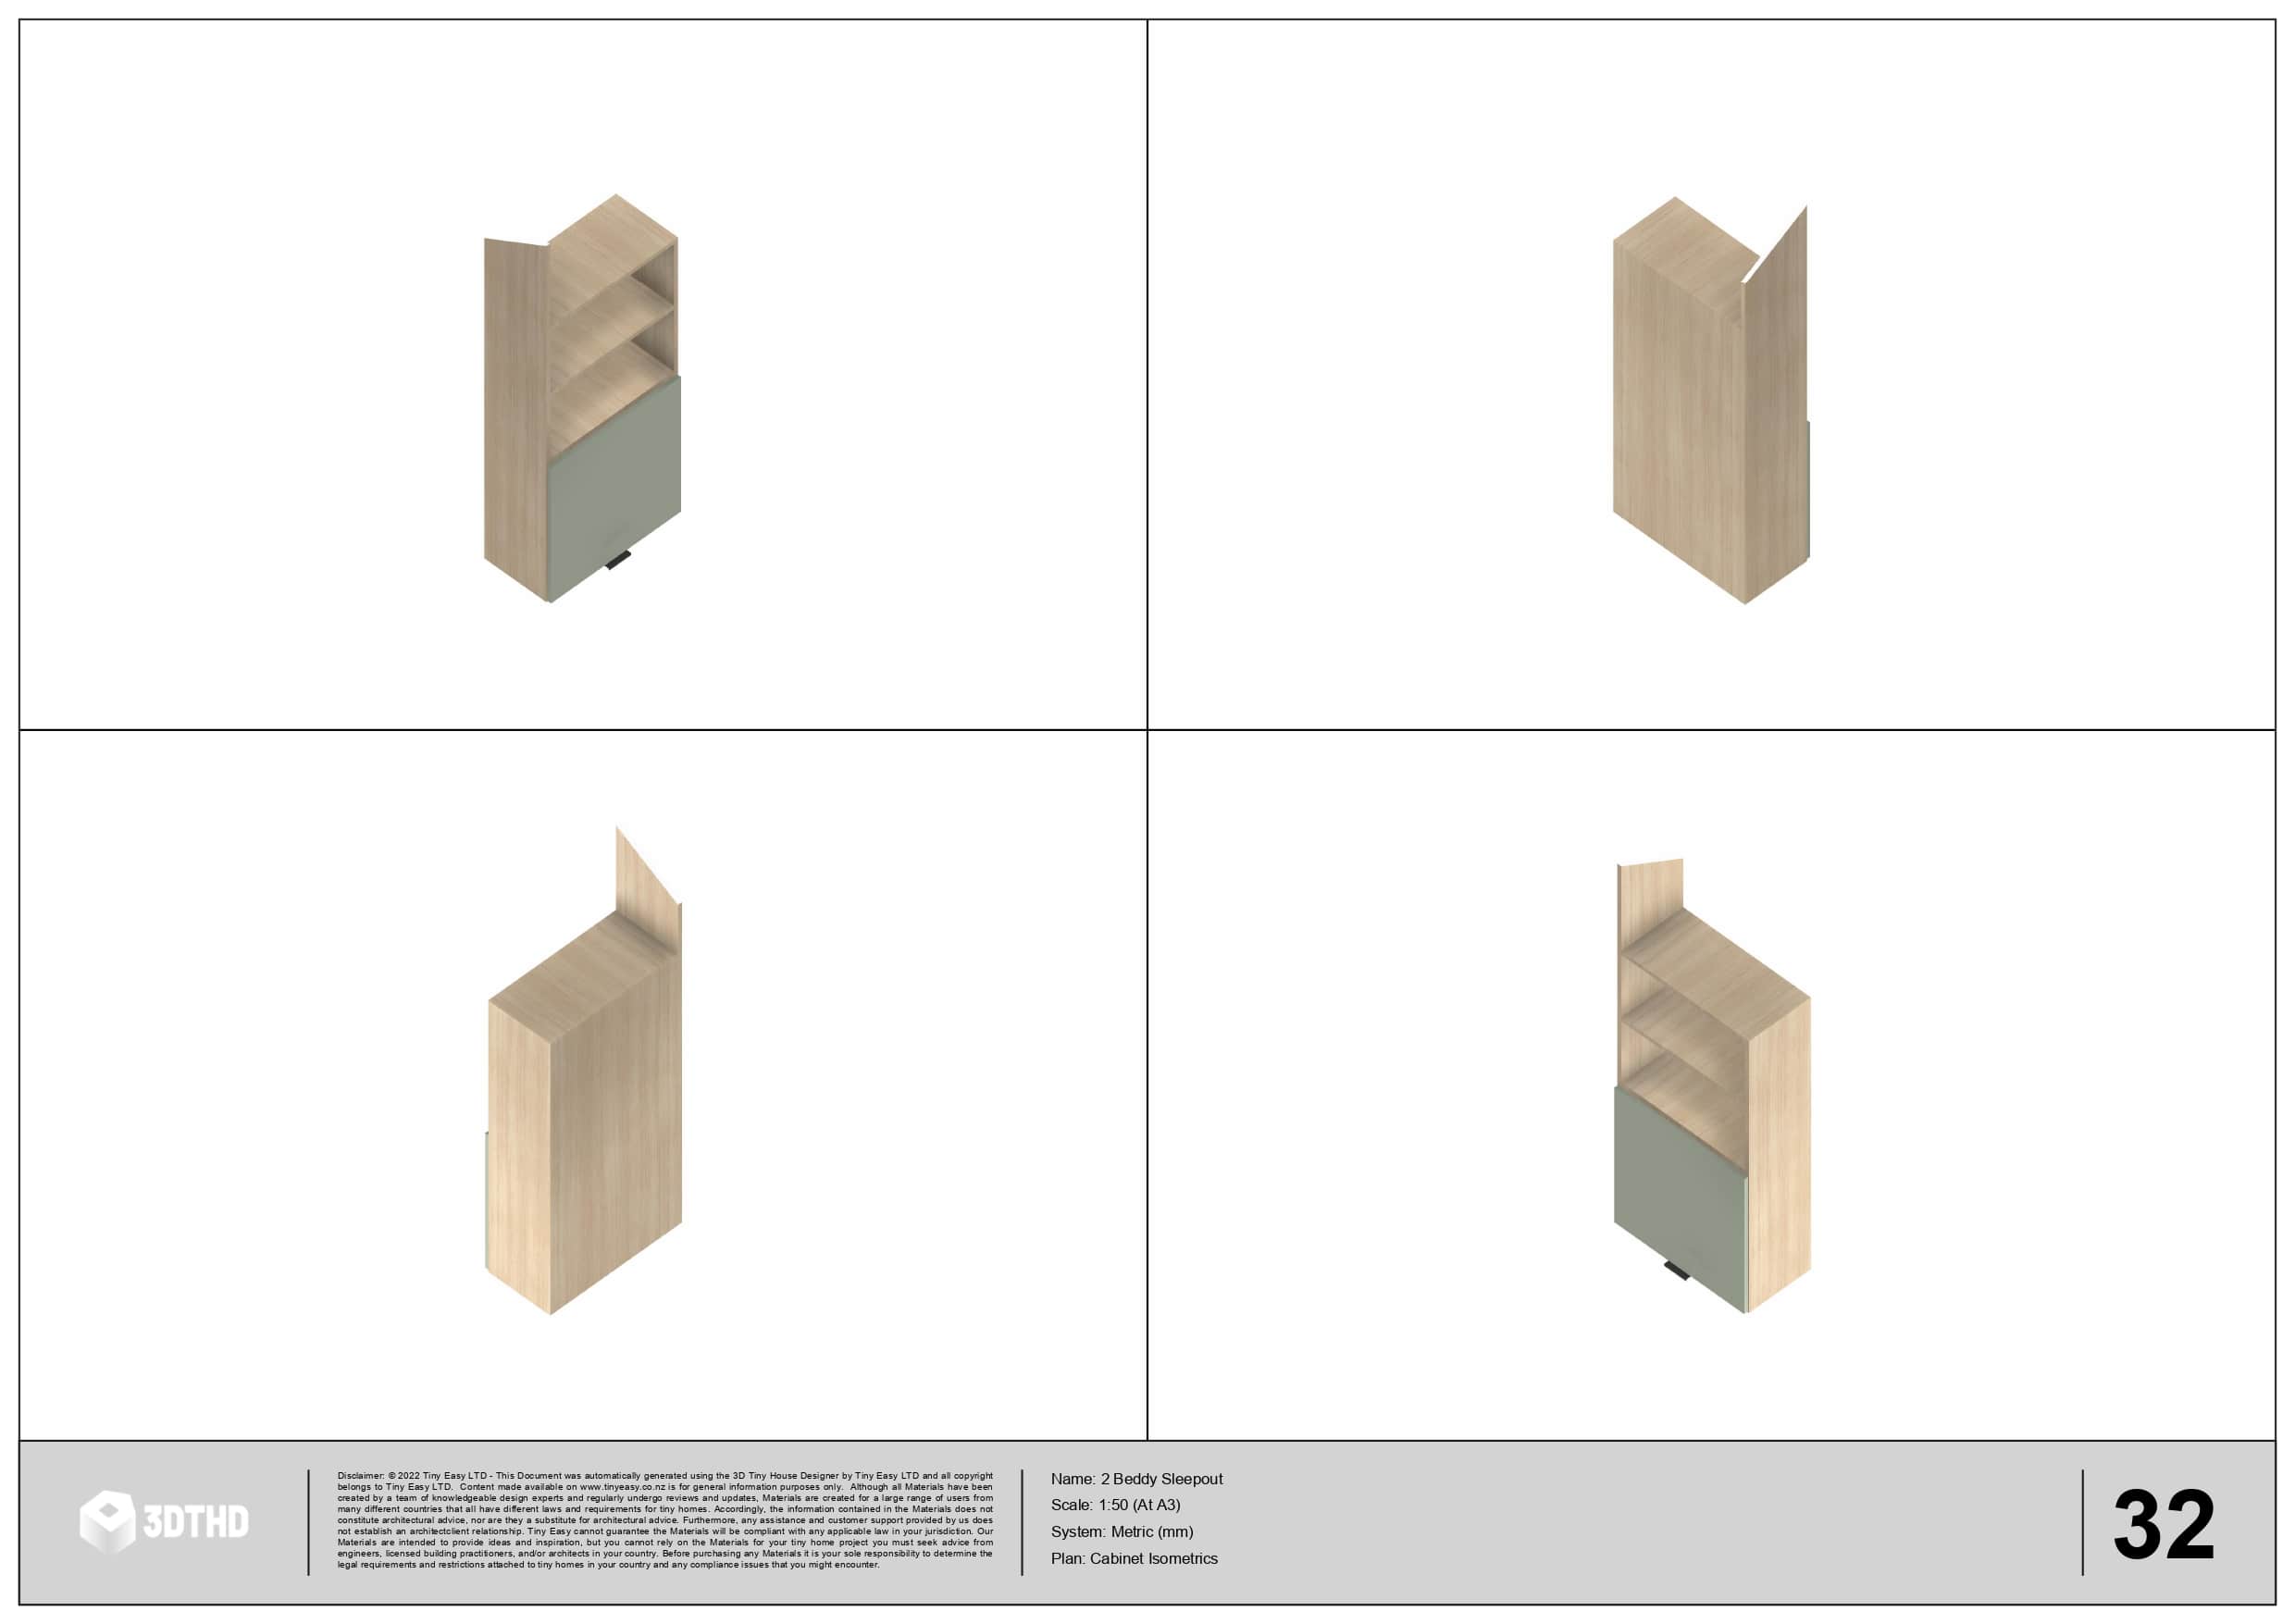
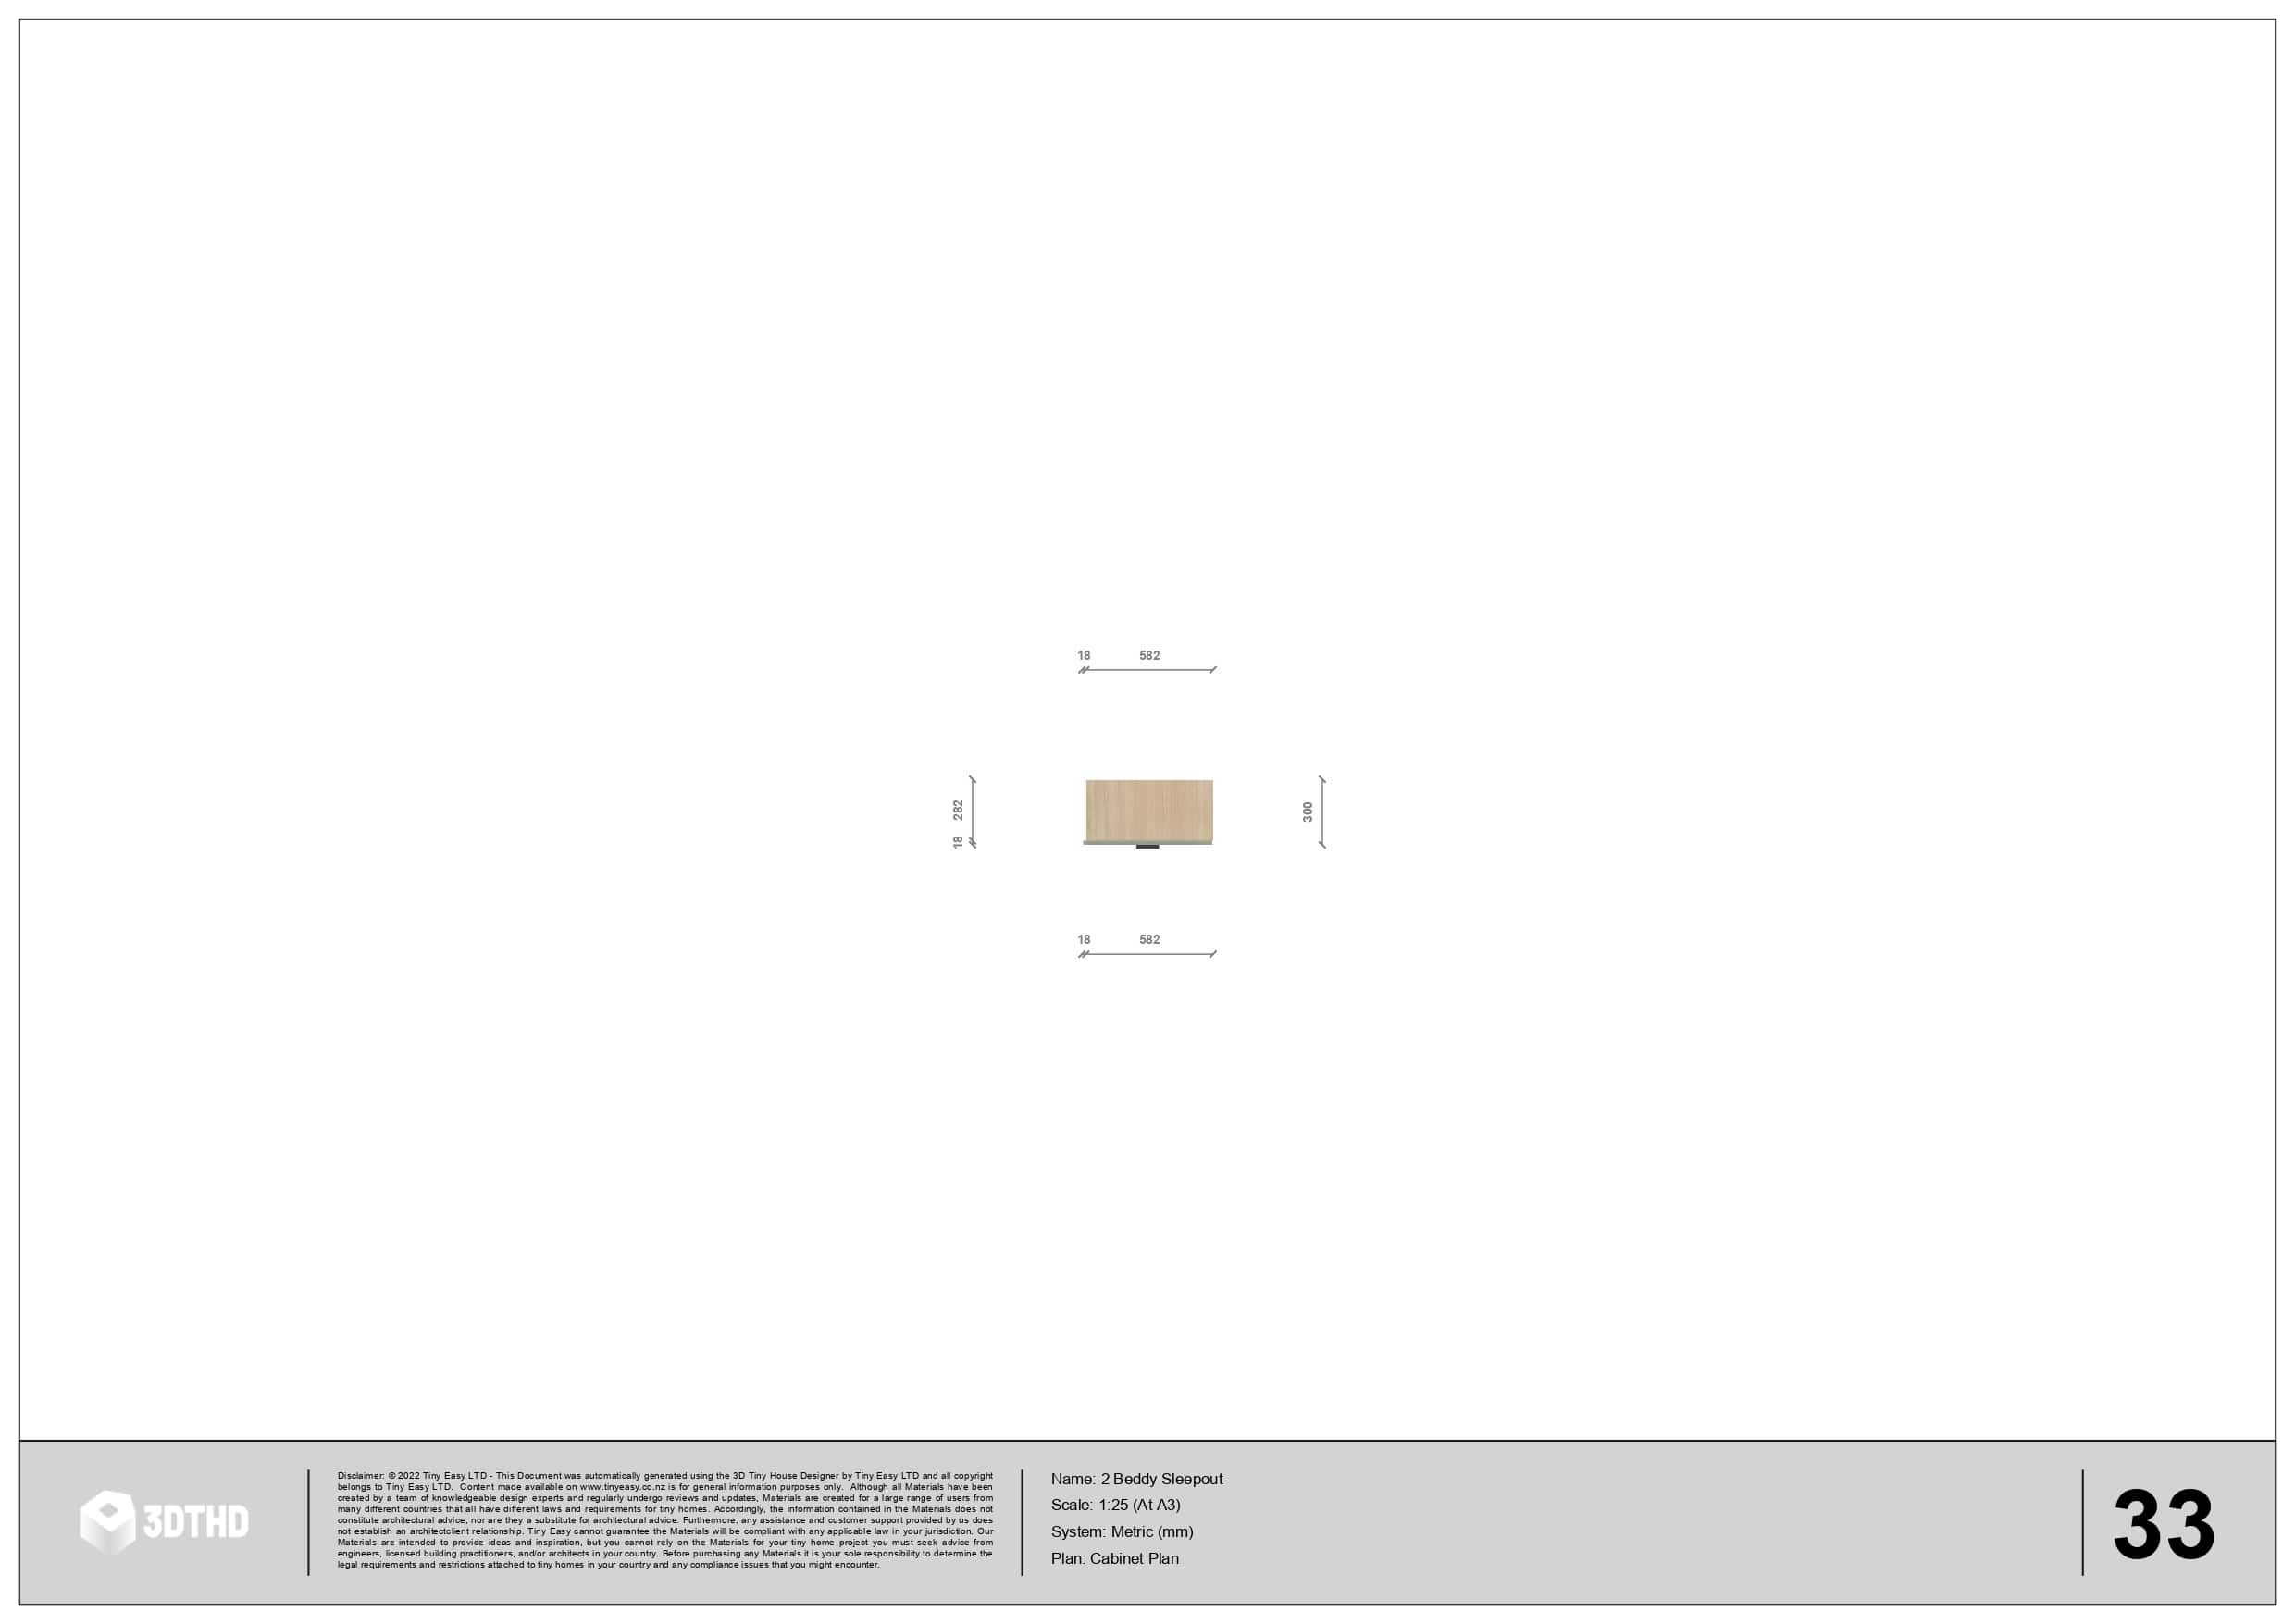
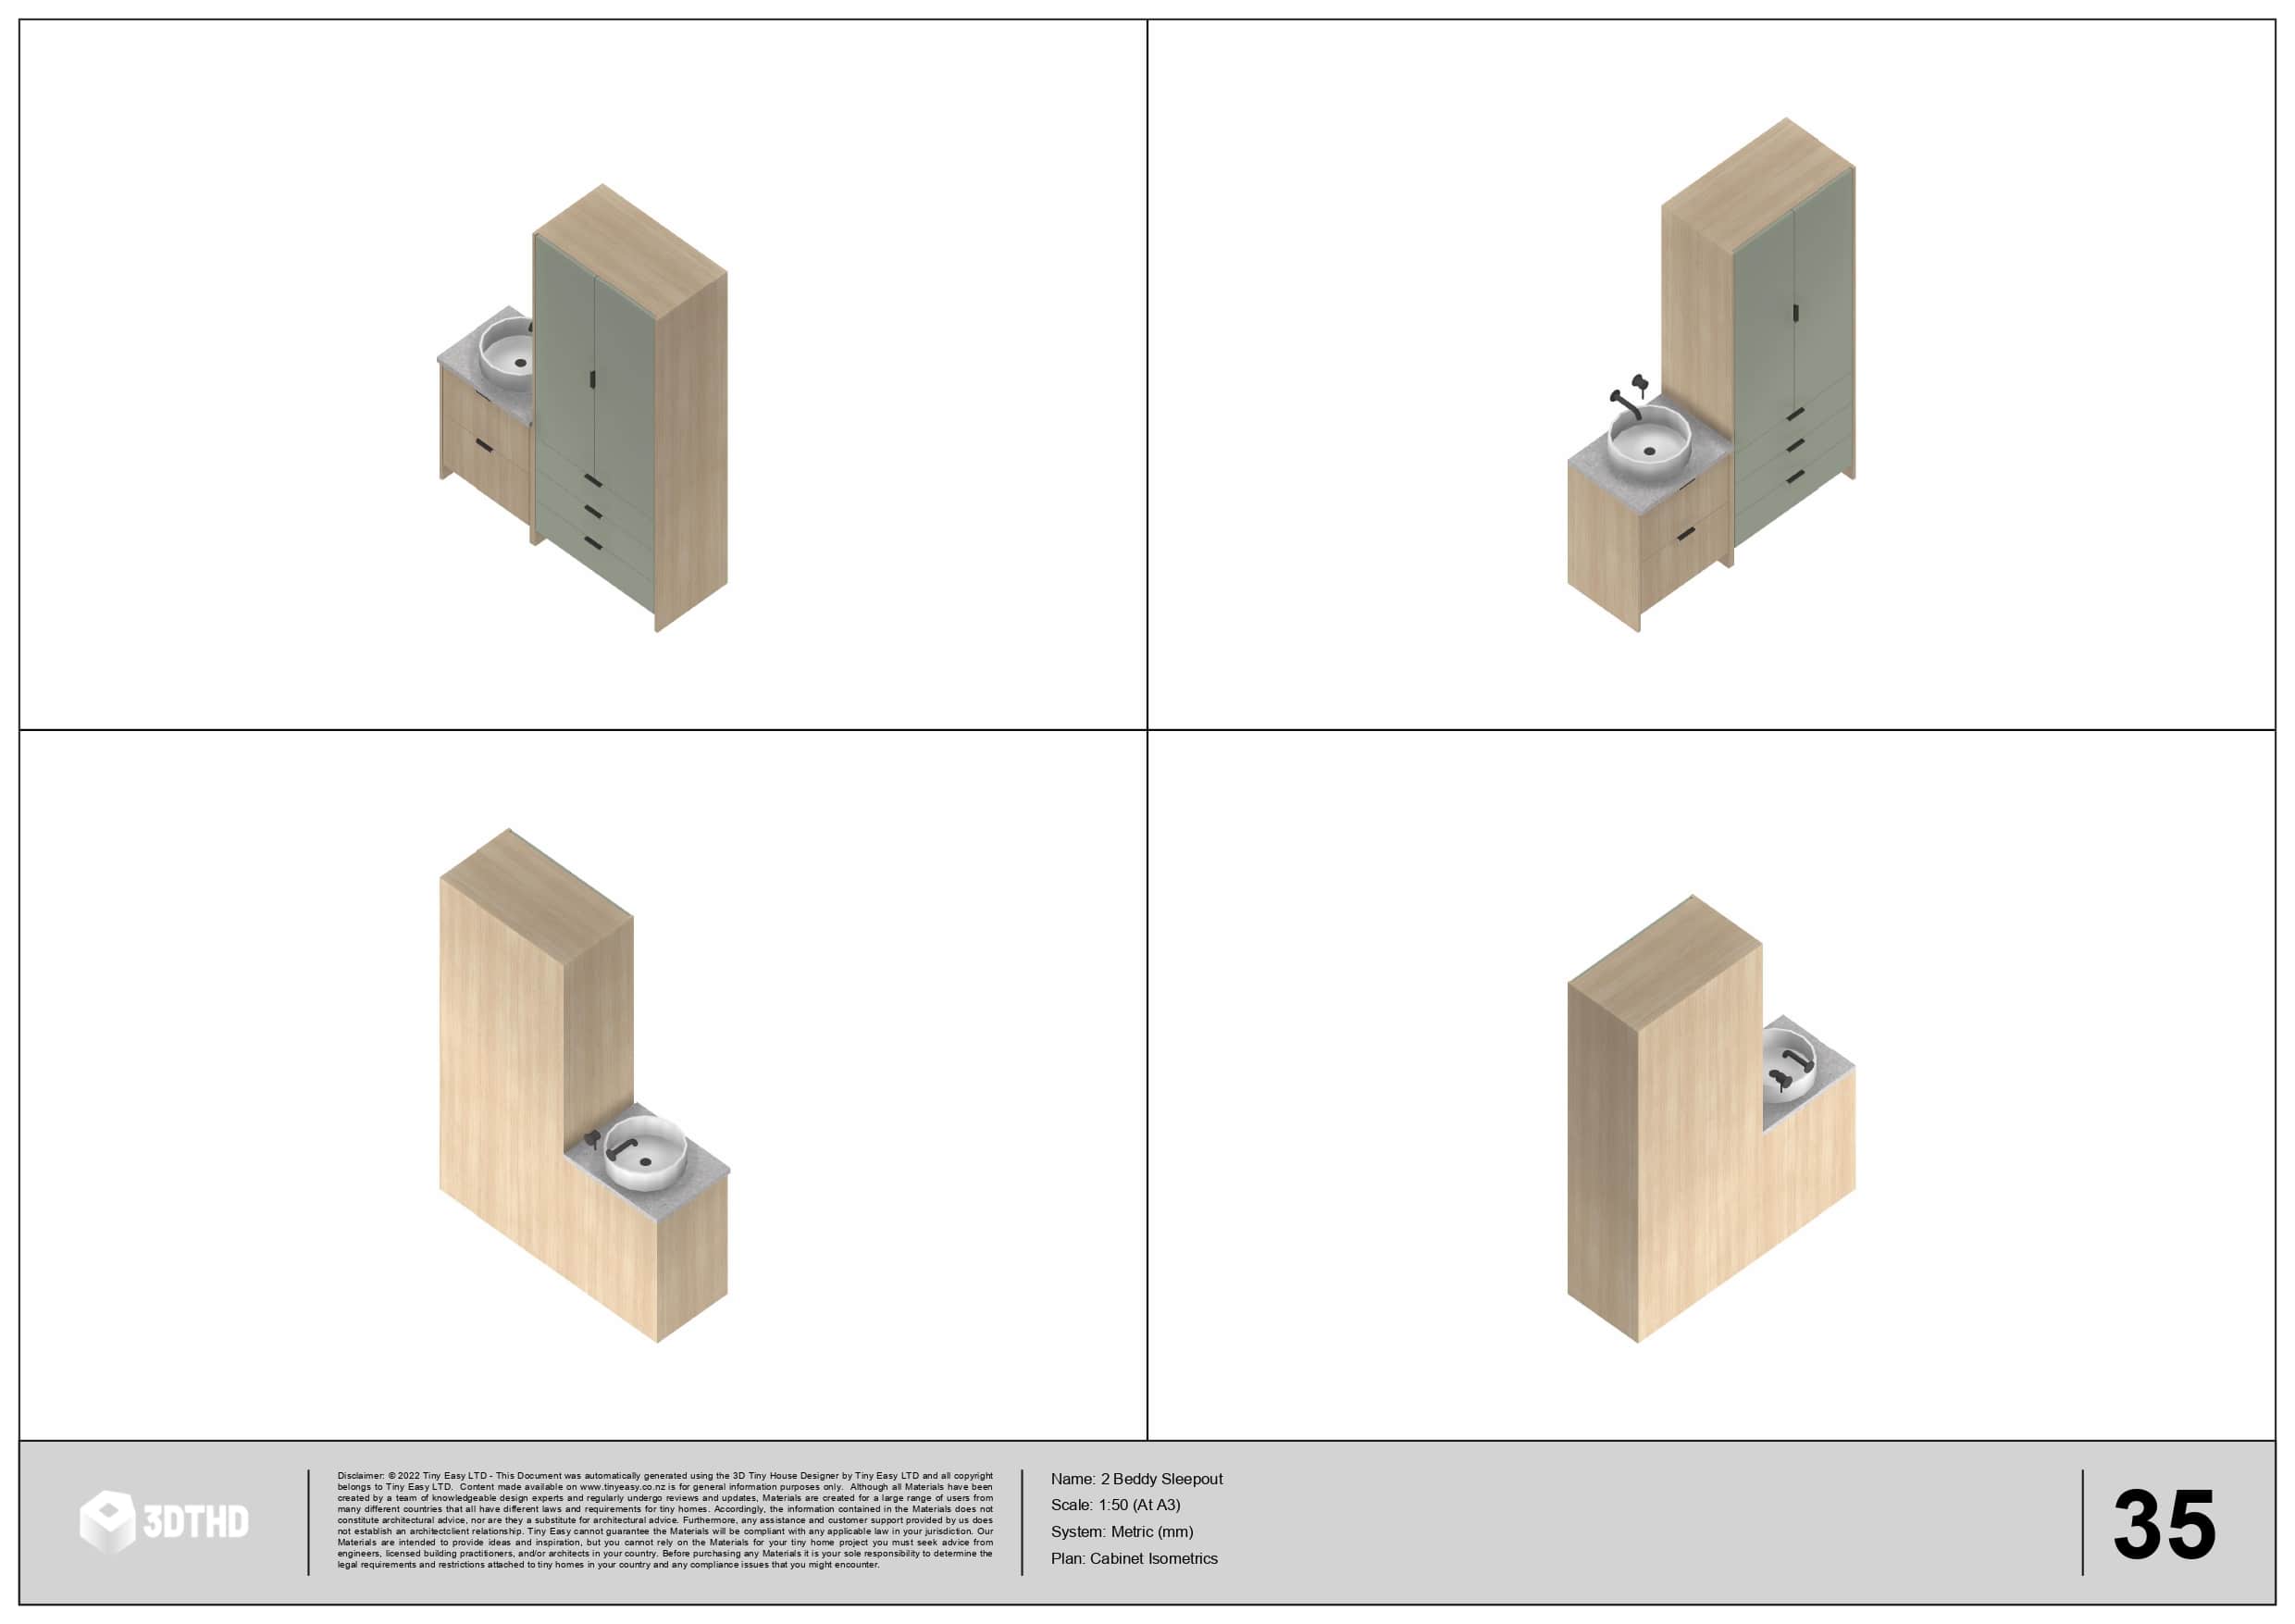
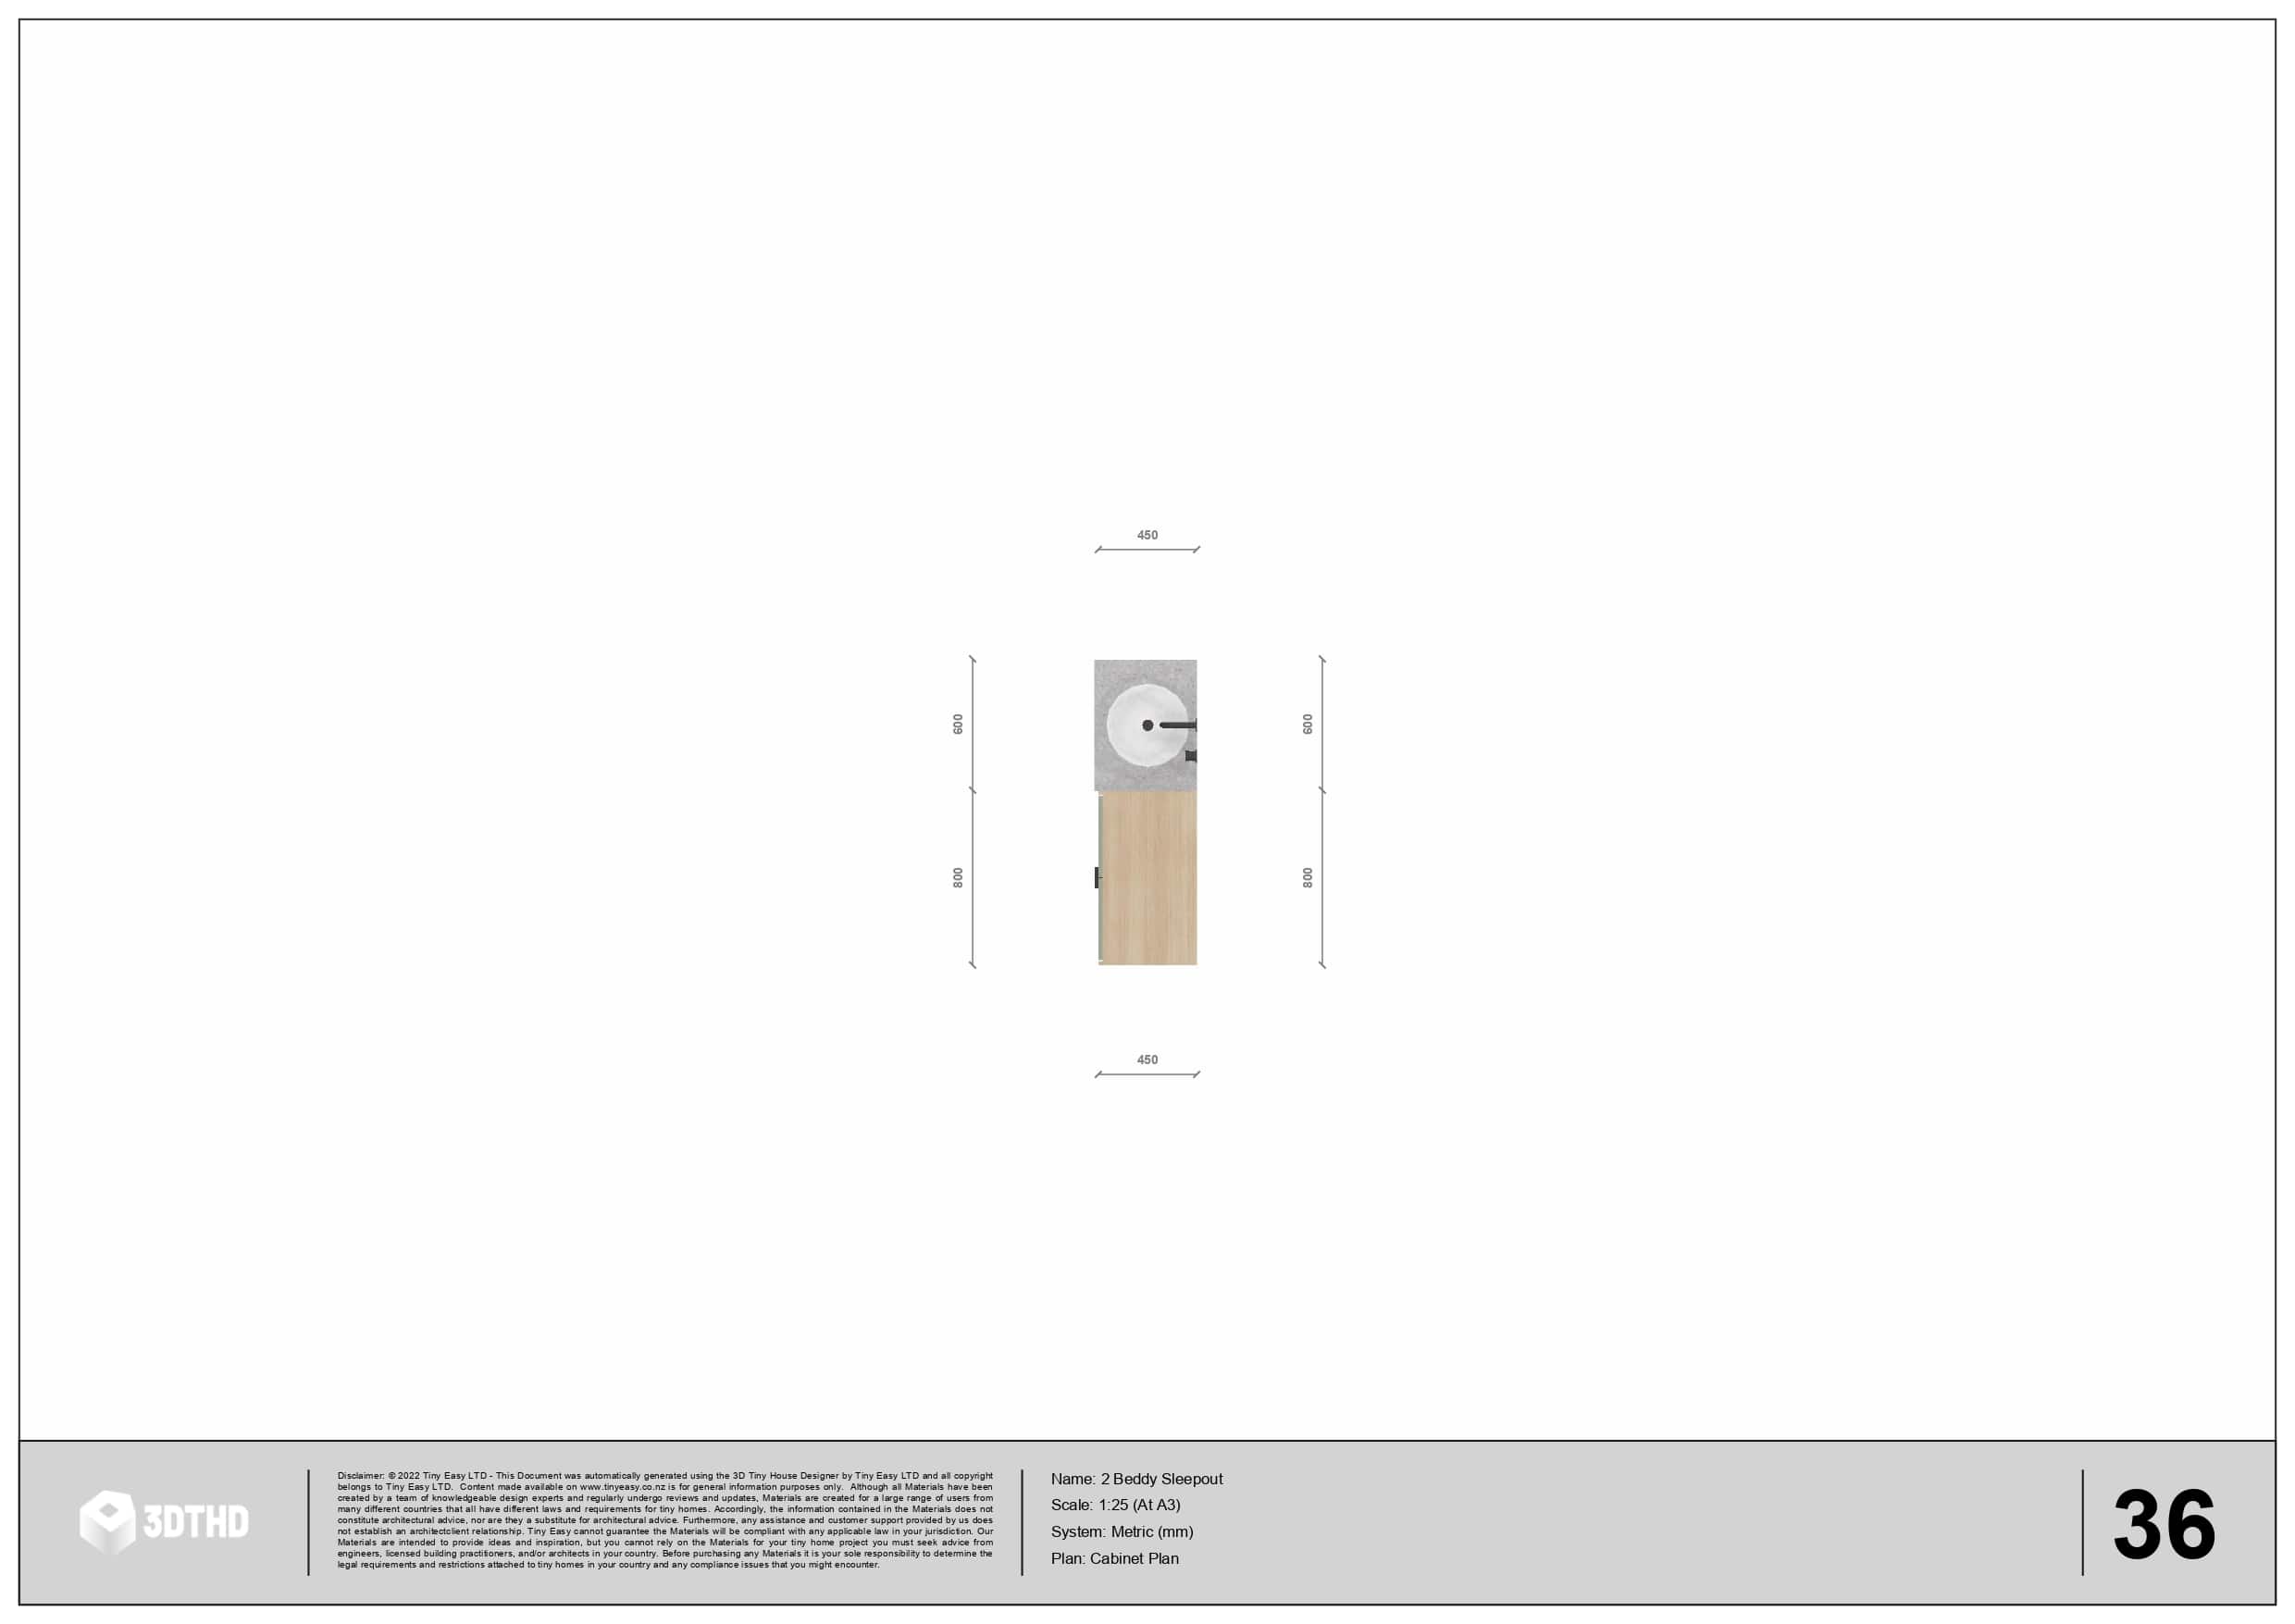
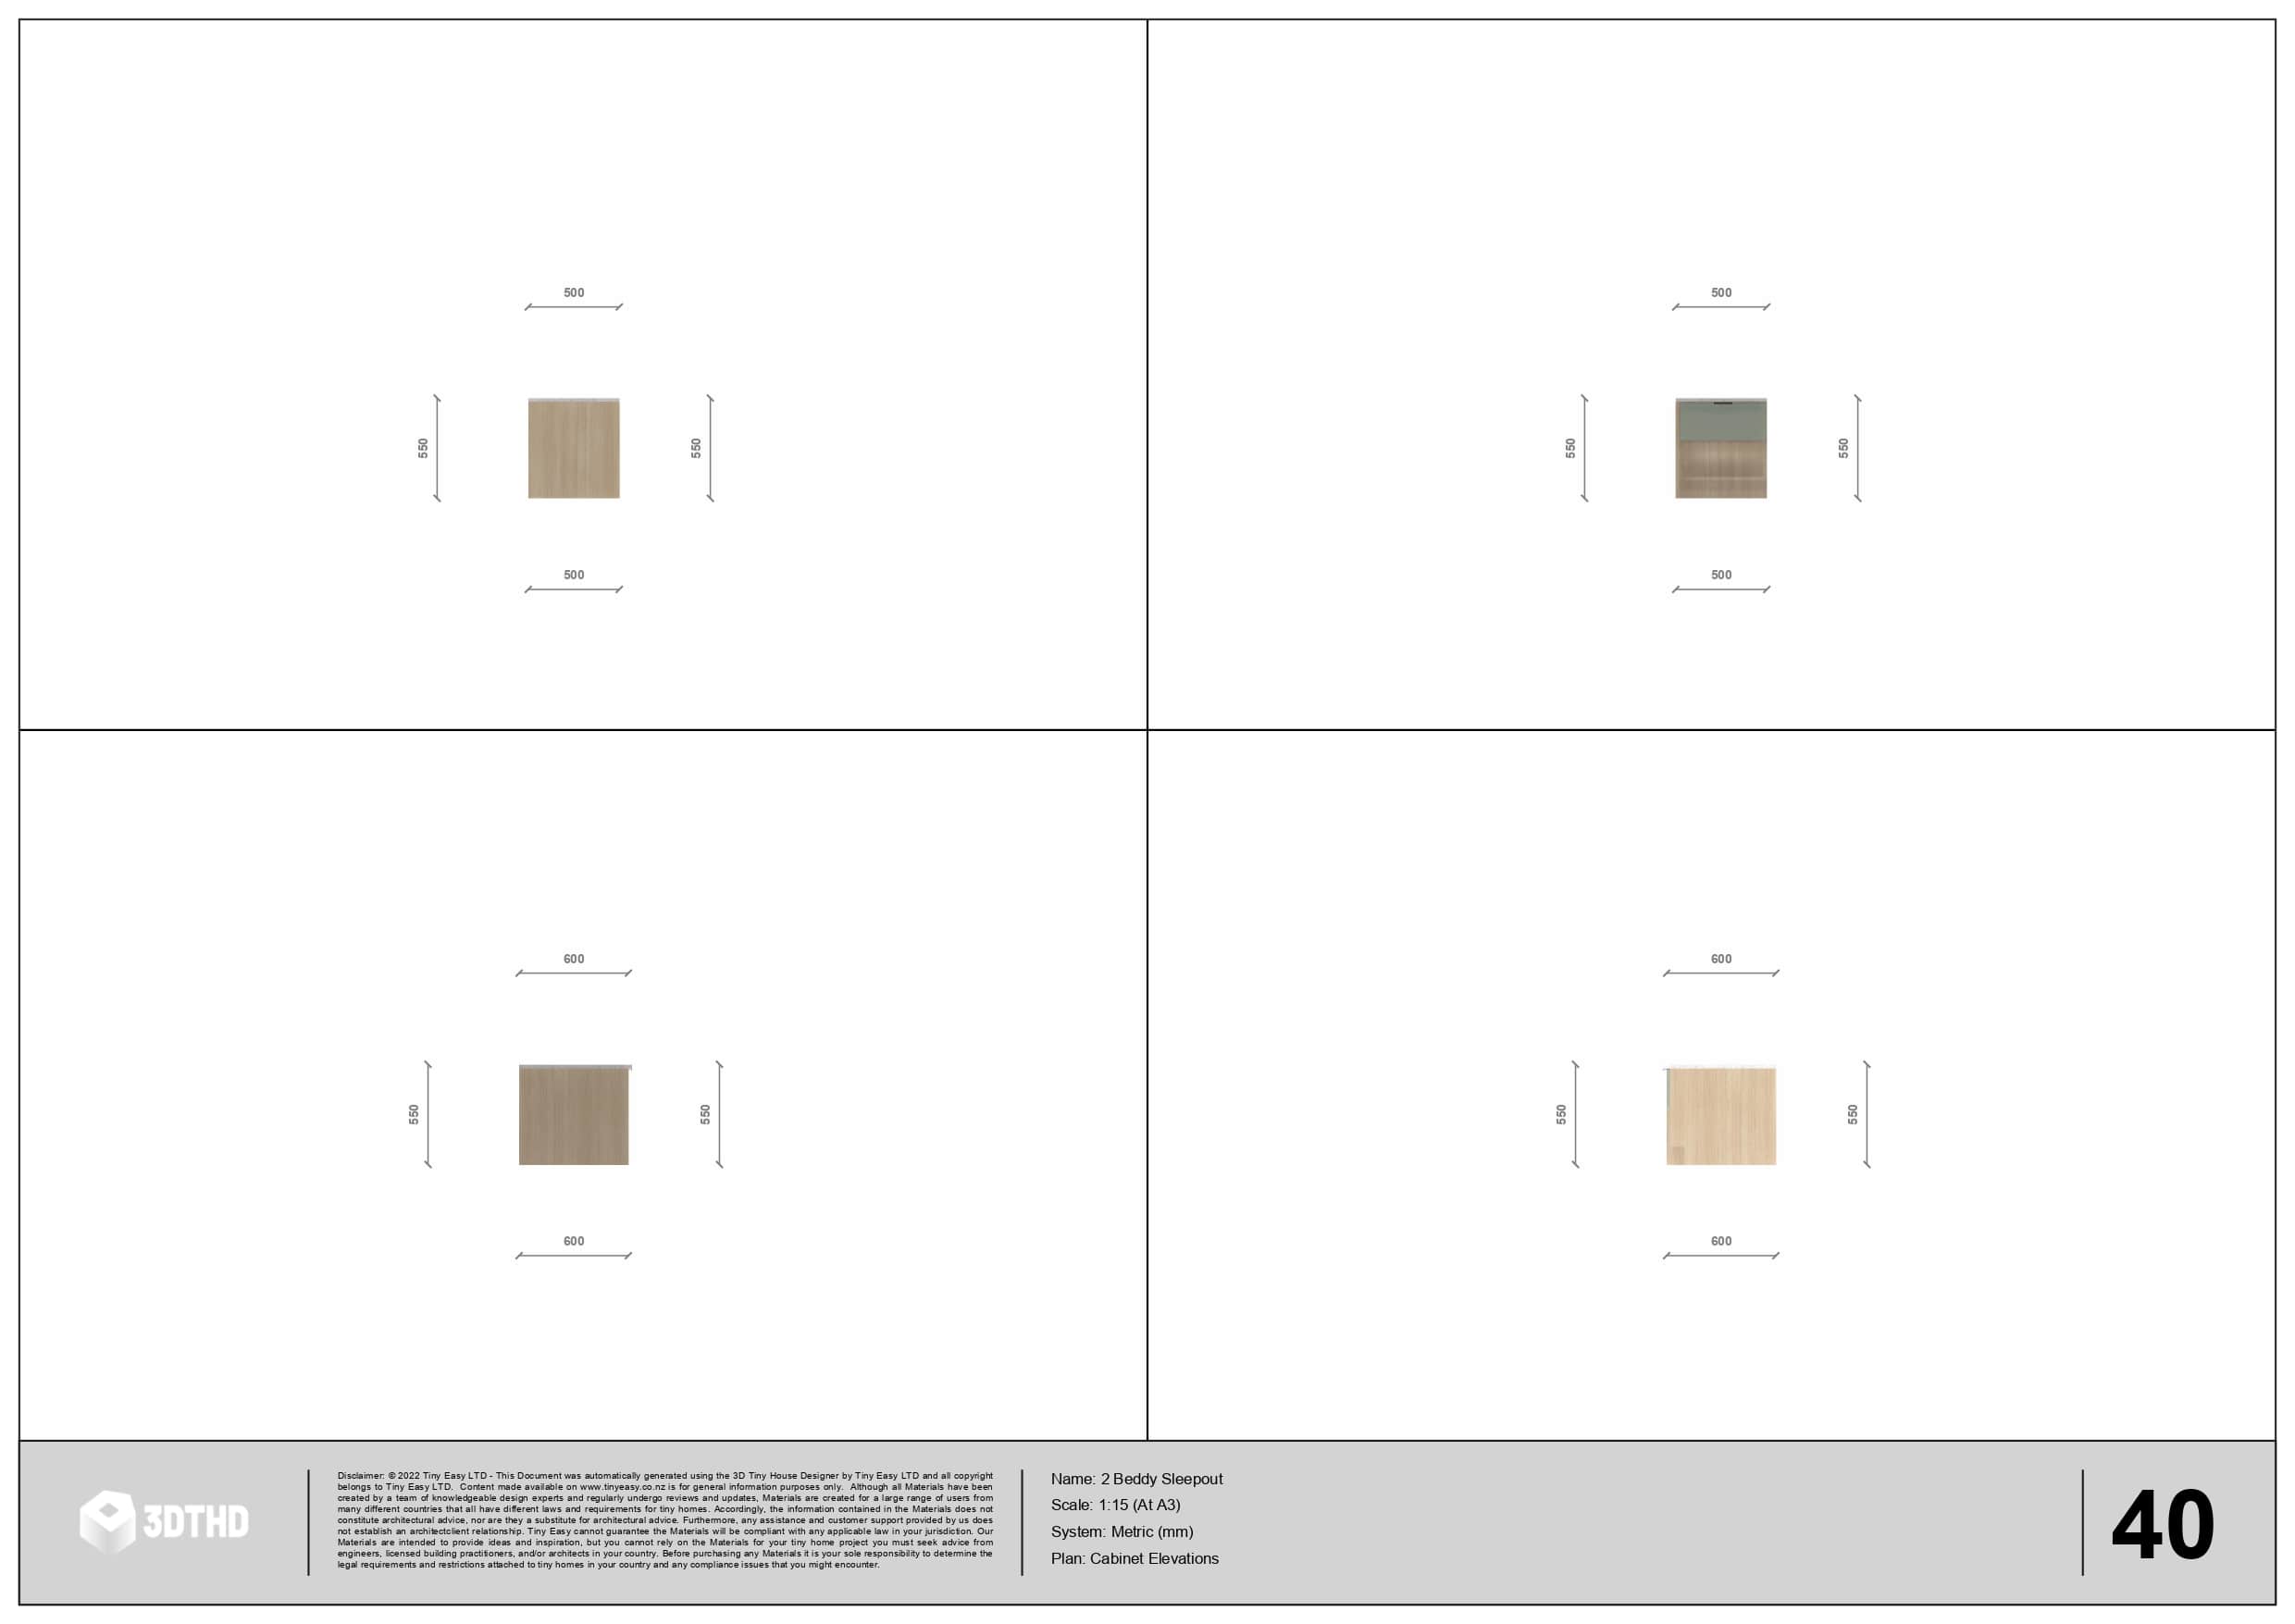
Cabinetry Plans
4 Isometrics of each cabinet group
Plan view of each cabinet group
4 Elevations of each cabinet group
For Businesses, you can also get:
Watch this tool in action here: 3D Tiny House Designer - Generate Plans Tool
How To Talk To Tiny House Builders About Your Design?
With your tiny house designed, and your plans ready to go, it’s time to talk to tiny house builders!
When getting your tiny house built, it’s crucial to find the right builder to make sure you will get a high quality home at the right price.
To understand which builder is the right fit for you, try to find a few different builders in your area. Most tiny house builders can deliver your home, so they don’t need to be directlly nearby. This will extend your search radius for potential builders.
Find at least 5 different builders. If you want a fully custom design, make sure that these builders offer custom tiny house builds.
Find reviews for each builder. What do previous clients say about them? How many tiny homes have they built? Can you see photos of their finished builds?
Contact each tiny house builder to see who might be a good fit and tell them about your project. Most builders will have an initial free consultation. Speaking to them directly will give you great insight into who they are as people. Share the plans, this will give you a great ground for discussion.
If you have found a good fit, request a quote for the build. You can also request quotes from multiple builders to understand the price range. Keep in mind a cheap quote is not always the best, the craftsmanship quality & material quality will reflect the price. If you are looking for a high end finish, it will most likely increase the cost.
Designing your own tiny house is easy if you have the right approach and tools.
With this comprehensive guide, I hope I've helped make this step a little bit easier. If you want some step-by-step tutorials, feel free to check out our free video tutorials to learn each tool!
Now it’s your turn! Put together your Inspiration Board & start designing your tiny home using our tiny house design software!
Have fun! 😀


